~
Now, let's start our tutorial. First, prepare a bright - colored square piece of colored paper and then fold it in half from the middle. At one end, fold it along the diagonal respectively. Below, I've drawn a diagram of the intersecting creases for you.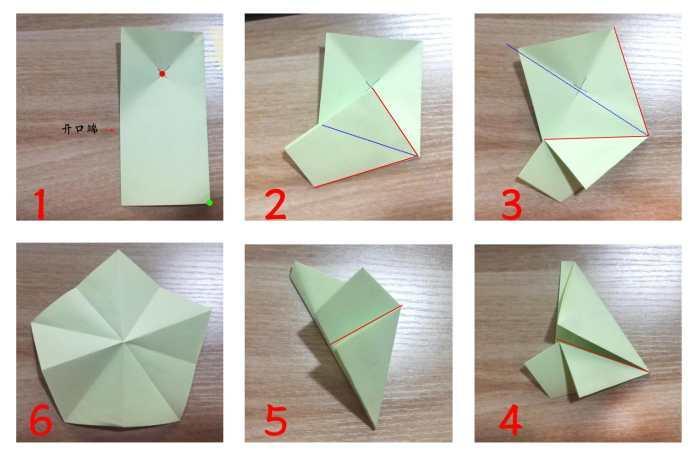
Step 1: Make the point at the lower - right corner coincide with the red point and fold.
Step 2: After folding into the shape in the above figure, make the red lines coincide with each other and fold along the blue dotted line as the crease.
Step 3: Do the same as the previous step. Make the red lines coincide and fold along the blue dotted line.
Step 4: After folding into the shape in Figure 4 above, fold along the middle red line towards both sides, with the red - line part exposed outside. Thus, the shape in Figure 5 is formed.
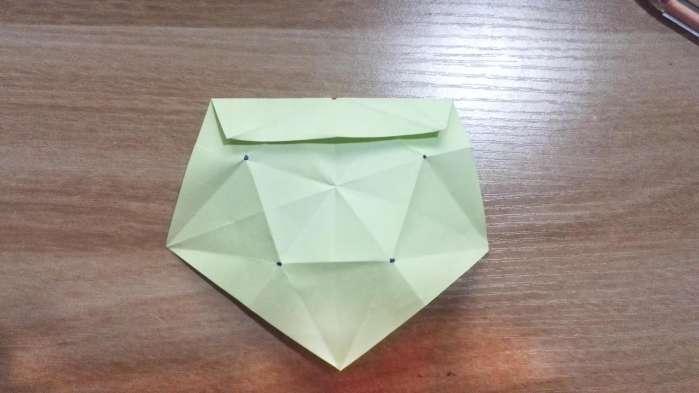
Step 5: Cut along the position of the red solid line in the figure (level with the lower edge) with scissors, forming the pentagon shape in Figure 6.
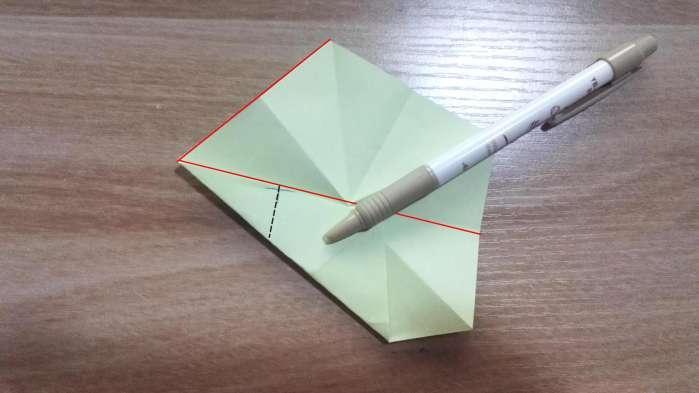
Step 6: Make each side of the cut - out pentagon coincide with the crease of the nearest middle line, that is, make the two red lines in the figure coincide, and make a crease. Here, when making the crease, fold it to the position of the black dotted line. Don't fold further. Do this for each side. After folding, it will look like the figure below.
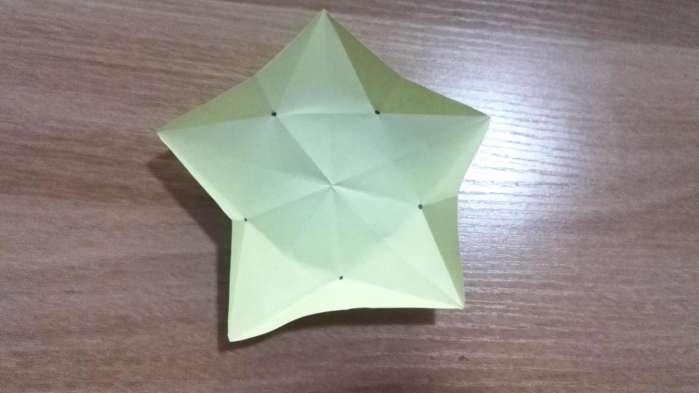
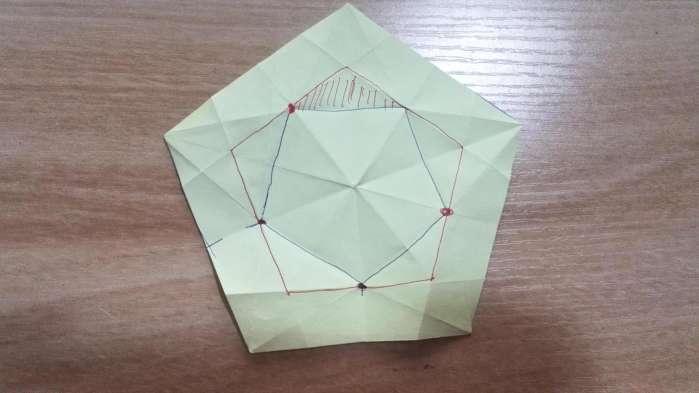
Step 7: Here, I've marked the points where each crease intersects with black dots. Just keep this in mind when you're making it. Then, create a crease between two adjacent black dots and fold backwards. After folding, the figure below is formed.
Step 8: Then turn it over. At the same point, I've marked a red dot. Fold backwards from this point. When folding, keep the crease of the middle line parallel.
Step 9: In this way, I've marked the creases folded from each point with red lines. They exactly form a triangular area with the creases marked with black lines on the back.
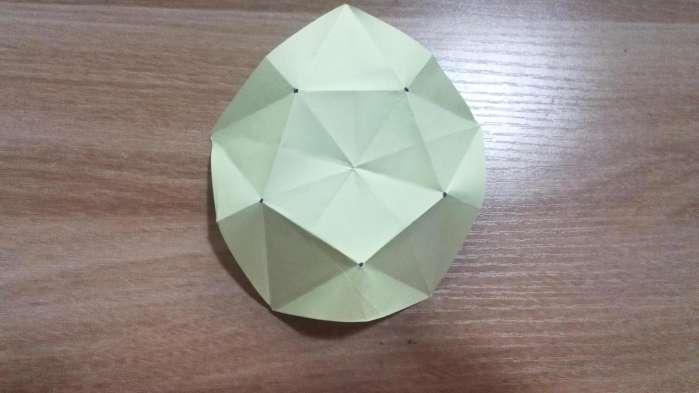
Step 10: Pinch up the mid - line of the triangular area and then stand the triangular area up, just like in the figure below. Stand up each triangular area.
Step 11: After that, pinch each corner and continue to push it inwards, put the triangle inside, then continue to pinch it along the inner crease, and then turn it over. The figure below is formed.
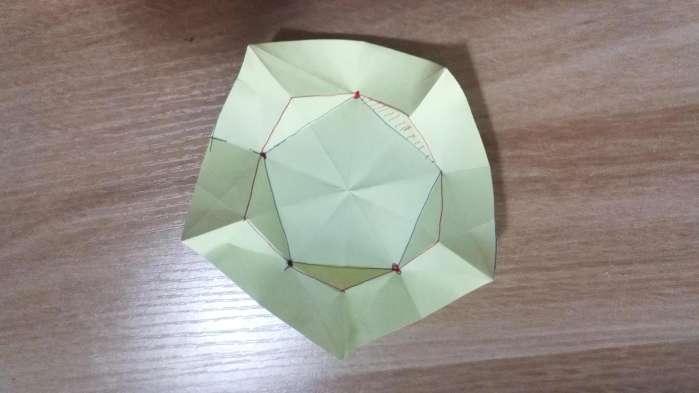
Step 12: After folding, turn it over. You will see a small pentagon that coincides with each crease. Make a crease between the two coinciding points (the green dotted line in the figure below) to form a pentagon.
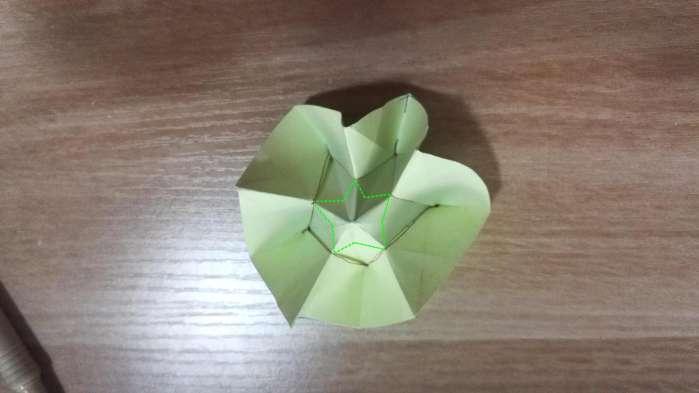
Step 13: Press the pentagon down to form the figure below.
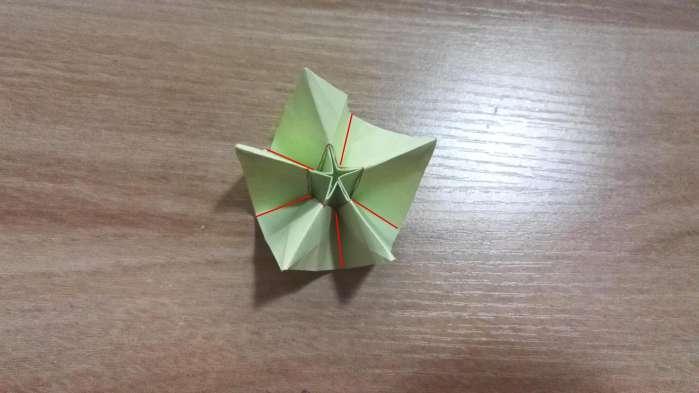
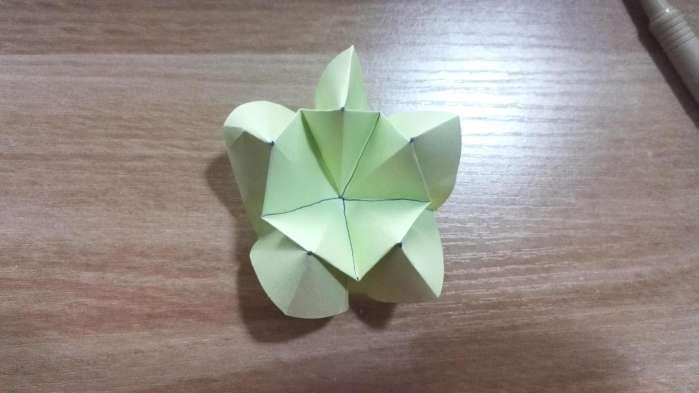
Step 14: For the crease marked with a red line in the above figure, make it coincide with the corresponding inner crease of the pentagon from the bottom upwards. Here, note that only this line should coincide. Don't press the other parts. Just keep them in an arc shape.
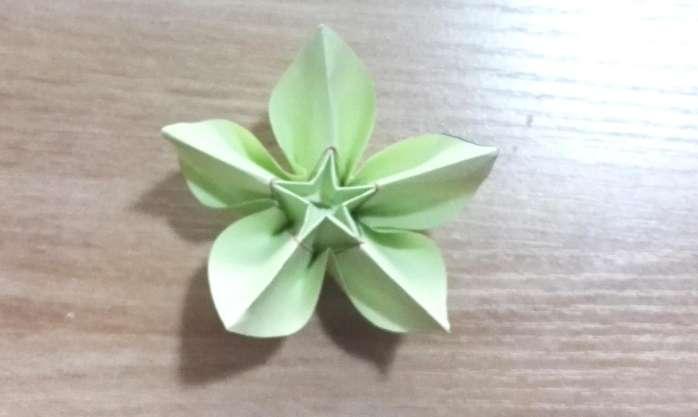
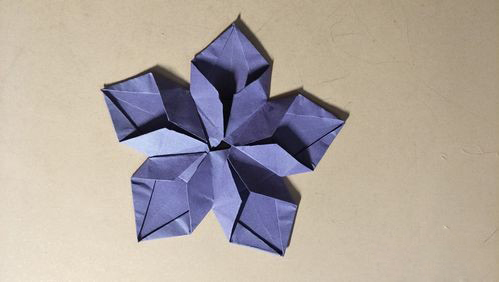
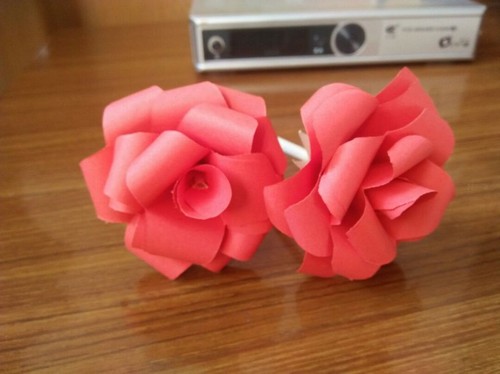
Step 15: Finally, gently twist each sharp corner in one direction. Take a look at the final effect.