Do you want to send a sincere and unique token of your affection to someone special? Try this simple origami carnation tutorial. The steps are crystal - clear, accompanied by detailed illustrations, so even a novice at handicrafts can easily follow along. From folding the paper to shaping the delicate form of the carnation, the whole process is full of fun. Use it to convey love and gratitude, adding warmth to life. Come and embark on this heart - warming handicraft journey.
Materials and Tools: Scissors, pink colored paper, green self - adhesive paper
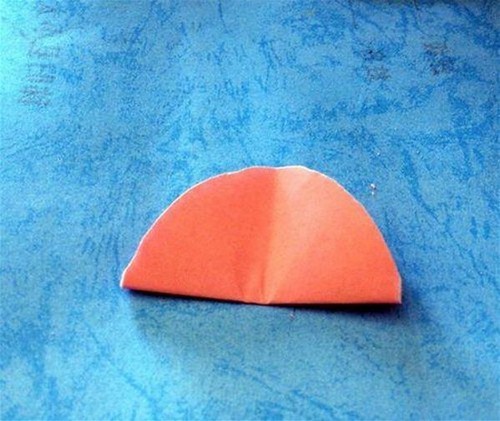
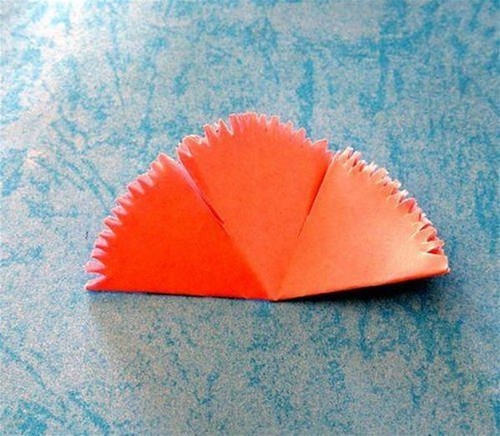
Step 1: Cut the prepared pink colored paper into a circle, fold it in half, and then fold it into thirds.
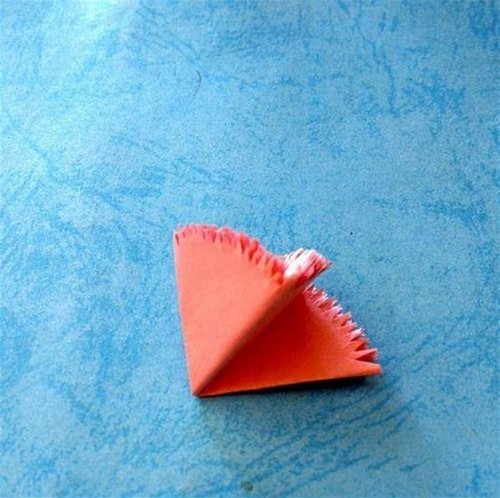
Step 2: Use scissors to cut small serrations along the edge of the colored paper. Don't make the serrations too large; they should be fine and close together.
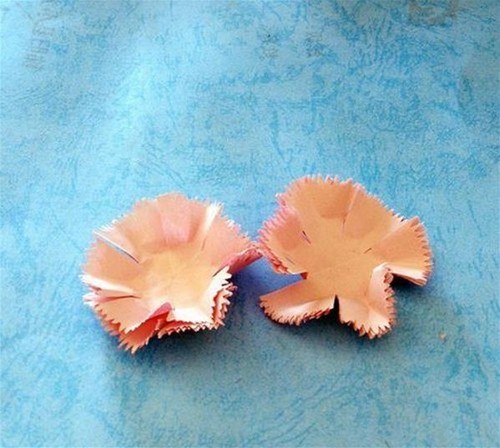
Step 3: Open the cut - colored paper. Cut downward from the edge along the creases to about two - thirds of the way. Cut a small circular hole in the middle of the paper. Don't make the hole too large; about 2mm is fine, which should be determined according to the thickness of the small bamboo stick.
Step 4: Bend each petal by hand to give it a three - dimensional look.
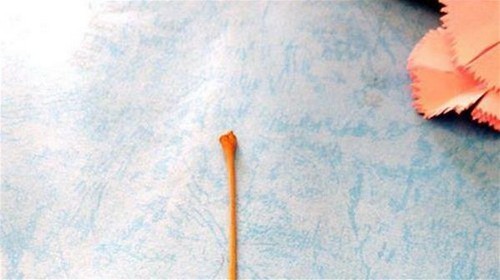
Step 5: Prepare a small bamboo stick. It's best if there is a knot at the head of the stick, so that it can form the shape of the flower core.
Step 6: String all the flower papers onto the bamboo stick. Squeeze the bottom of the flower papers firmly to create a wrinkled effect.
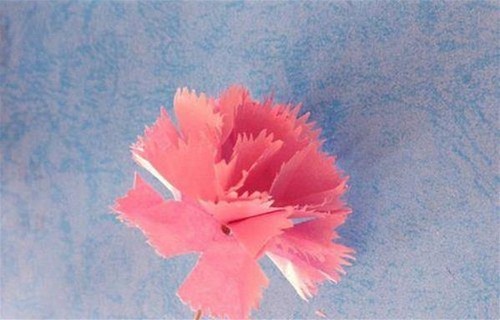
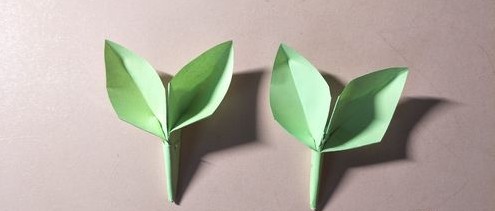
Step 7: Cut a long, thin strip from the green self - adhesive paper. Stick it at the bottom of the strung - together flower to form the shape of the calyx, and then stick the flower down onto the bamboo stick to fix it.
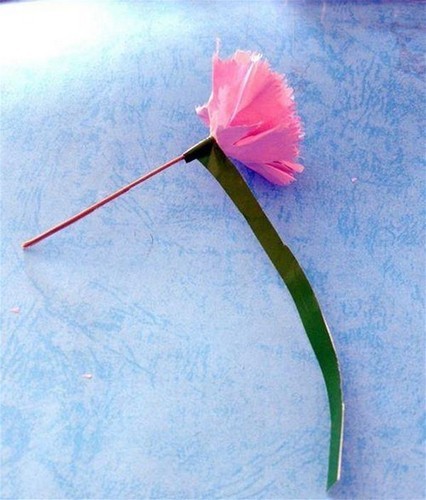
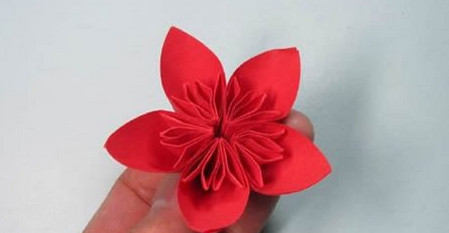
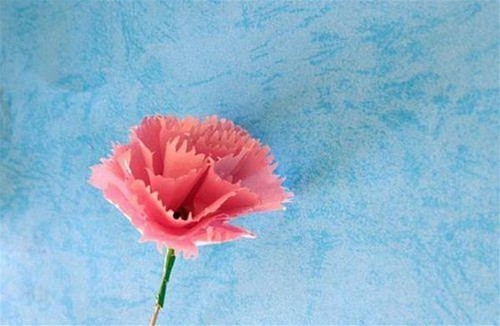
Step 8: Arrange the shape of the flower. Look, a carnation is done. Isn't it simple? Let's prepare more colored paper and make a bunch of carnations for our moms with our own hands!
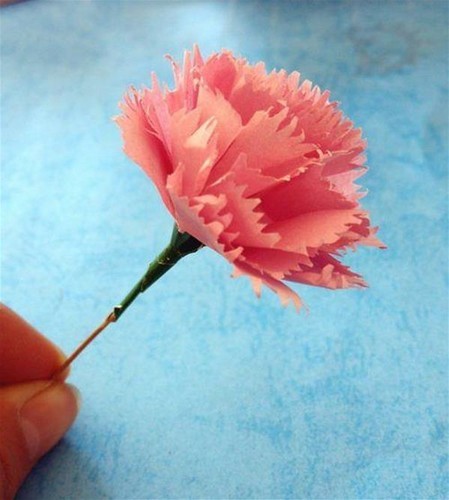
Step 9: Precautions: The colored paper for making carnations preferably has some fine wrinkles, so that the made - up flower will look more lifelike.