Do you want to create romance with your own hands? Come and try this origami rose tutorial! This tutorial will guide you to fold a delicate and charming rose using simple paper. Whether you're a novice or an expert in handicrafts, the clear steps and detailed illustrations will help you get started easily. Fold a paper rose to express your love to your sweetheart or use it as a decoration to add a touch of romance to your life. Let's embark on this romantic journey at your fingertips!

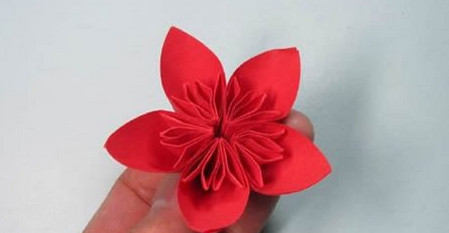
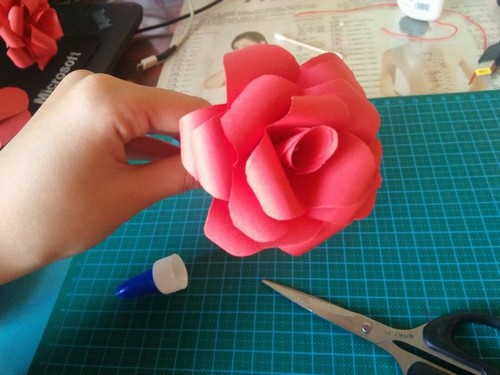
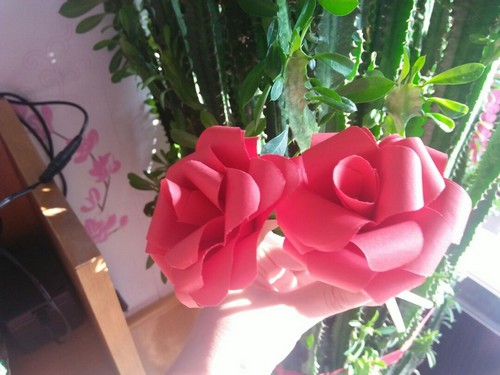
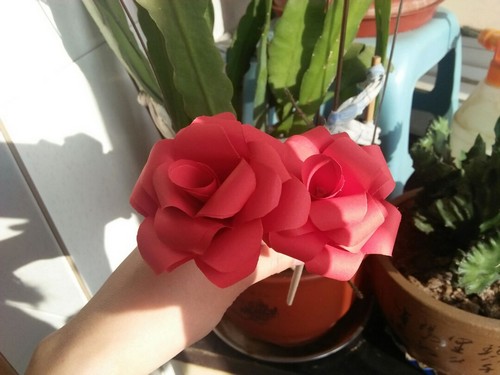
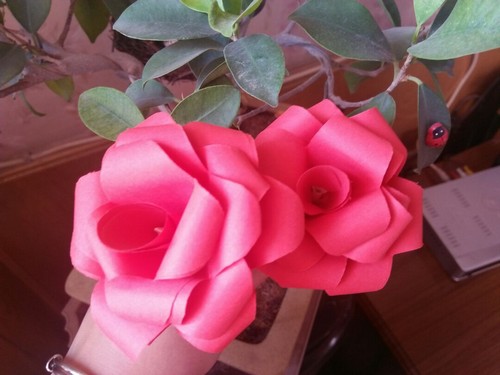
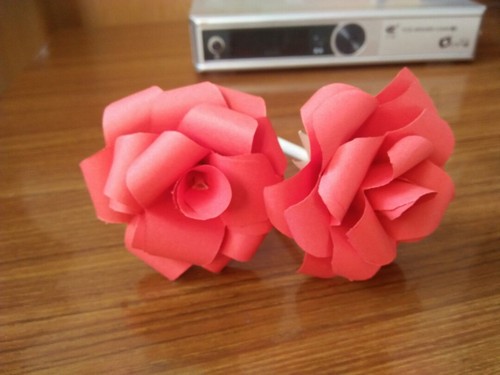
Step 1: First, here is what the finished product looks like.
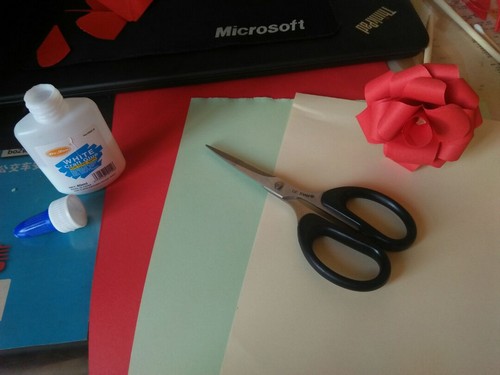
Step 2: Materials needed: Red paper (for petals), green paper (for leaves), yellow paper (for the flower stem), white glue (for pasting the petals), and scissors (for cutting the shapes of petals and leaves).
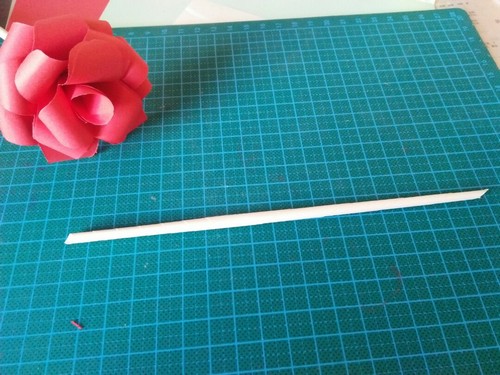
Step 3: Roll the yellow paper into a flower stem.
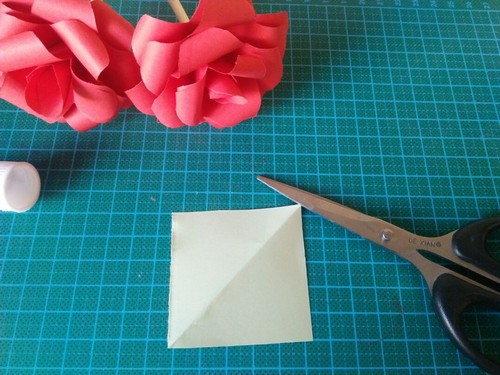
Step 4: Now start making the petals. First, prepare a square piece of paper.
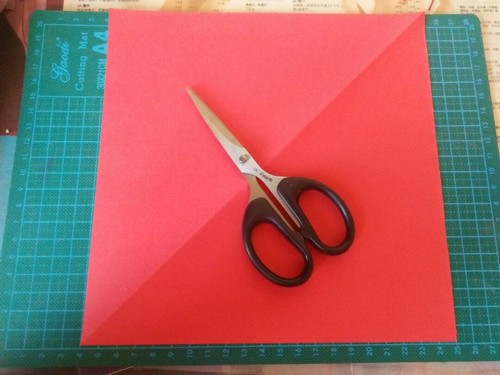
Step 5: Divide it into four small squares.

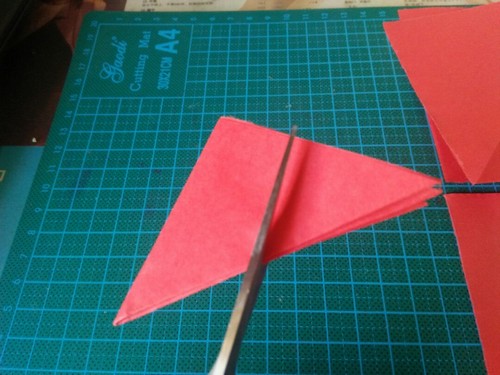
Step 6: Take out one small square and fold it into a triangle three times.
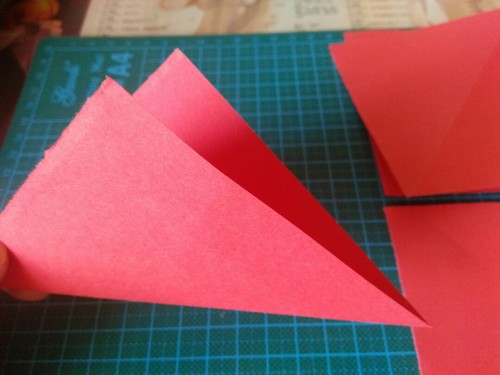
Step 7: This is the effect after folding three times. The scissors mark shows where to cut the petal.
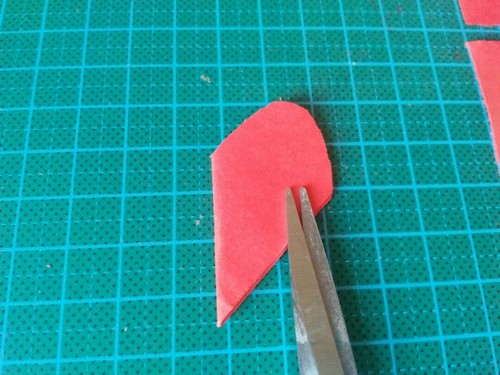
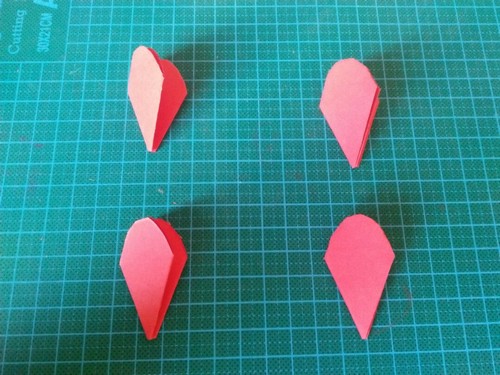
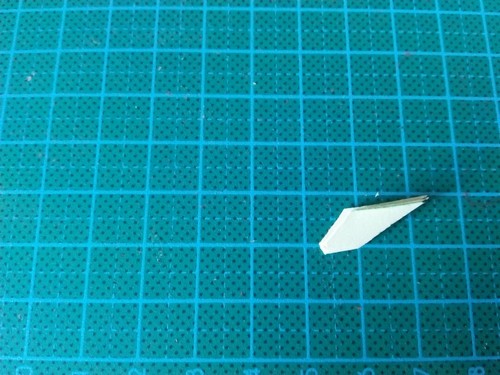
Step 8: The shape of the cut petal.
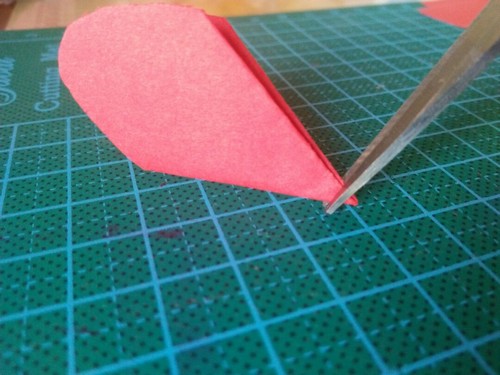
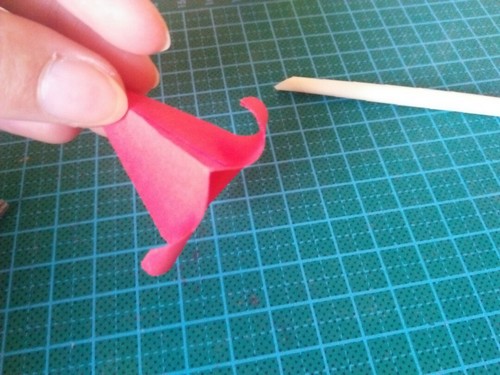
Step 9: Cut a small slit at the bottom of the petal.
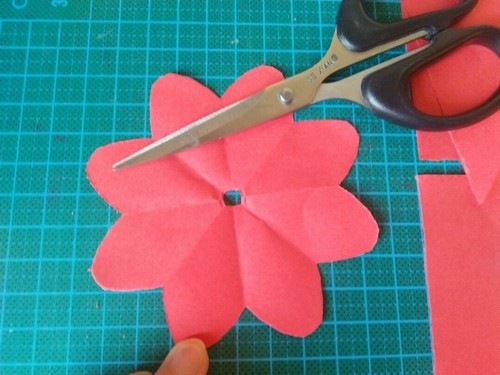
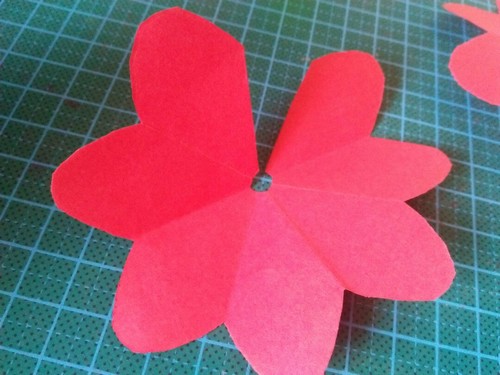
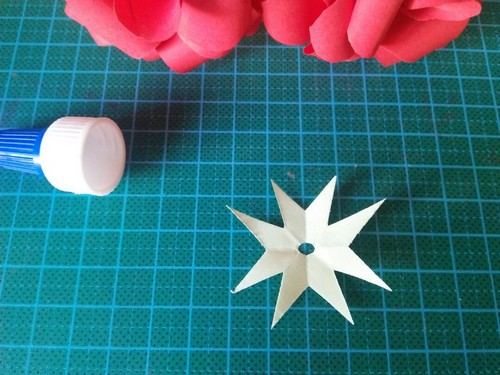
Step 10: This is what one petal looks like after being cut and unfolded.
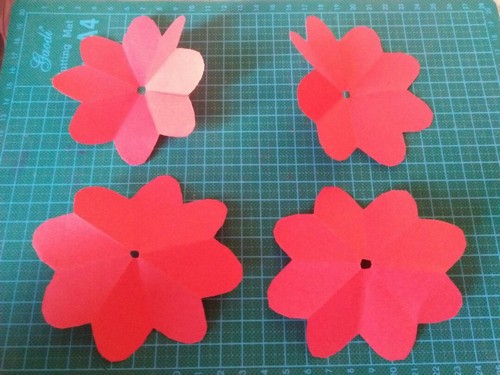
Step 11: Fold the four cut petals.
Step 12: Unfold all of them.
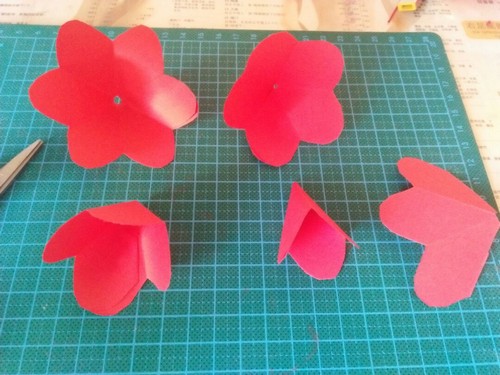
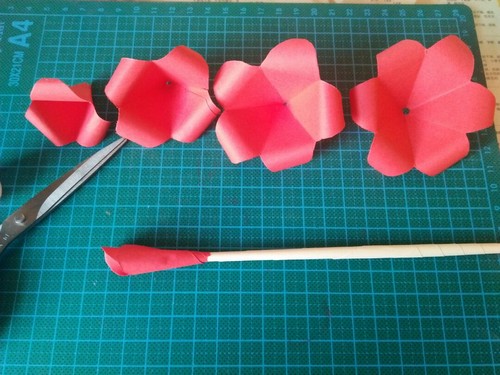
Step 13: Cut off petals 1, 2, 3, and 4 in sequence as shown in the picture.
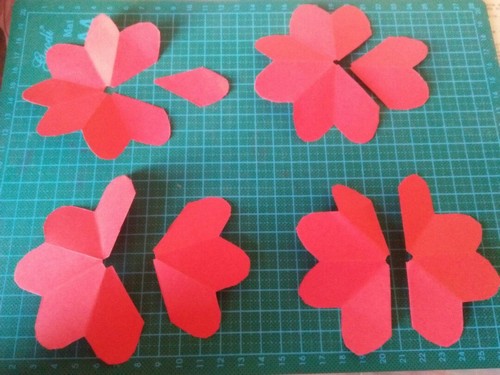
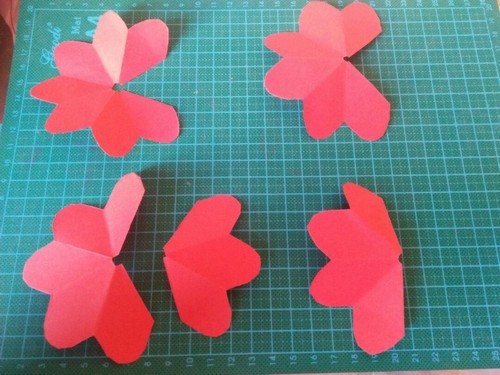
Step 14: Keep the five parts as shown in the picture. The rest are not needed.
Step 15: Paste two petals together at the opening of the petal.
Step 16: Like this.
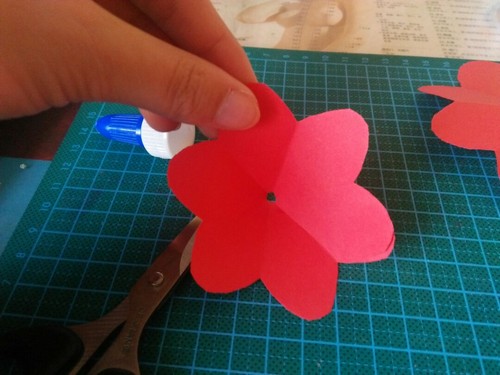
Step 17: Paste the four petals in sequence, leaving the cut - off petal aside for now.
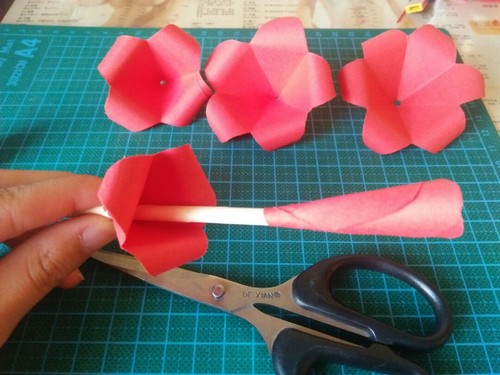
Step 18: Take out the cut - off petal.
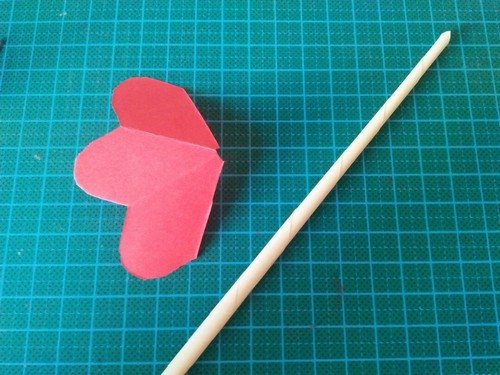
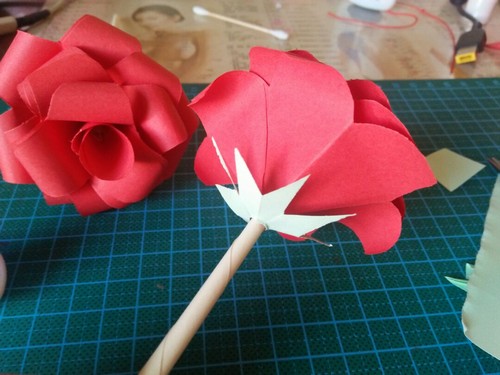
Step 19: Take out the flower stem and paste them together.

Step 20: Use a pen holder to curl the four groups of pasted petals as shown in the picture.
Step 21: This is what it looks like after all are curled.
Step 22: Thread them onto the flower stem one by one.
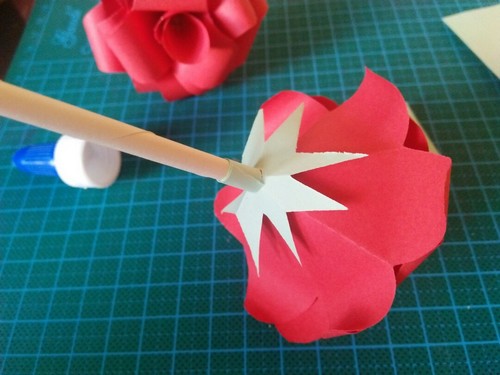
Step 23: This is the effect after fixing.
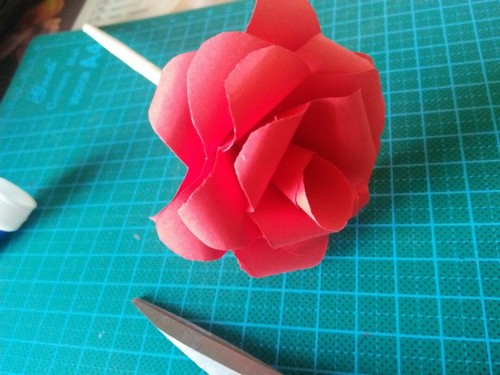
Step 24: The general shape is almost done.
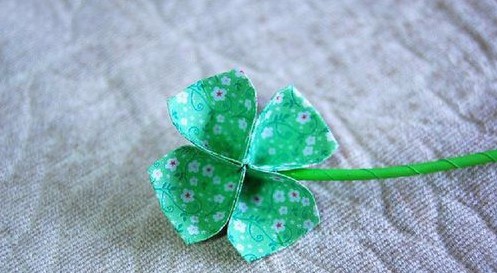
Step 25: Take out a small square piece of green paper.
Step 26: Fold it in the same way as the petal and cut it into the shape as shown.

Step 27: As shown.
Step 28: This is the effect after opening.
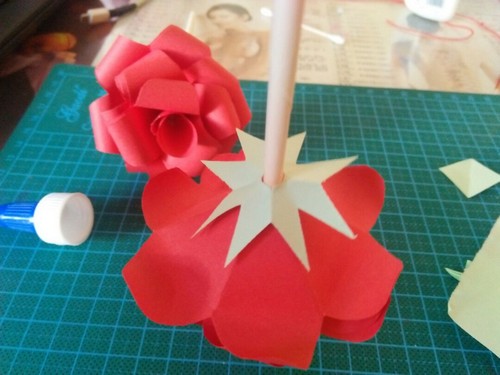
Step 29: Thread it onto the flower stem.
Step 30: Ta - da, it's threaded on.
Step 31: Wrap a green paper strip around the bottom of the flower bud (optional).
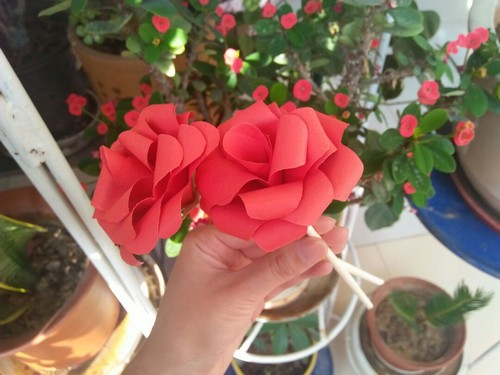
Step 32: It's done!
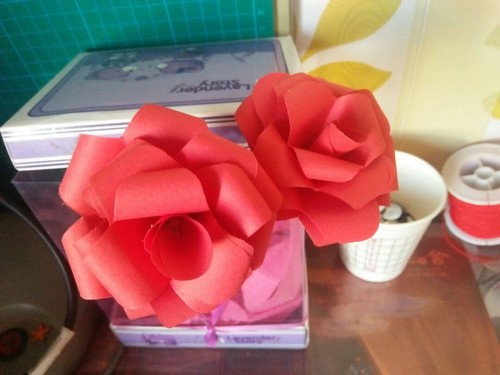
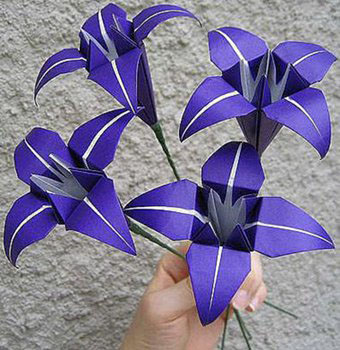
Step 33: Here are some pictures of the finished product.
DIY Tips: This is a very simple flower - folding project. You can be creative with the colors and the flower stem.