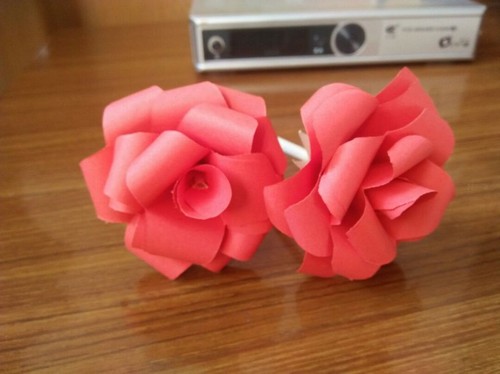
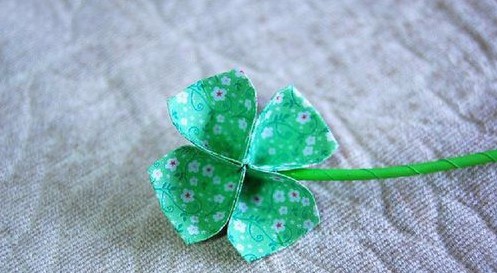
As the autumn atmosphere grows stronger, don't you want to collect this romance? Come and learn the beautiful maple leaf origami tutorial! Without using a paintbrush or pigment, you can start creating with just paper. Follow the steps, fold it skillfully, and shape it meticulously to transform a flat piece of paper into a vivid maple leaf.

Step 1: Fold the square paper in half.
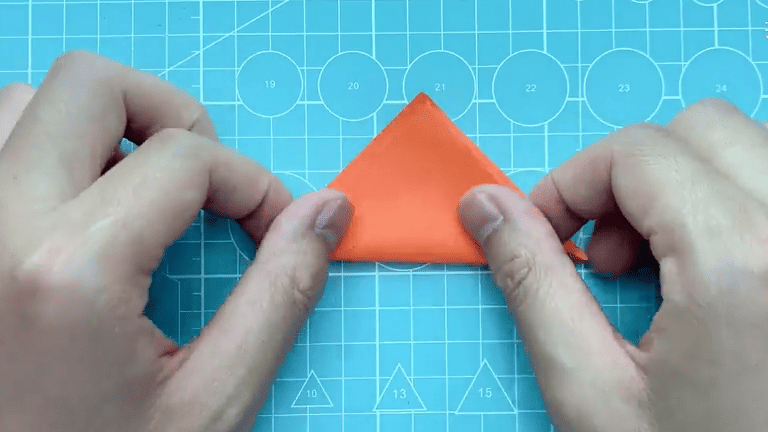
Step 2: Unfold it.
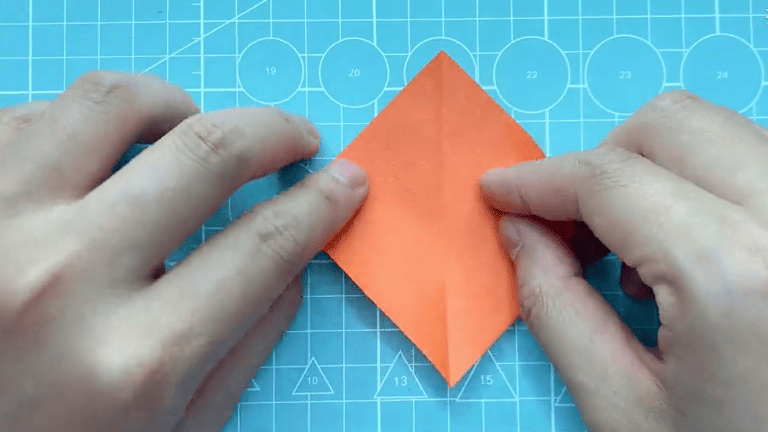
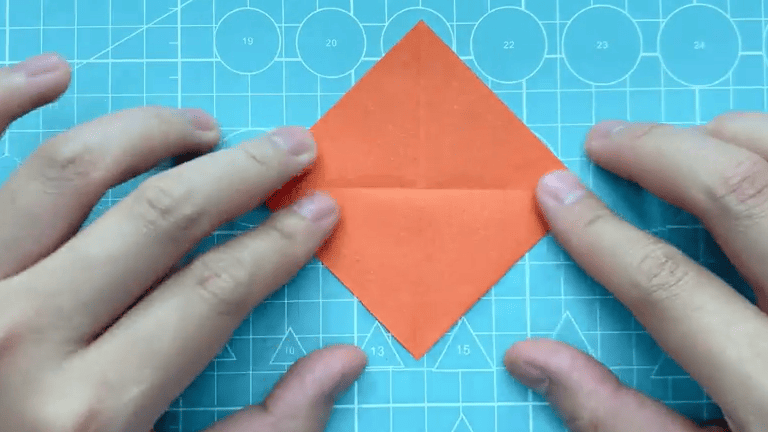
Step 3: Fold the paper again by joining two other corners.
Step 4: Unfold it once more.
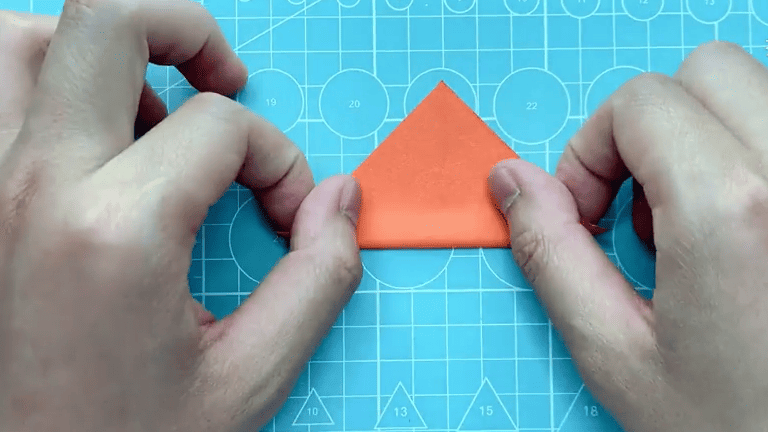
Step 5: Align and flatten it in the way shown in the picture.
Step 6: Do the same on the other side.
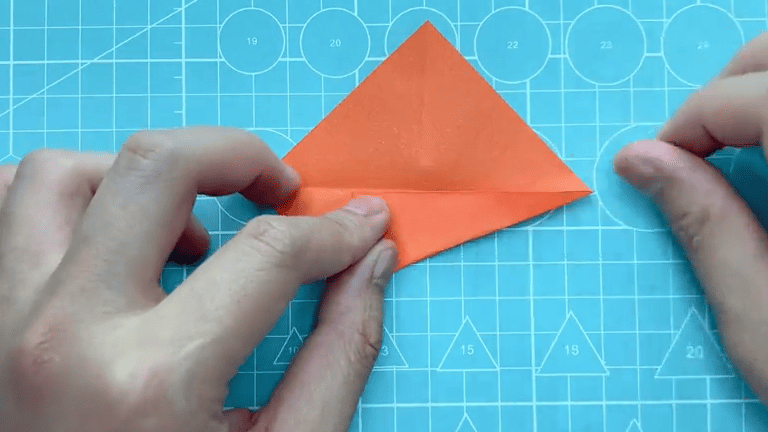
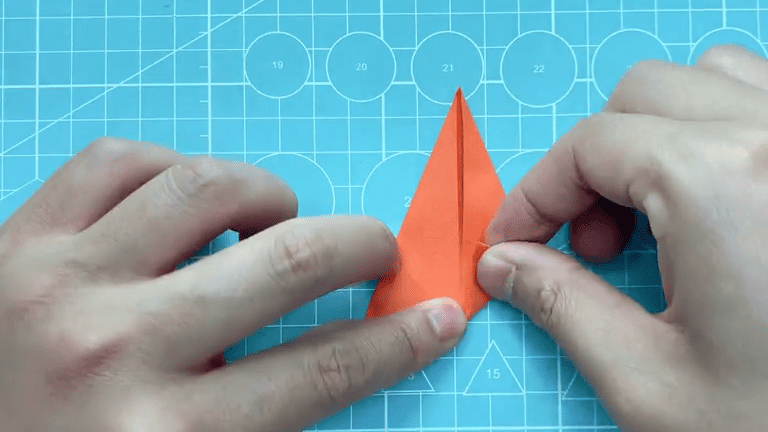
Step 7: Fold the tail part inwards.
Step 8: Then unfold it again.
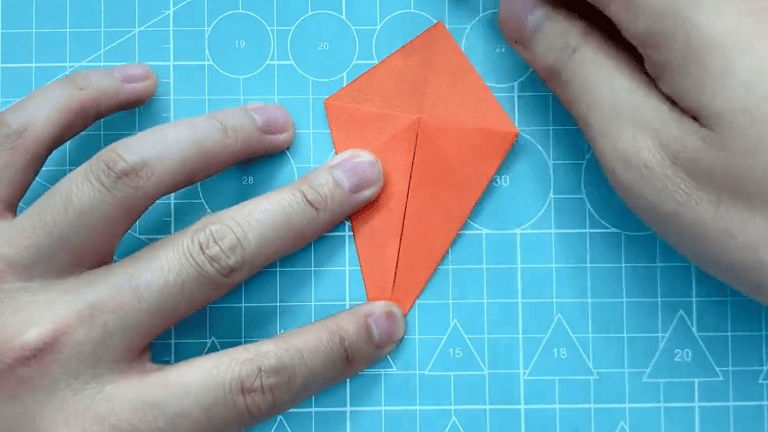
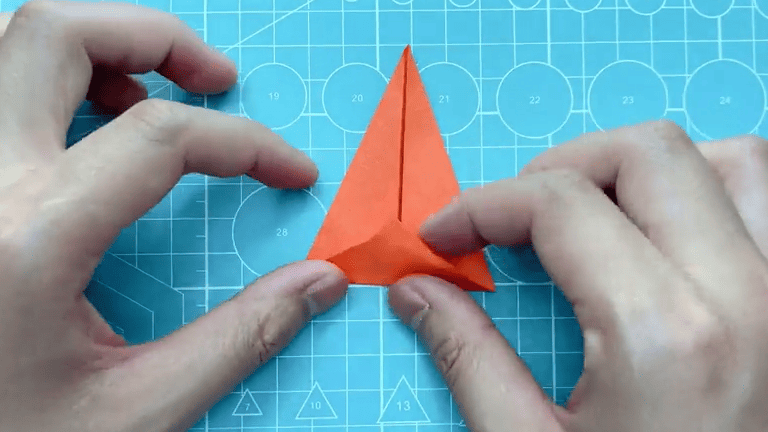
Step 9: Put the tail part inside, and then close the two sides.
Step 10: Flatten it in the way shown in the picture.

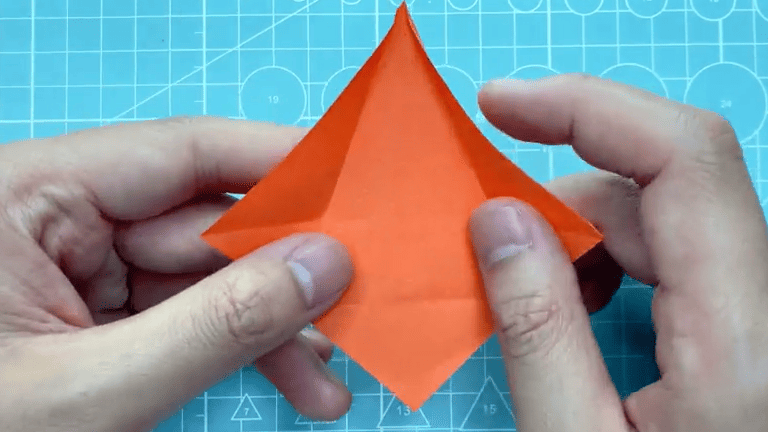
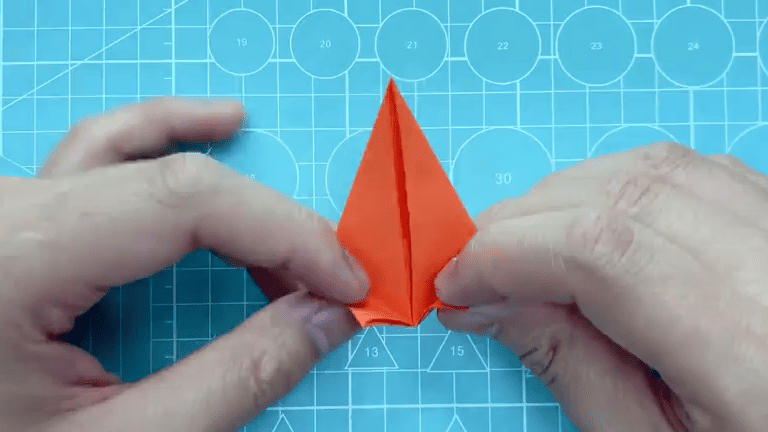
Step 11: Do it in the way shown in the picture.
Step 12: Fold both sides.
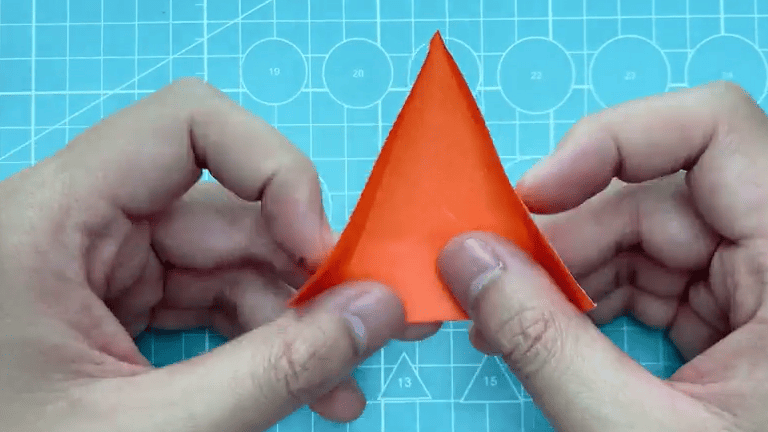
Step 13: Deform it in the way shown in the picture.
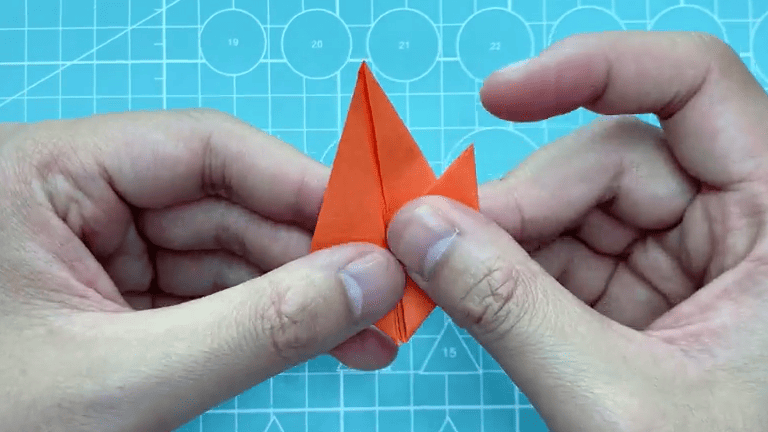
Step 14: Do the same on both sides.
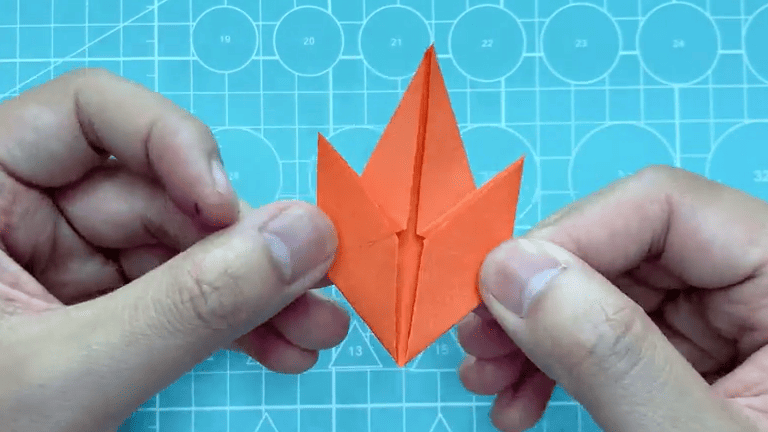
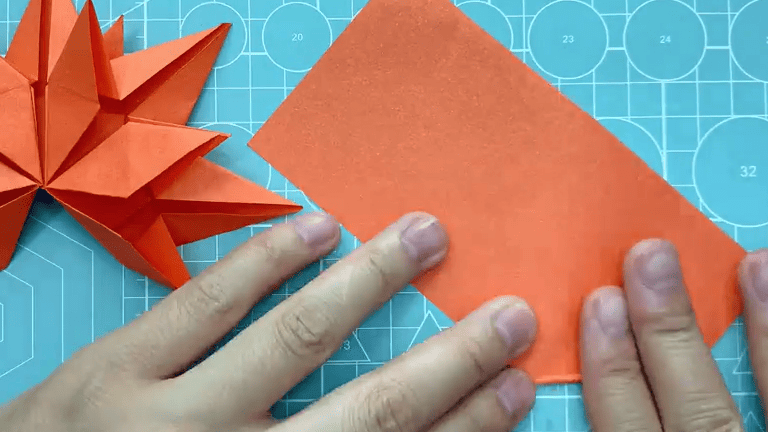
Step 15: Make four pieces using the same method.
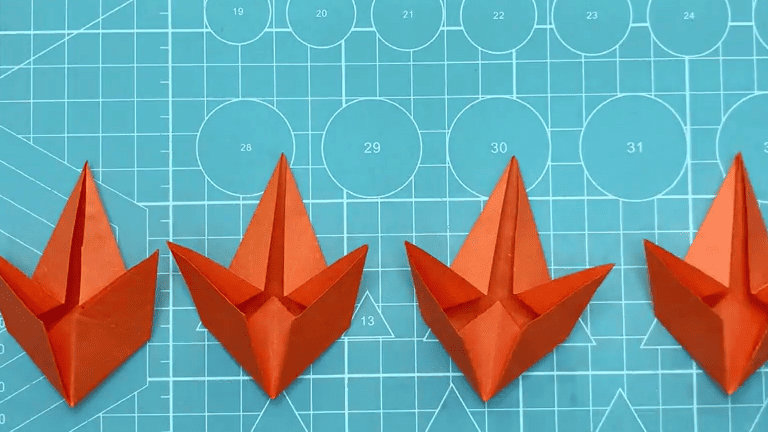
Step 16: Apply glue to one side.
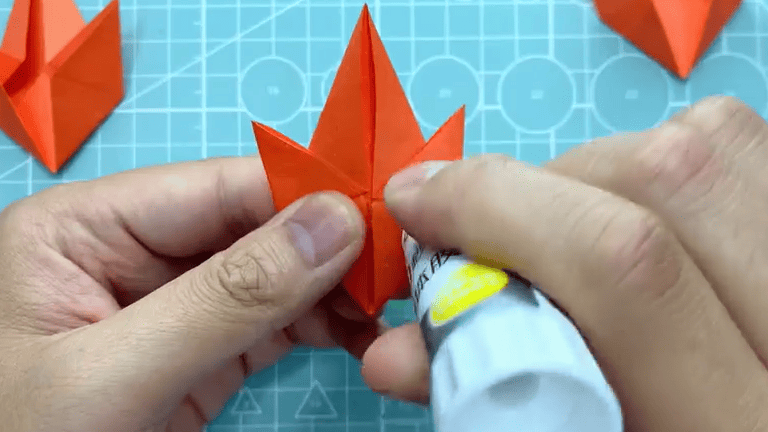
Step 17: Paste the individual leaf pieces together.

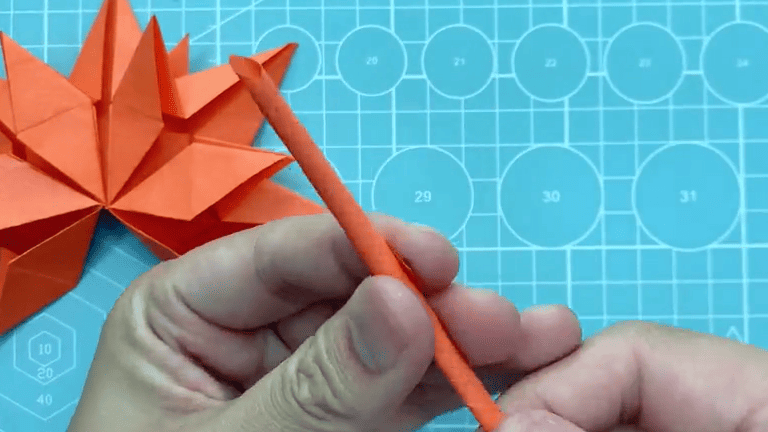
Step 18: Take another piece of paper and roll it into a small stick.
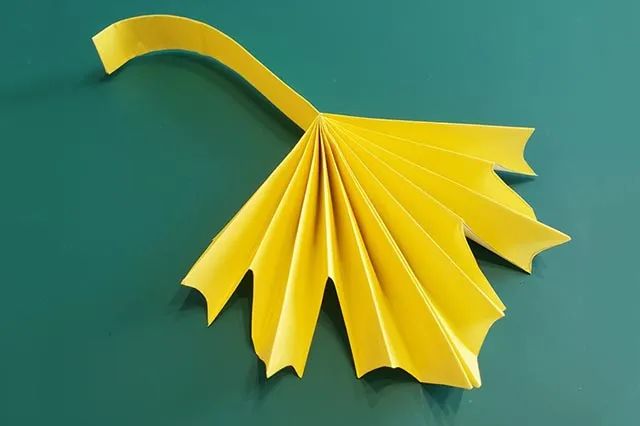
Step 19: The effect is as shown in the picture.
Step 20: Use glue to stick the small stick to the maple leaf.
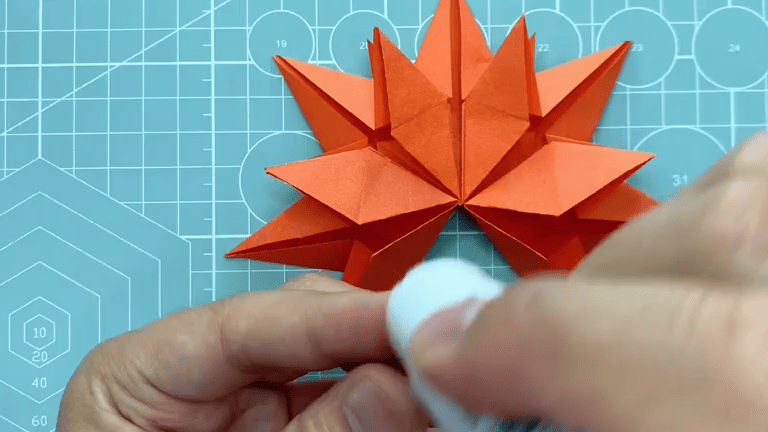
Step 21: After sticking, it looks like the picture.

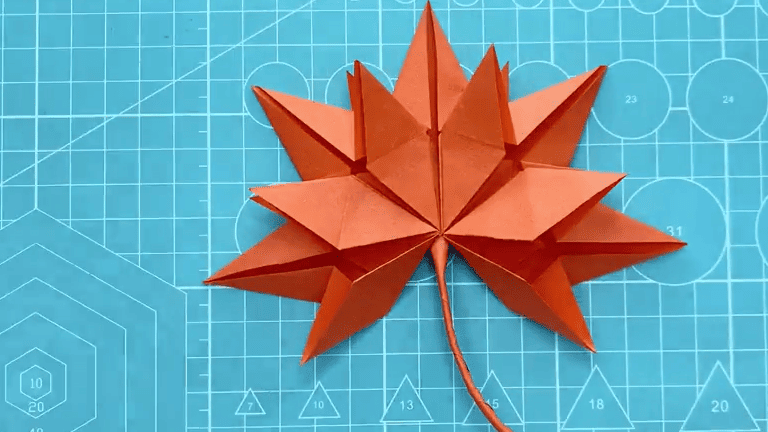
Step 22: After sticking, check if all the details are firmly glued. And a beautiful maple leaf is completed.