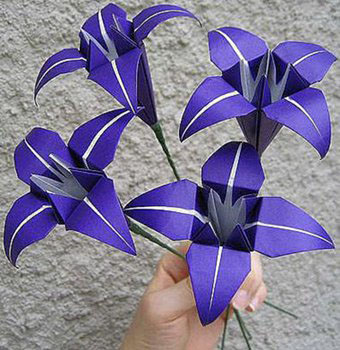
Do you want to keep the charming spring scenery at your fingertips? This simple yet beautiful cherry blossom origami tutorial makes it easy for you to do so. The tutorial features concise steps accompanied by intuitive illustrations, enabling even beginners in origami to get started quickly. From folding the paper to shaping the petals, you can create delicate cherry blossoms step by step. Whether used to decorate your room or given to friends, it is full of poetry. Embark on this romantic origami journey and let cherry blossoms bloom in your life.
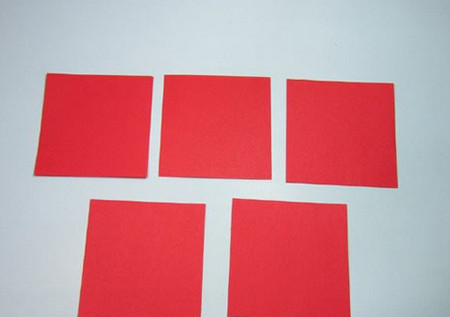
Step 1. Take out 5 square papers of the same size, each measuring 8cm * 8cm.
Step 2. Take one of them and fold it diagonally from one corner to the opposite corner.

Step 3. Then fold the left and right corners upwards to align with the top corner.

Step 4. Fold the two middle sides outwards to align with the two outer slanted sides.

Step 5. Then unfold the overlapping parts on both sides and expand them from the inside.
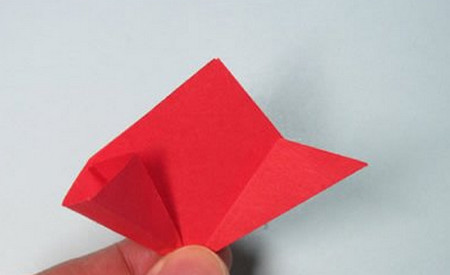
Step 6. Press it flat along the creases. It should look like the picture after completion.

Step 7. Look at the two exposed corners on the left and right sides and fold them inwards.

Step 8. Fold the two outermost slanted sides at the bottom inwards along the creases to get two small triangles.

Step 9. Apply glue to the two small triangles and roll them up to stick together.

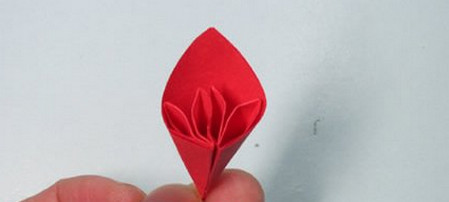
Step 10. Expand the four inner corners, and one cherry blossom petal is folded.
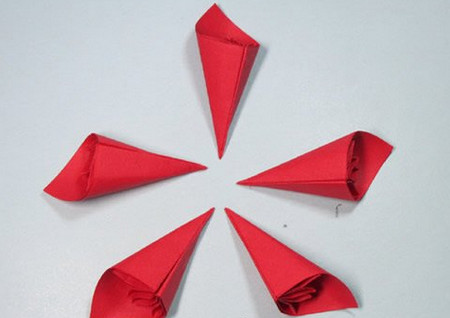
Step 11. Continue and fold the other 4 papers into petals as well.
Step 12. Stick double - sided tape in the middle of the closed side of each petal.

Step 13. First, stick two petals together. It should look like the picture after completion.

Step 14. Stick the remaining 3 petals on. Finally, adjust the petals and stamen, and a beautiful origami cherry blossom is completed!