In the world of children's handicrafts, the lovely green sprout is a symbol of vitality and hope. This simple origami green sprout tutorial allows children to embark on a creative journey with ease. Every step, from folding to shaping the paper, is clearly illustrated. Not only can children exercise their hands - on skills, but they can also experience the vibrant power of life. Come and join your children to witness the green sprout breaking through the soil in the art of paper - folding.

Fold the two short sides together and then unfold, as shown in the figure:

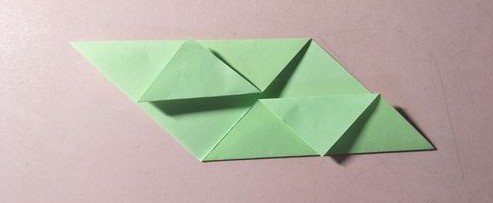
Fold the lower - right corner and the upper - left corner towards the opposite sides respectively, as shown in the figure:


Fold the two corners back to the sides respectively, as shown in the figure:
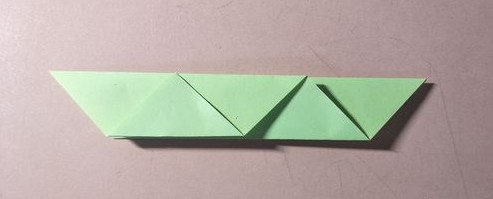
Flip the paper over and fold the lower side towards the upper side, as shown in the figure:

Fold the left and right sides together and then unfold, as shown in the figure:

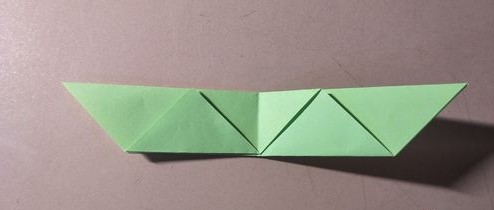
Fold the two sides upwards with the lower end of the short mid - line as the vertex, as shown in the figure:

Repeat the above step for the left and right sides again, as shown in the figure:
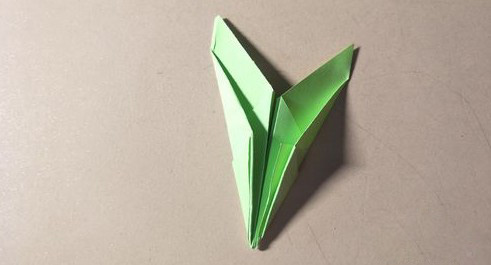
Fold the left and right sides together and use glue to fix the connected part in the middle, as shown in the figure:
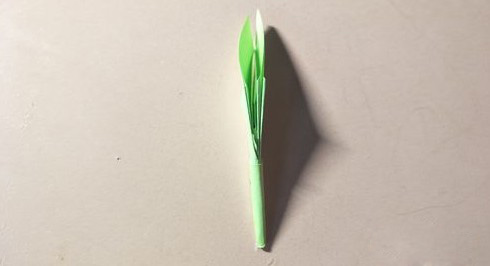
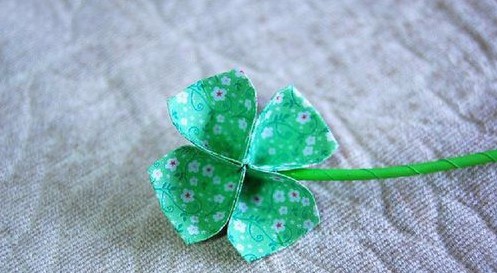
Open the two upper corners, pinch them into a round shape and then shape it. A green sprout is folded.