In legend, the four - leaf clover brings good luck. Now, with just a few finger movements, you can fold this symbol of luck by yourself! This four - leaf clover origami tutorial is extremely simple, and even a beginner in origami can easily follow it. Every step is accompanied by clear illustrations, guiding you from paper cutting to delicate shaping, and finally folding a vivid four - leaf clover. Quickly follow the tutorial and let good luck bloom at your fingertips.
First, fold the paper in half.

Then fold it in half again.
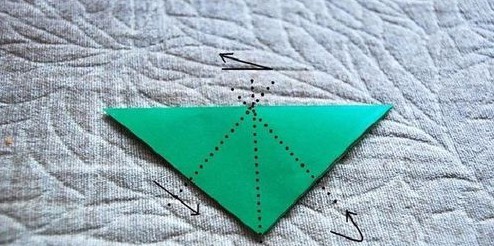
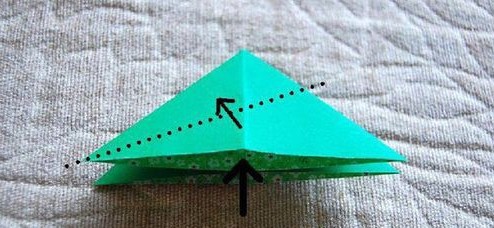
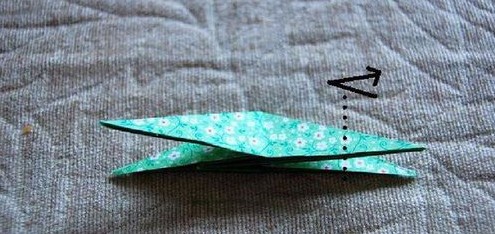
As per the dotted lines shown in the figure, fold the left corner backwards and the right corner forwards.
Then open it from the bottom to form an umbrella shape.
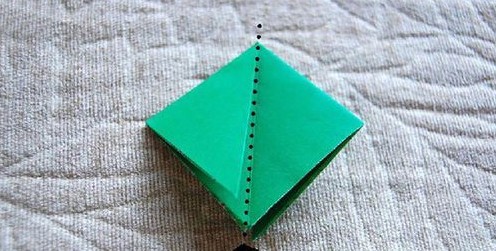
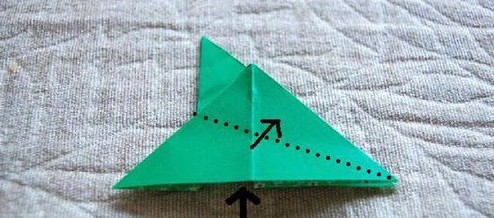
Fold it according to the dotted lines.

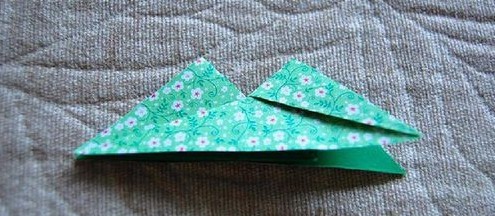
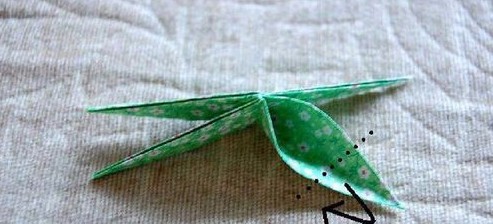
Flip it over and fold it again according to the dotted lines.
You will get the shape as shown in the following figure.
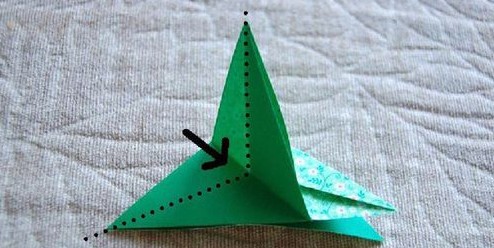
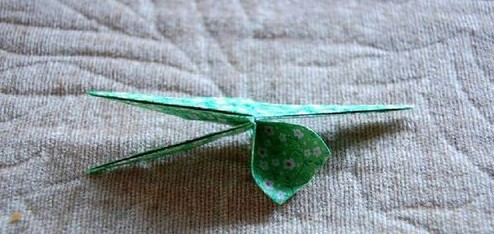
Open the origami from the side, fold the outer edge inwards, and after folding, restore the opened part.

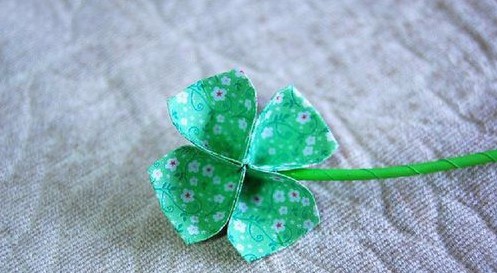
Then open one of the four leaves of the four - leaf clover and fold the tip backwards. Repeat this four times.
Finally, insert a stem made by rolling a piece of green craft paper, and our four - leaf clover is completed.