In the beautiful autumn, we've captured its fleeting beauty through various painting methods. Today, we'll bring you a parent - child DIY activity to teach you how to fold a maple leaf.
Materials: 2 square origami papers (15cm x 15cm), glue, scissors, black pen or pencil
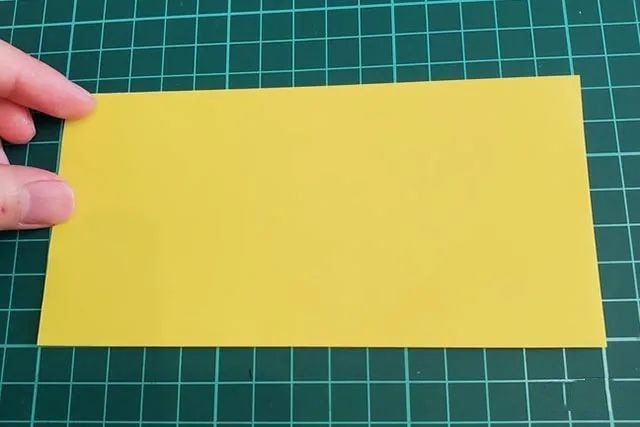
Step 1: Fold the square paper in half.
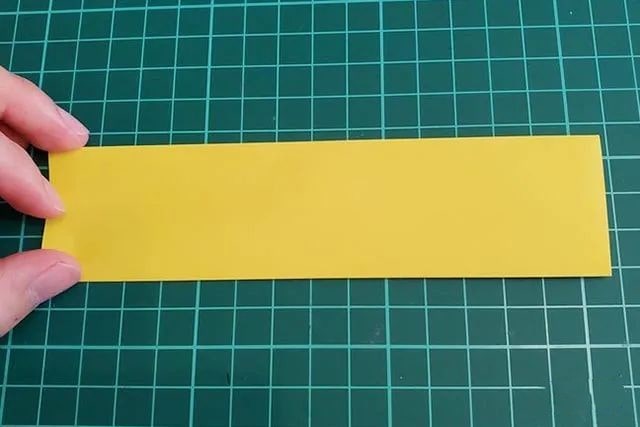
Step 2: Fold it in half again to make it one - quarter of its original width.
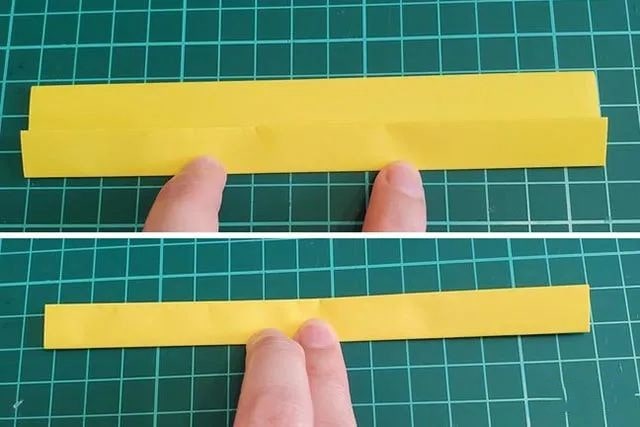
Step 3: Then fold it into thirds. First, fold one - third upwards, then fold another one - third, forming a long, thin strip.
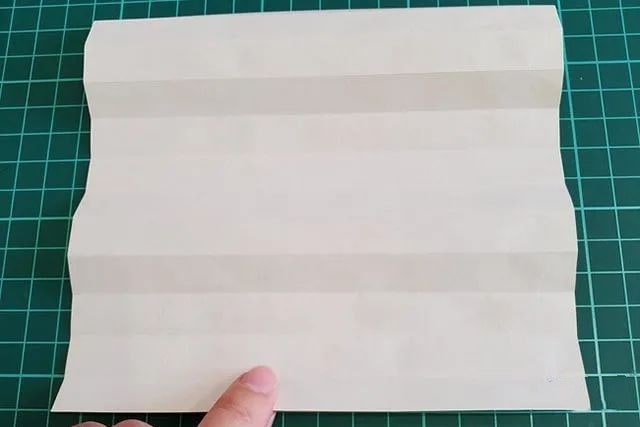
Step 4: Open the paper, and there will be folding lines on it, as shown in the figure.
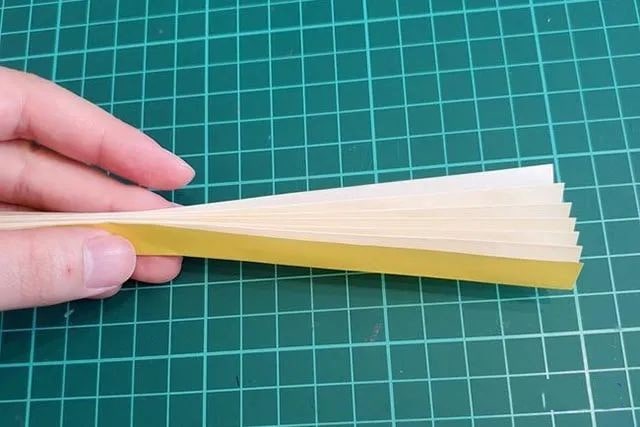
Step 5: According to the folding lines, fold the paper into an accordion shape.
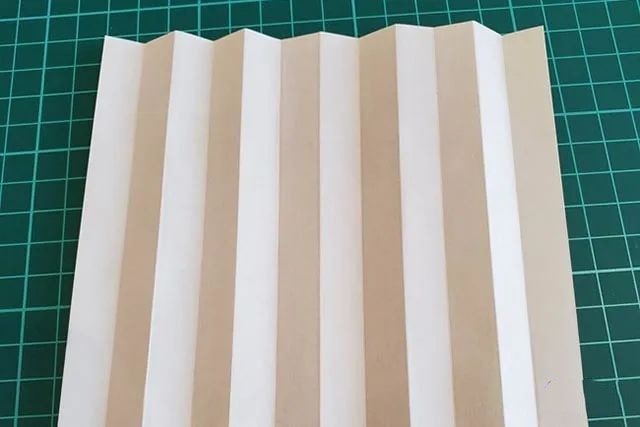
Step 6: After reopening, it will look like the figure shows, with alternating convex and concave folding lines.
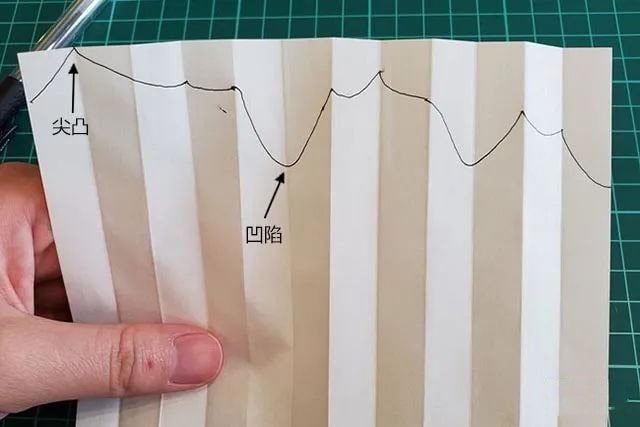
Step 7: Draw a curve as shown on one side of the paper (the side perpendicular to the folding lines). Since it will be folded into a maple leaf, the curve should not be a smooth wavy line. There should be distinct sharp protrusions and sudden depressions (both the protrusion points and depression points are on the folding lines), and the line should slope from one side to the other - for example, higher on the left side and lower on the right side as shown in the figure.
Step 8: Fold it in half again and cut off the part outside the line.
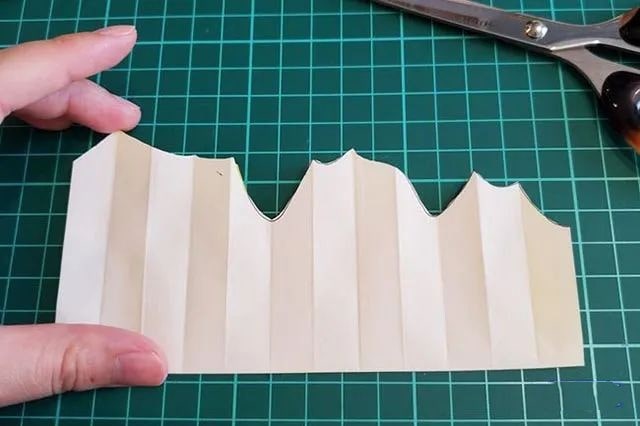
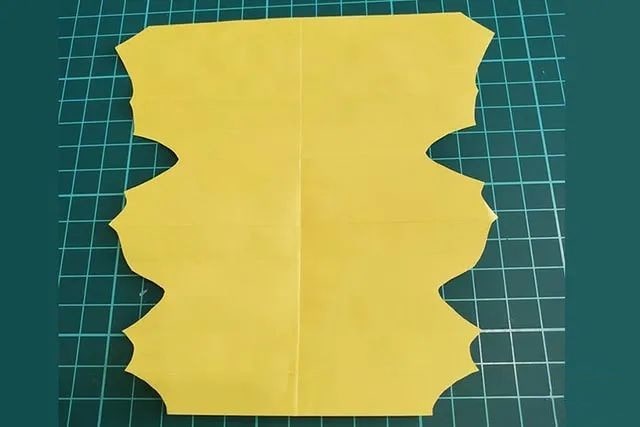
Step 9: After opening it again, the two sides are symmetrical.
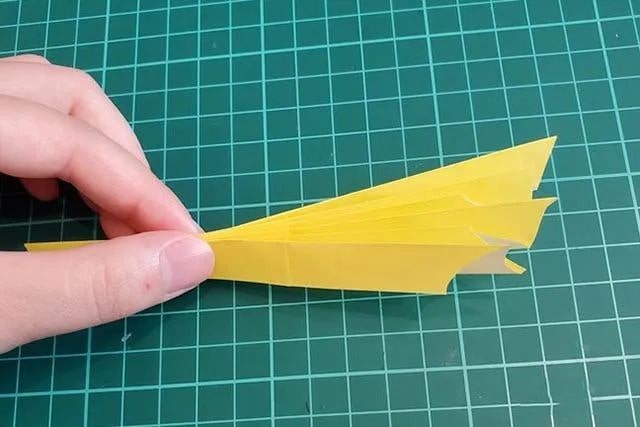
Step 10: Then fold it into an accordion shape along the folding lines once more. Because a part has been cut off, the two side edges are now uneven.
Step 11: Now, apply glue to the side, then fold it in half along the mid - line and stick the two sides with glue together. The edge of the leaf should be higher in the middle and lower on both sides.
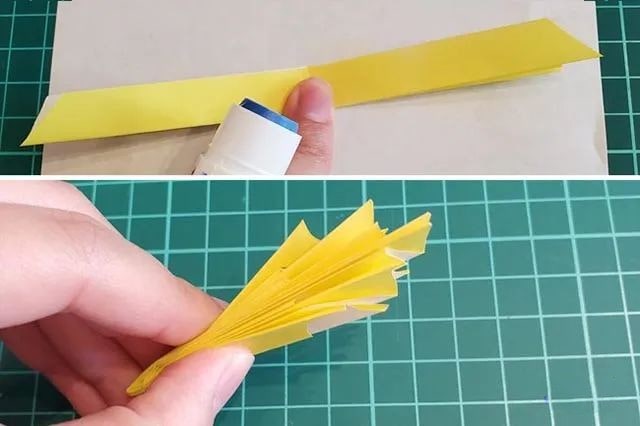
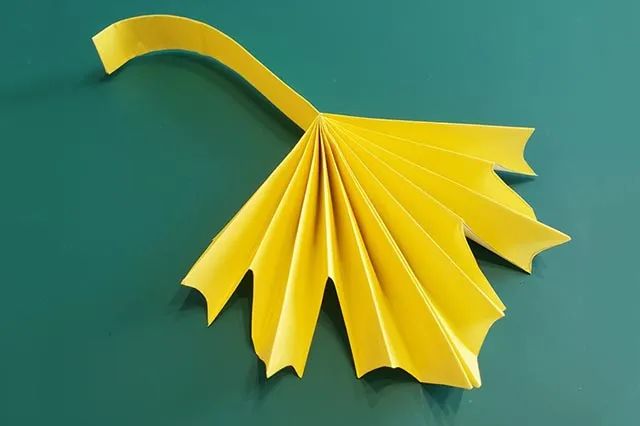
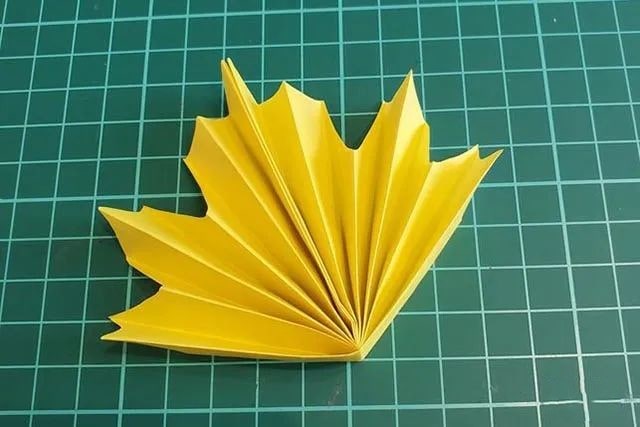
Step 12: After letting the glue dry, the appearance of a maple leaf can be seen.
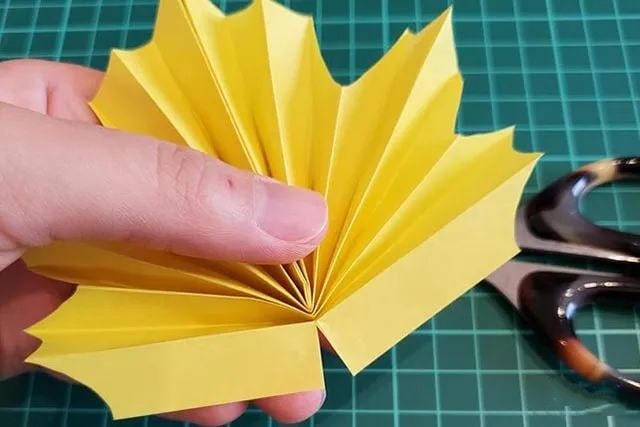
Step 13: Open one of the folded parts at the bottom of the leaf and cut a small opening in the middle. Thus, the leaf part is done. Next, we'll make the leaf stalk.
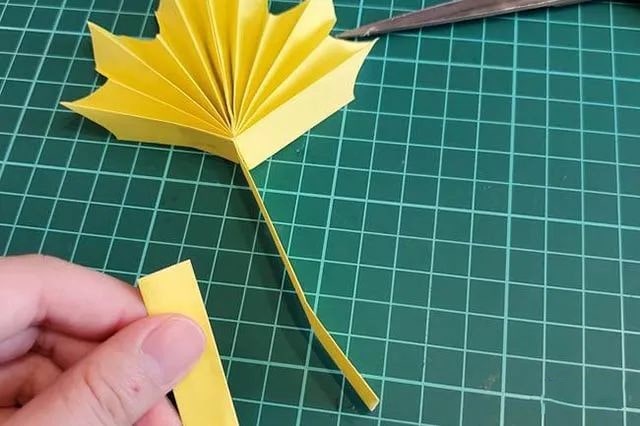
Step 14: Take another piece of paper with a width of one - quarter. Also, fold it into thirds and then into a long, thin strip. Use glue to fix it in place as the stalk.
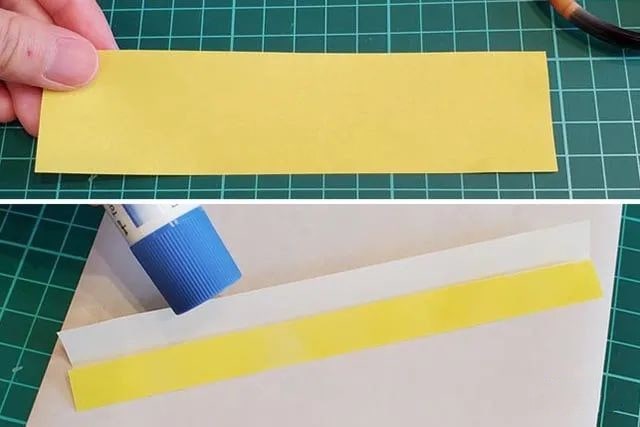
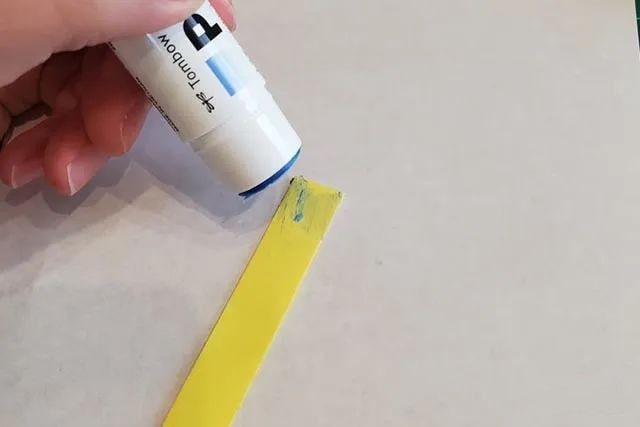
Step 15: Apply glue to both sides of the end.
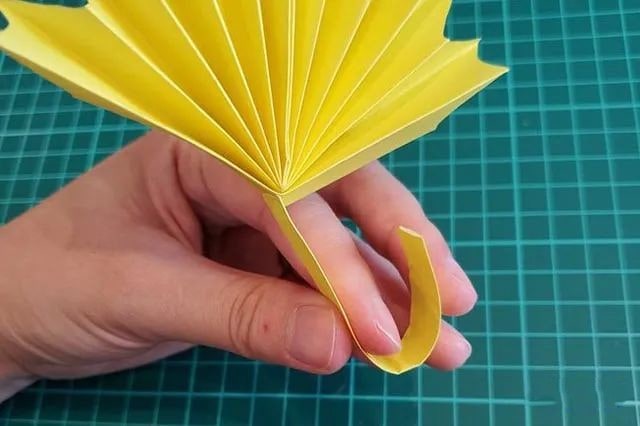
Step 16: Open the side of the leaf with the opening, then stick the part of the stalk with glue in and wrap it up again.

Step 17: If the stalk is too long, cut off a section.
Step 18: Bend the end of the stalk slightly to make it look more natural.
Step 19: An autumn leaf is completed. This simple and beautiful children's handmade leaf can be pasted with other shapes to form a painting, or it can be tied with a string and used as a decoration for the classroom or room.