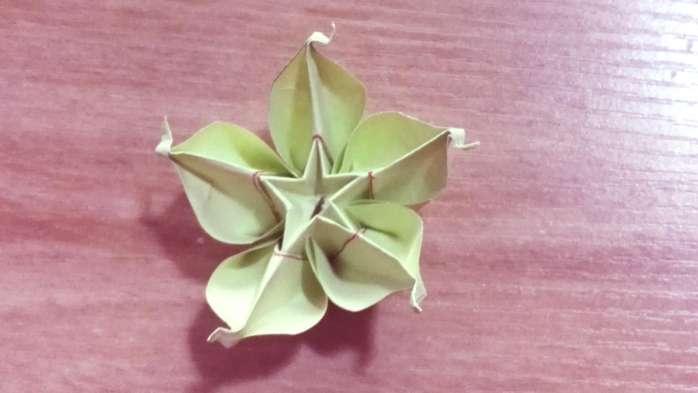
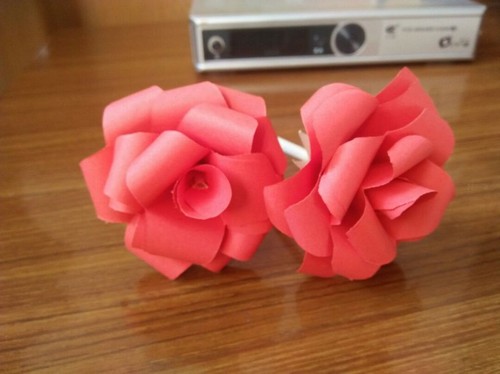
We can transform colorful sheets of paper into beautiful origami flowers, and then skillfully combine them into a flower bouquet. Now, let's share the illustrated tutorial for a mini origami flower bouquet.

Step 1: Select a square piece of origami paper. Fold the paper along two pairs of opposite sides and two diagonals to create a "rice - shaped" (criss - cross) crease pattern. Then unfold it, as shown in the figure.

Step 2: Fold the paper along opposite sides to form a rectangle. Place it as shown in the figure. Fold the two corners of the non - open side at the top inwards along the existing creases to form a triangle with inward folds, as shown.


Step 3: This triangle has two layers and four corners. Flip up one of the corners and fold it towards the perpendicular line, as shown.

Step 4: Unfold this corner and press it towards the perpendicular line along the existing crease, as shown.

Step 5: Fold the two adjacent corners upwards, as shown.

Step 6: Flip the paper over and unfold it. At this point, a square crease pattern will appear, as shown.


Step 7: Fold the corner at the bottom vertex towards the diagonal of the square, and then fold it back halfway, as shown.


Step 8: After restoring the parts folded in steps 4 - 5, it will look like the figure shown.

Step 9: Open up the inside of the vertical corner and press it down. One component is folded, as shown.


Step 10: Fold the other four components according to the above steps, as shown.

Step 11: Now comes the combination step of the components. Combine the components as shown in the figure. You can use glue to fix the connected parts.



Step 12: Finally, connect the beginning and the end, adjust the inside of the flower bouquet, and a mini flower bouquet is folded. Isn't it beautiful?
