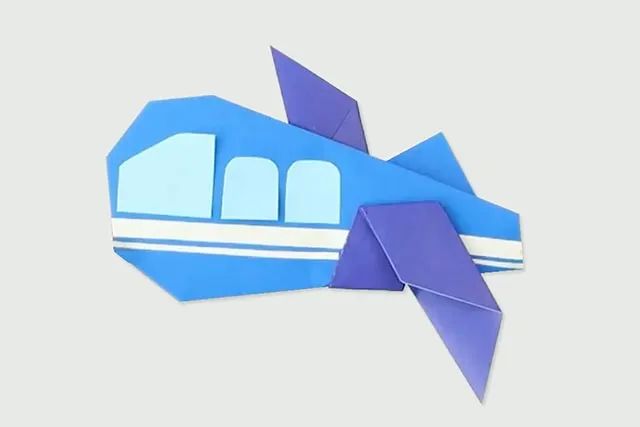
Paper airplanes are a type of origami that kids really love. Today, we're going to teach you how to make a simple paper - folded airplane by hand. This is one of the easier versions in the realm of paper - airplane folding. Its wings are folded separately and then attached, giving it a strong sense of three - dimensionality. So, how do you fold a three - dimensional paper airplane?
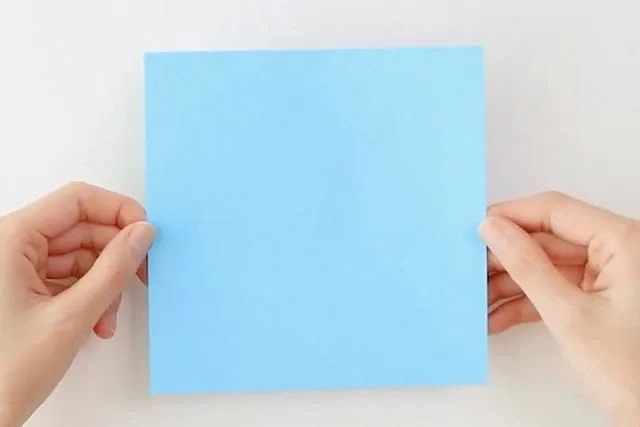
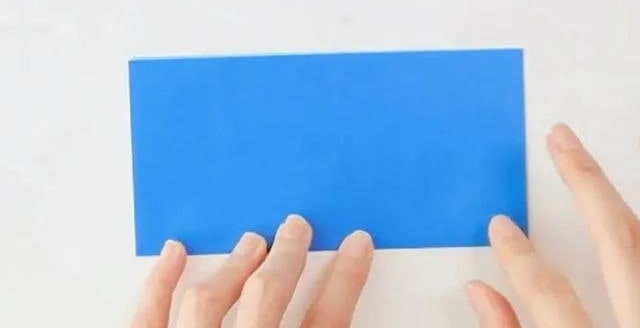
Step 1: First, fold the body part of the plane. Select one square sheet of paper.
Step 2: Fold it in half along the horizontal mid - line to form a rectangle. As shown in the figure, the crease is at the bottom and the opening is at the top.
Step 3: Fold the upper - left corner downwards, with the tip of the corner slightly extending beyond the bottom edge.
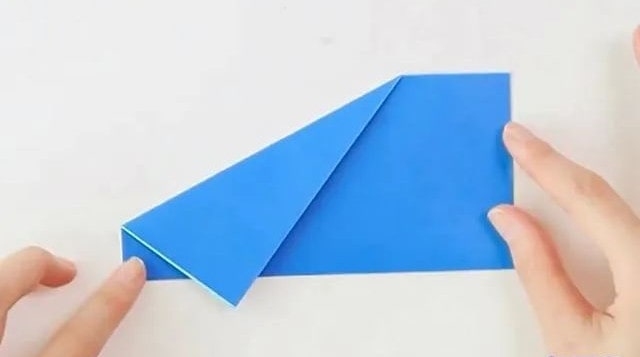
Step 4: Then fold it upwards in the opposite direction, making the corner protrude from the edge.
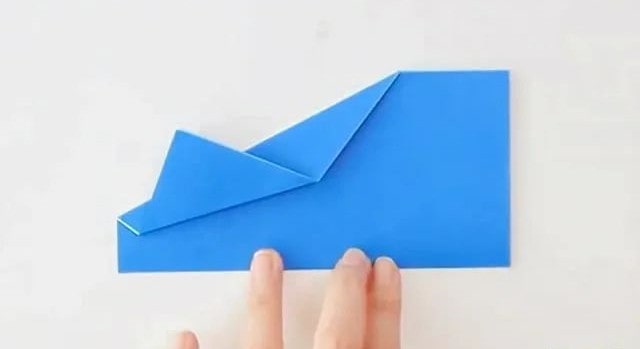
Step 5: Fold the two right - hand corners inwards respectively to form isosceles right - angled triangles. They just need to be approximately the same size.
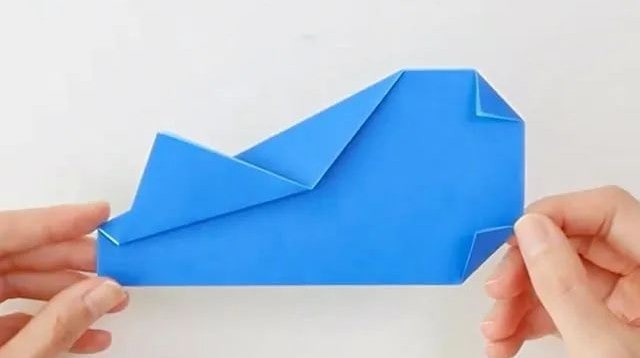
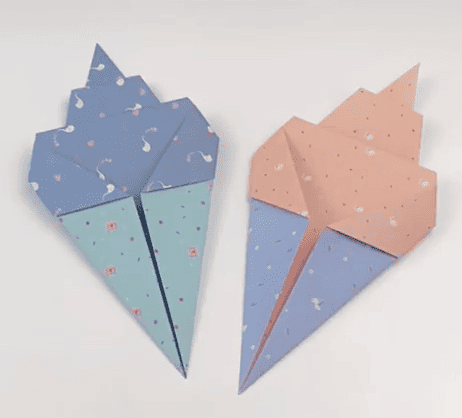
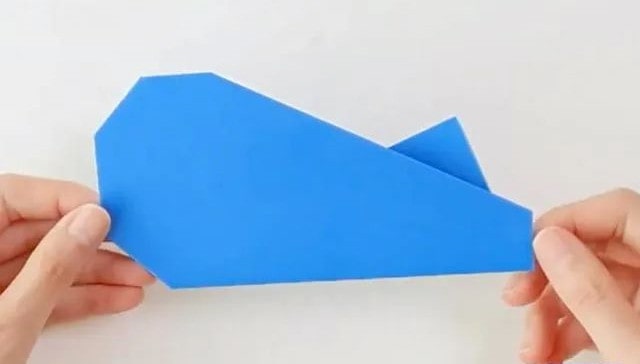
Step 6: Flip it over. This is the shape of the plane's fuselage. It also kind of looks like a whale. Kids might as well draw details like eyes and a mouth on it and have a try.
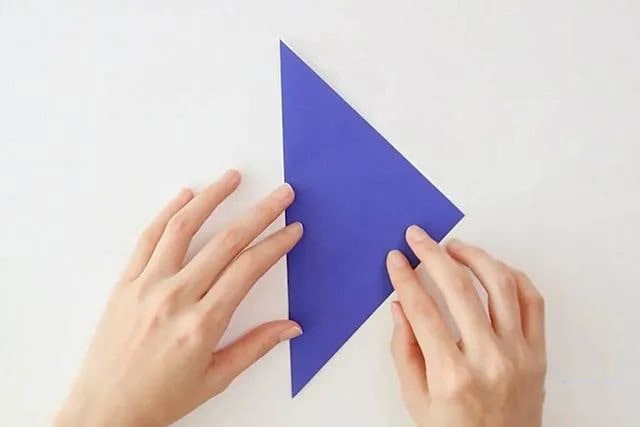
Step 7: Take the other square sheet of paper and fold it along the diagonal to form an isosceles right - angled triangle.
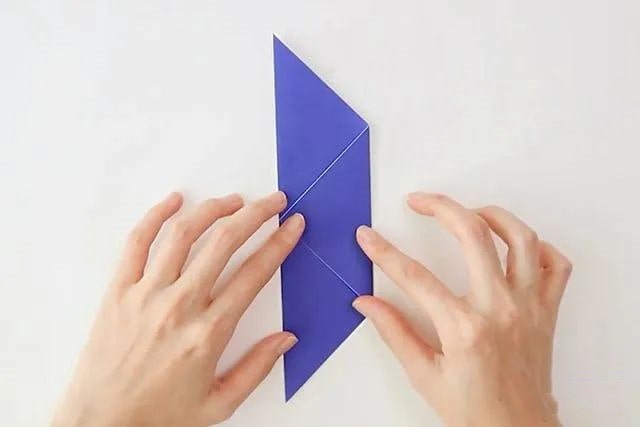
Step 8: Fold the right - angle towards the mid - point of the bottom edge.
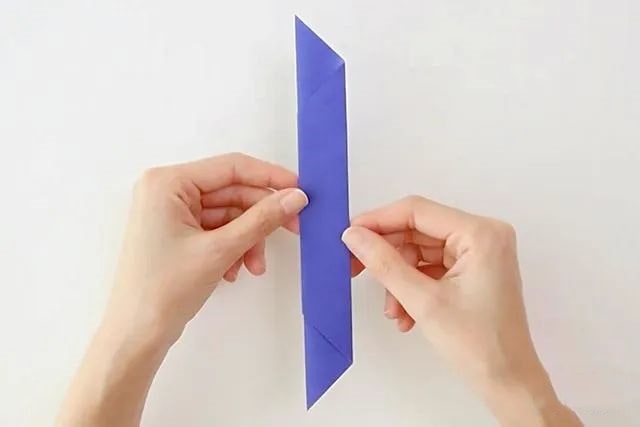
Step 9: Fold it from left to right, and it becomes a long and thin strip at this time.
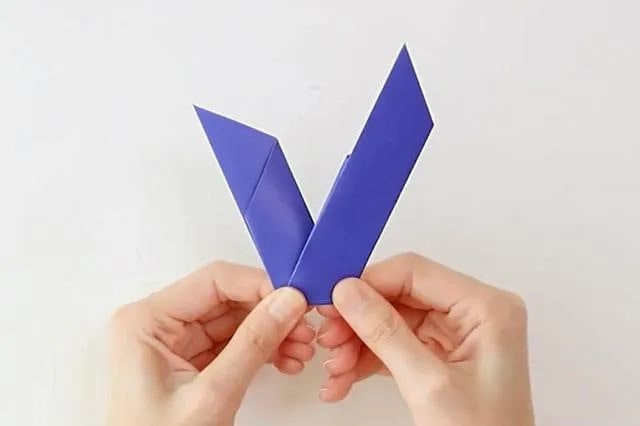
Step 10: Then fold it from bottom to top into a V - shape, with the front side being slightly longer. This is the wing part of the plane.
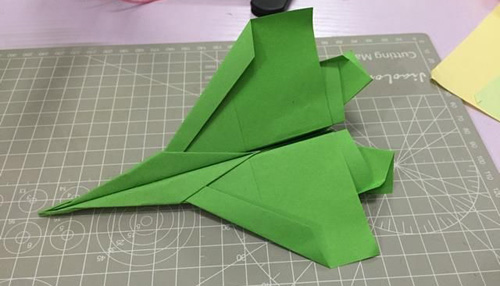
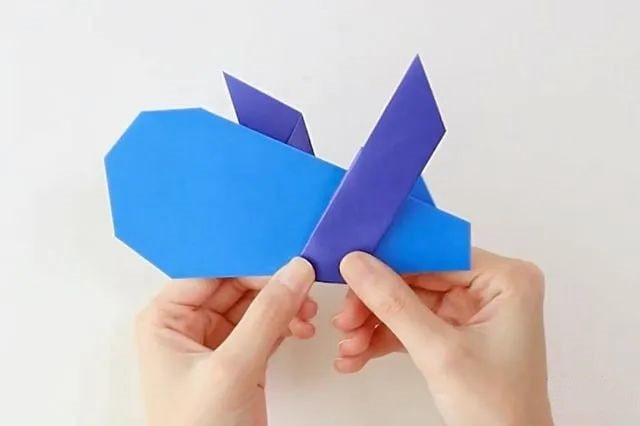
Step 11: Then put the wing over the outside of the fuselage, as shown in the figure.
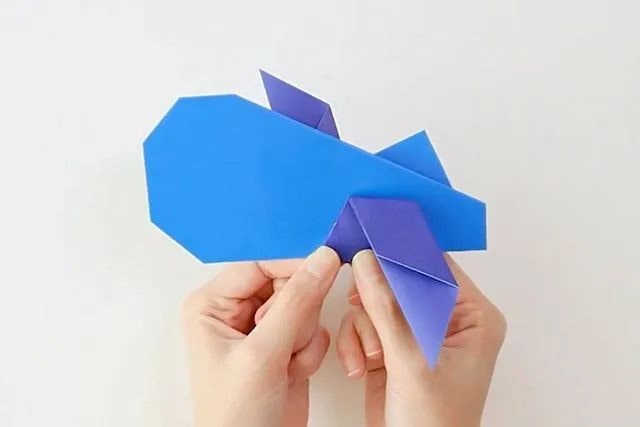
Step 12: Fold the end of the outer part of the wing downwards to form the shape of a wing.
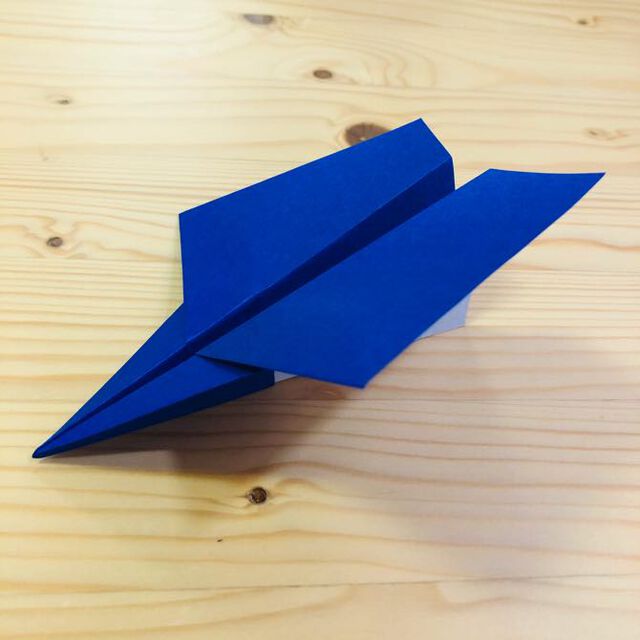
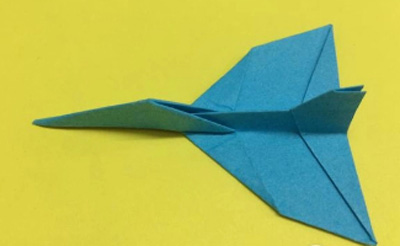
Step 13: Finally, cut out portholes and other details from craft paper of other colors, stick them on the plane's fuselage, and use glue to fix the wings to the plane's fuselage. And here comes a simple and beautiful hand - made small plane.