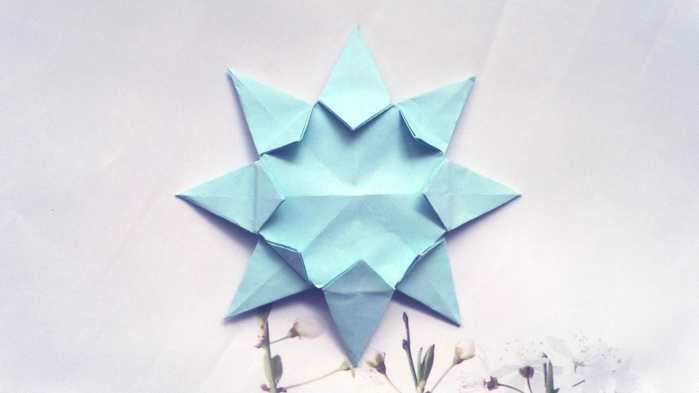
Origami five - pointed star is like a magic that captures starlight at your fingertips. With the most ordinary paper, it carries infinite imagination and creation. In the process of folding, we not only exercise the dexterity of our hands, but also feel the wonderful transformation of space and form in every precise fold. Now, let's share how to teach children to fold a simple five - pointed star.

Materials: A 14 - cm square paper, four relatively smaller papers, scissors, and a rectangular red paper.
Step 1: Fold the paper to the left along the middle line. Then, fold the upper - left corner to the right to align with the right - hand line, and fold the upper - right corner to the left to align with the left - hand line. Keep the creases.
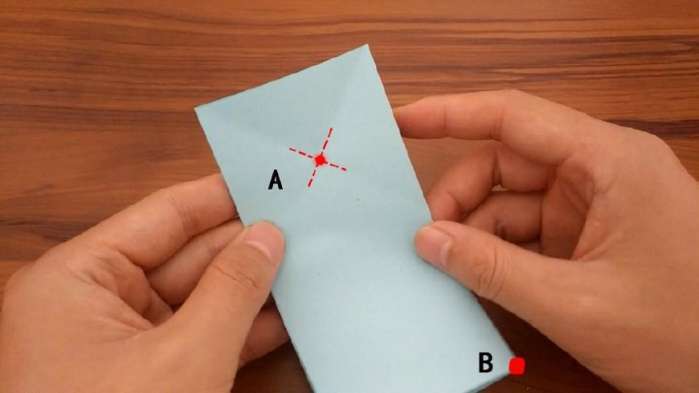
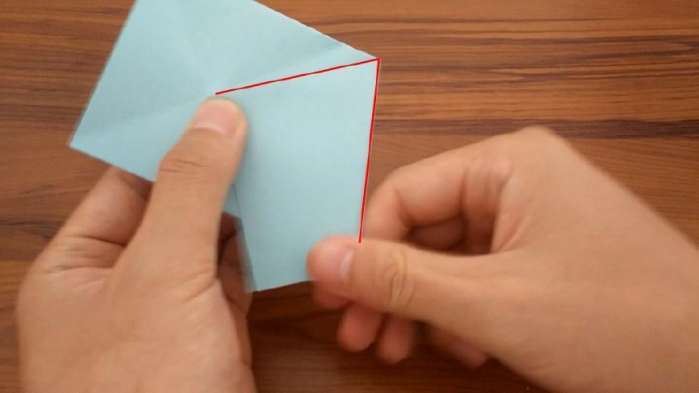
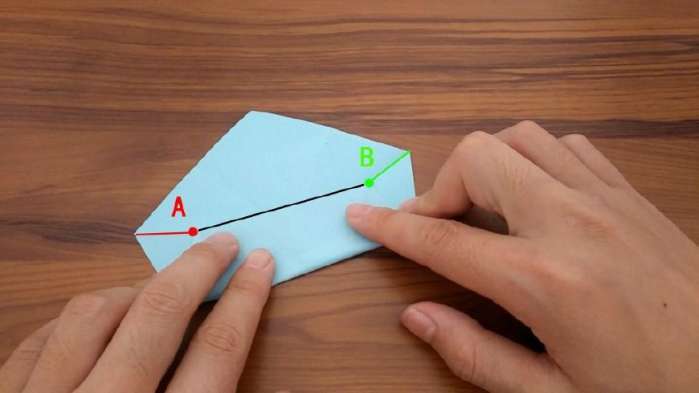
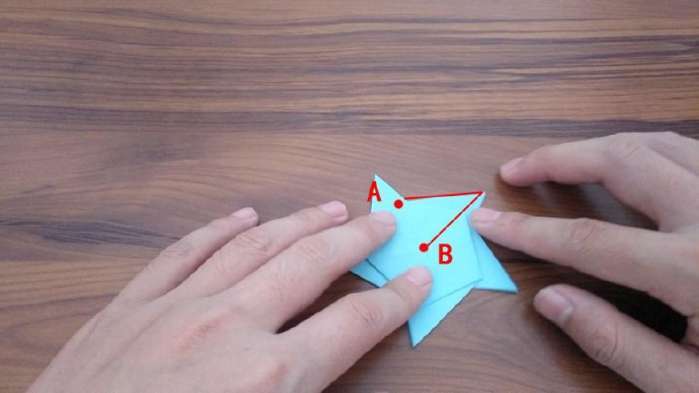
Step 2: Make points A and B in the above figure coincide.
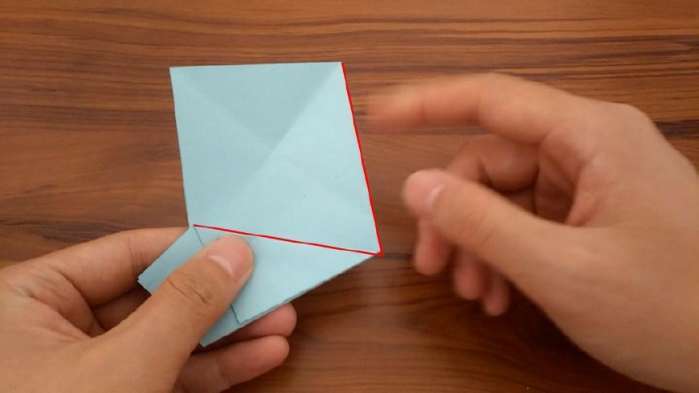
Step 3: Make the two red lines in the above figure coincide.
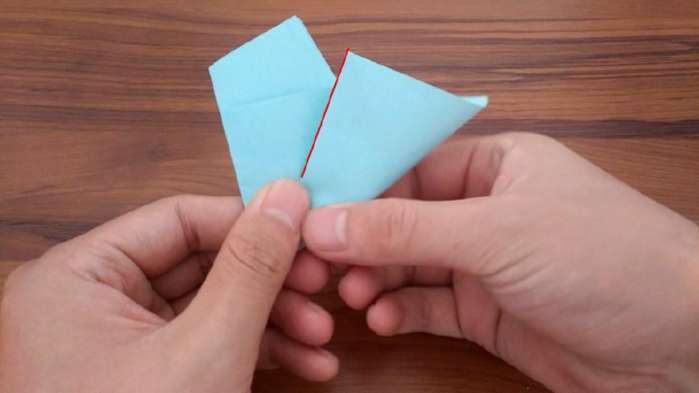
Step 4: Make the two red lines in the above figure coincide.
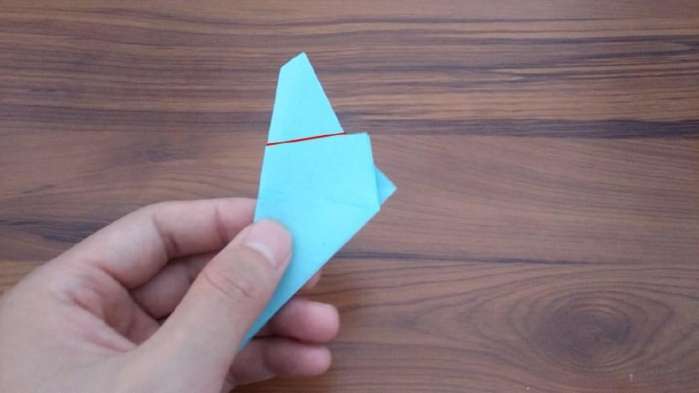
Step 5: Fold the paper downwards with the red line in the above figure as the mid - line.
Step 6: Cut along the red line in the above figure with scissors. Then fully unfold the paper, as shown in the figure below.
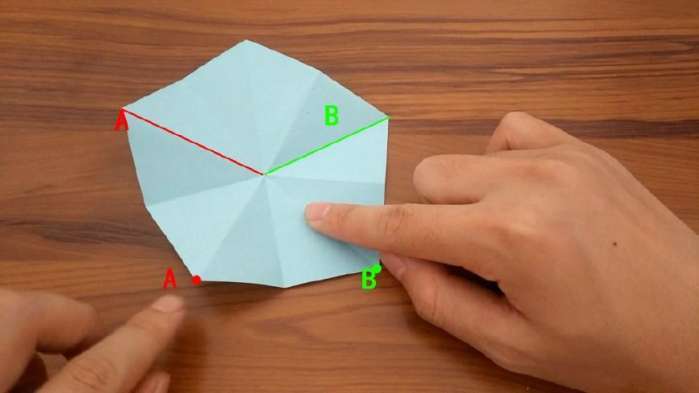
Step 7: Align point A in the above figure with line A, and point B with line B, and keep points A and B in a straight line. Do this for each side and make creases.
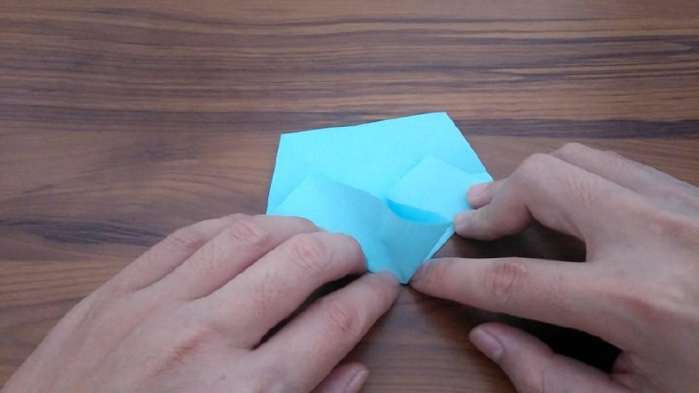
Step 8: Fold two adjacent sides, make the middle part bulge, and then fold it to the right. Do this for every adjacent side and make creases, as shown in the figure.
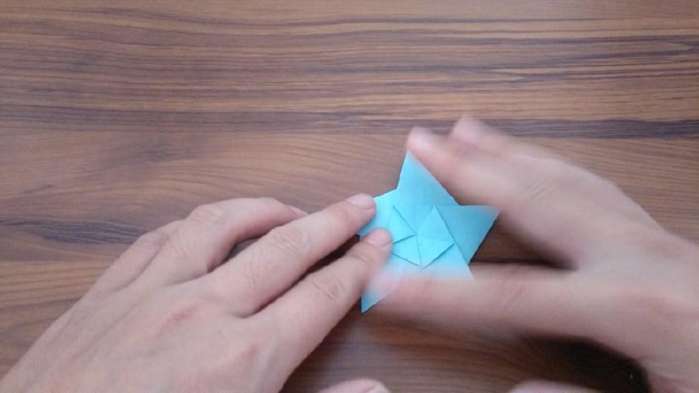
Step 9: Stand all the bulging parts up, and then slowly press them down to the right. It will form the shape shown in the figure below.
Step 10: Turn it over. Point A should coincide with point B, and the two red lines should also coincide.
Step 11: Fold all five corners in the same way, and you will get a five - pointed star.