Do you want to create a sweet and refreshing treat with your own hands this summer? Here comes the origami ice - cream tutorial! No complicated tools are needed. All you need is a piece of colored paper. Follow the simple steps, and you'll be able to fold a realistic - looking ice - cream. From basic folding to detail shaping, every step is clear and easy to understand. Quickly pick up the colored paper and follow the tutorial to create this cool and sweet delight of summer by yourself!
Origami Tutorial for Ice cream
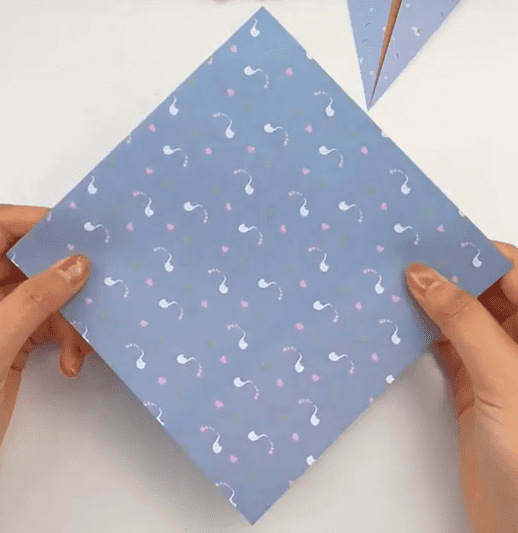
Step 1: Take a square piece of paper.
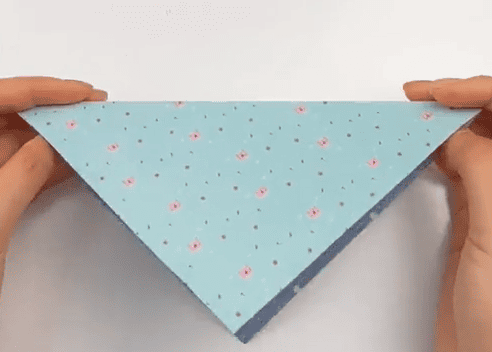
Step 2: Fold the paper diagonally.
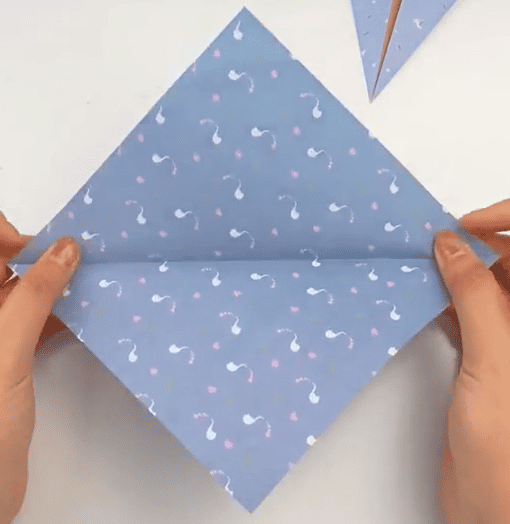
Step 3: Unfold the paper.
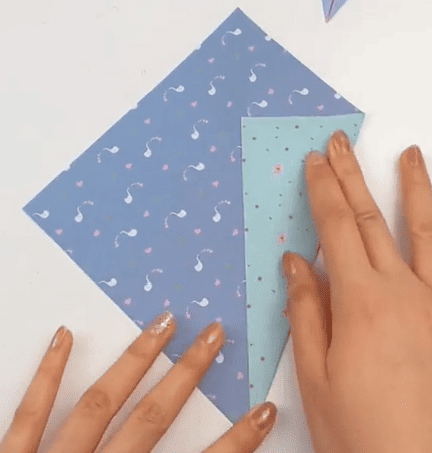
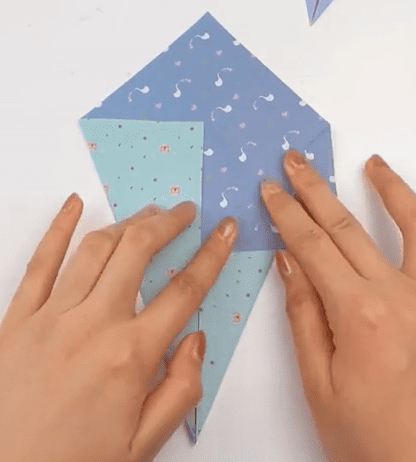
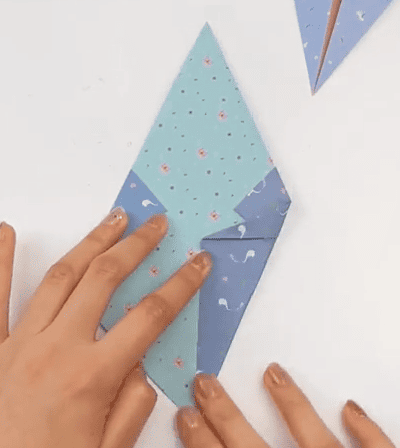
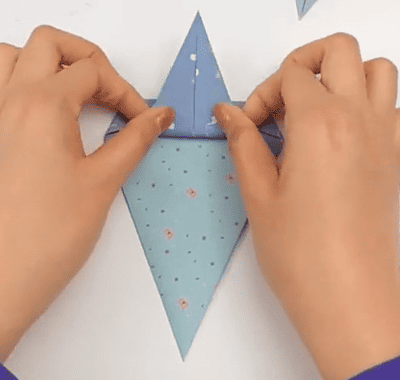
Step 4: Fold both sides inwards along the crease line.
Step 5: Then fold back the upper part at a 90 - degree angle. Do the same on both sides.
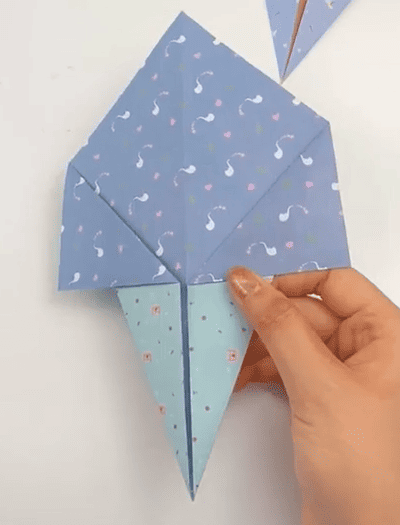
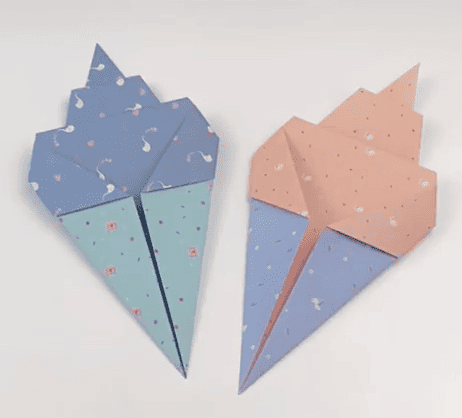
Step 6: You'll get an effect like this in the picture.
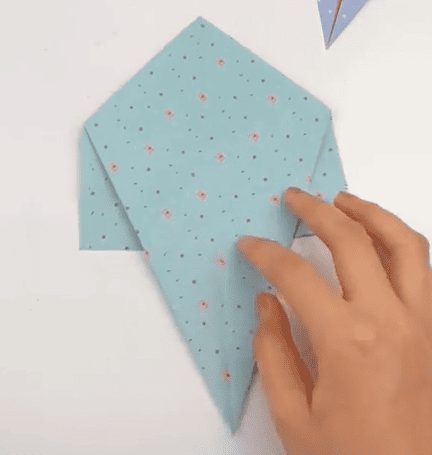
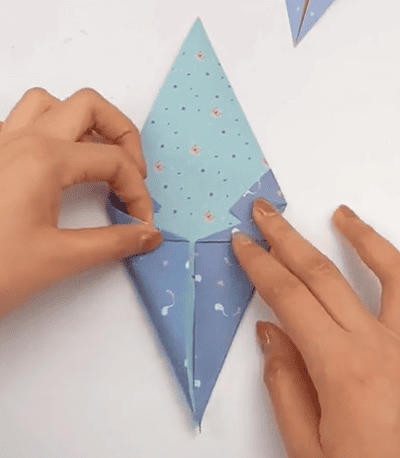
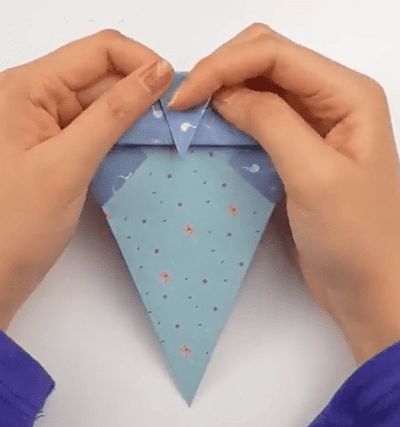
Step 7: Turn it to the back side.
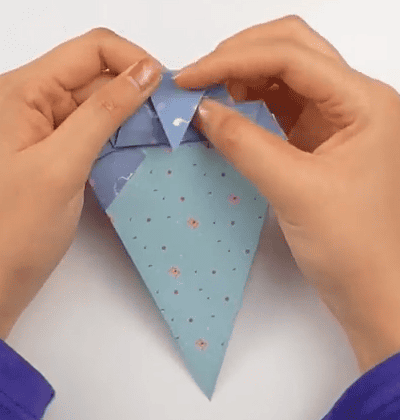
Step 8: Fold in the excess part folded in the previous step.
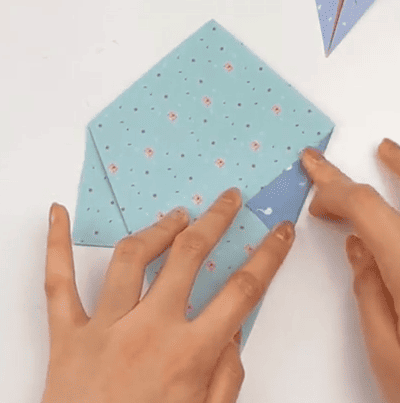
Step 9: Do the same on both sides.
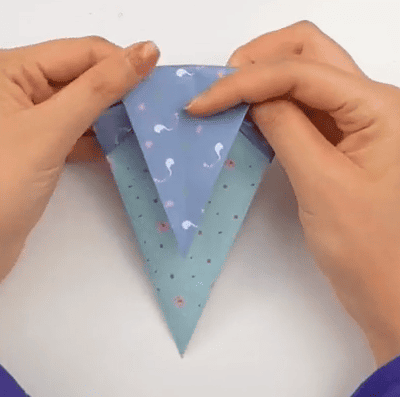
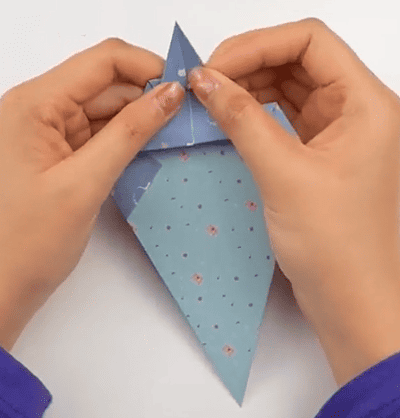
Step 10: Fold the two sides of the larger end inwards to align with the center line.
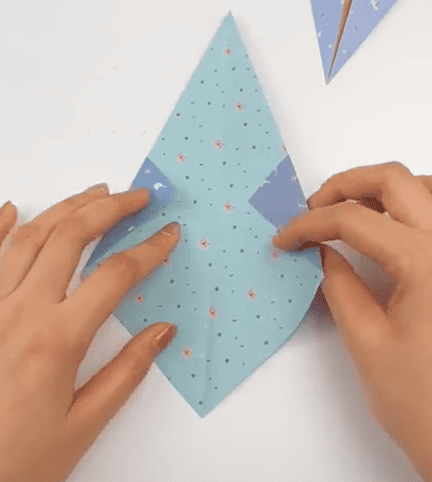
Step 11: Do the same on both sides.
Step 12: Fold the upper part to the back.
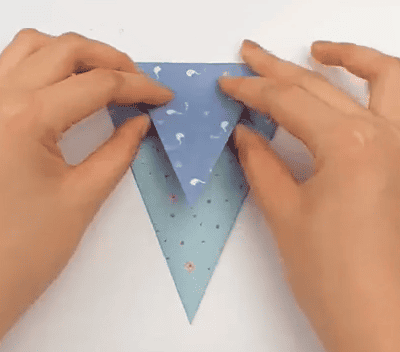
Step 13: For the following operations, fold it several times repeatedly.
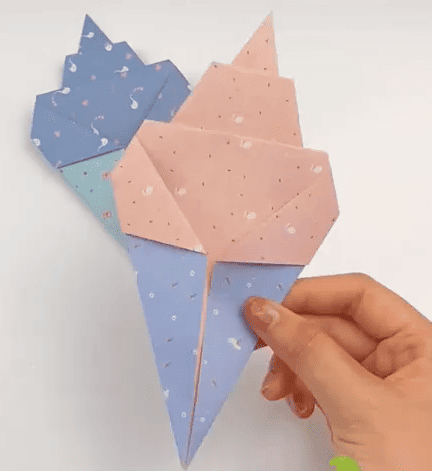
Step 14: A beautiful ice - cream is folded.