Do you want to add a special touch to festivals or your daily life? Come and try making an origami lantern! This tutorial will guide you to fold a beautiful lantern with simple materials through clear steps. From basic paper folding to creating a unique shape, every step is explained in detail. Get your colored paper ready and follow the tutorial to start folding. The lantern you make can convey beauty and warmth whether it's used to decorate your home or given as a gift.

Materials: Two square pieces of paper, one large and one small (red and yellow), a thin paper string (or similar thin string), glue, scissors
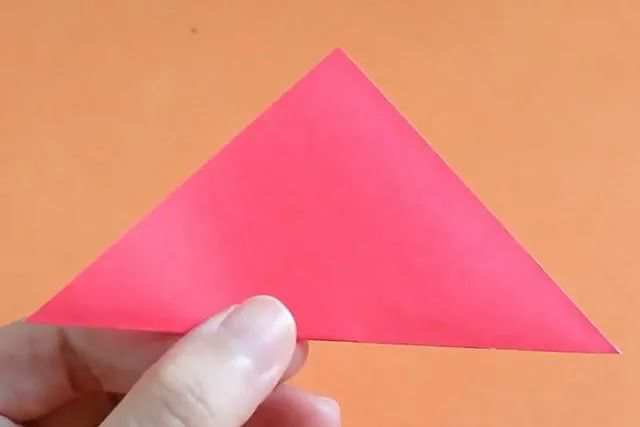
Step 1: First, fold the main body of the lantern. Take the large red square paper and fold it along one diagonal to form a right - angled triangle.
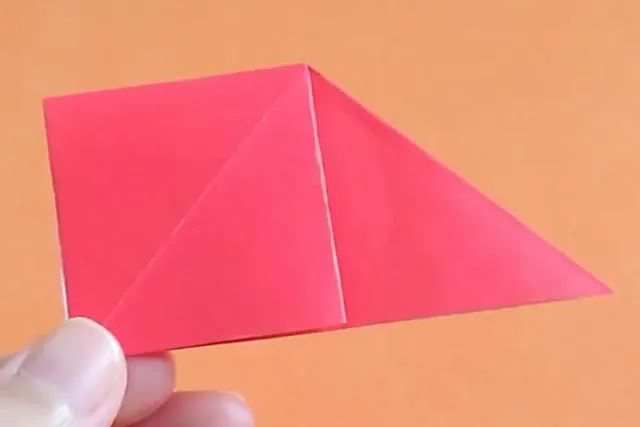
Step 2: Then fold it along the altitude to the hypotenuse on both sides to form a right - angled triangle that is one - quarter the size of the original.

Step 3: After folding, open the two triangles on both sides of the altitude.

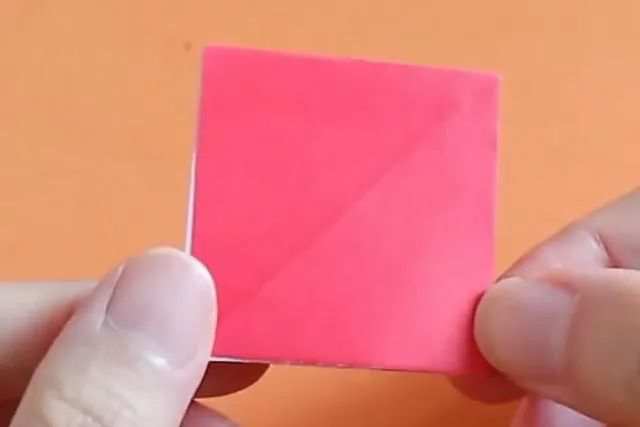
Step 4: Then press the base edge down to form a small square.
Step 5: Use the same method on the other side to press it into a small square. At this point, the origami consists of two overlapping squares.
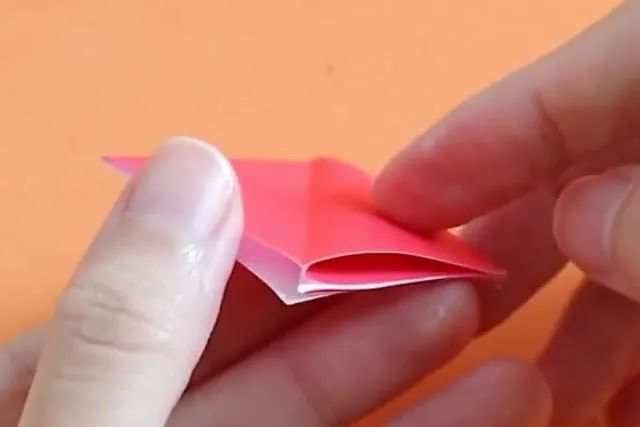
Step 6: Place the center point of the paper at the top and the open end at the bottom.

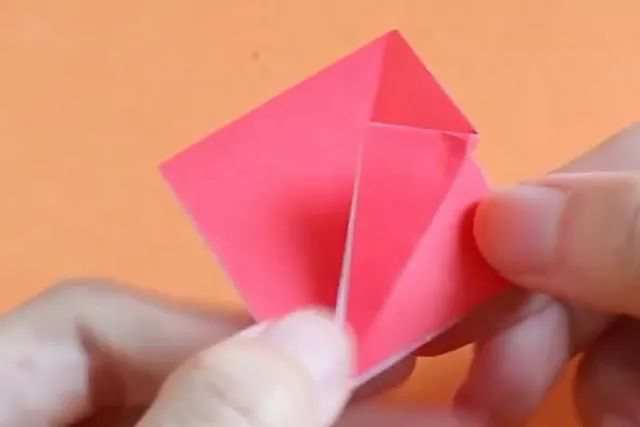
Step 7: Then flip the left - hand triangle part of the upper - layer square to the right and overlap it on the right - hand triangle.
Step 8: Then fold its lower - right edge inwards until the edge coincides with the mid - line.
Step 9: Then fold the upper - right edge inwards until the edge coincides with the mid - line. As shown in the figure.
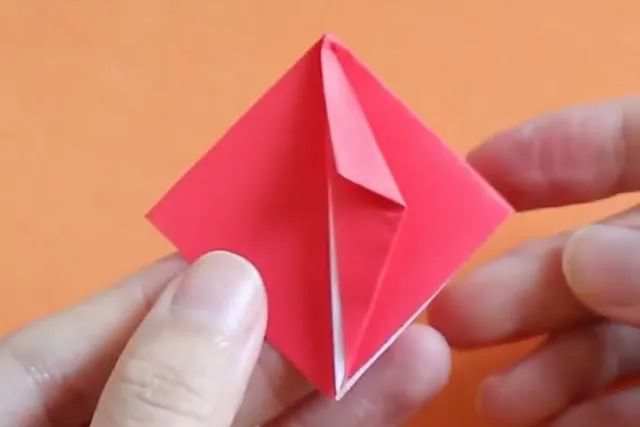
Step 10: Flip the folded left - hand triangle back to the left.
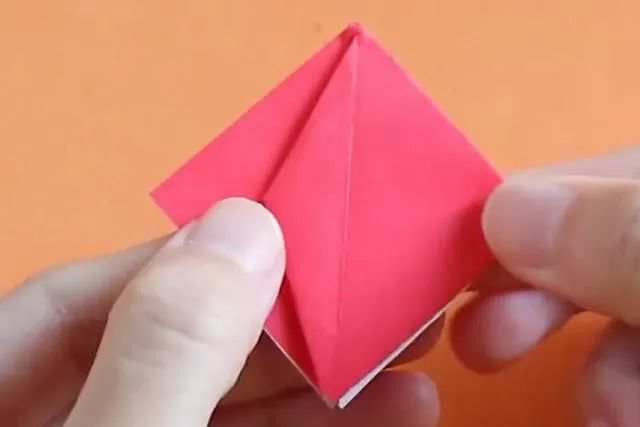
Step 11: Next, flip the right - hand triangle to the left.
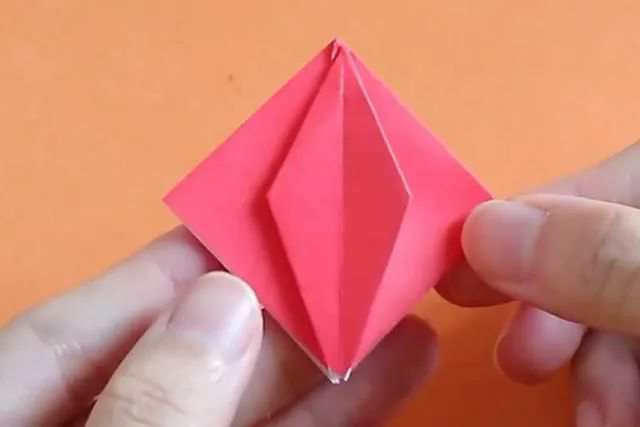
Step 12: Fold it in the same way and then flip it back. Thus, the upper - layer square is processed. At this time, the origami shows a diamond on a square, as shown.
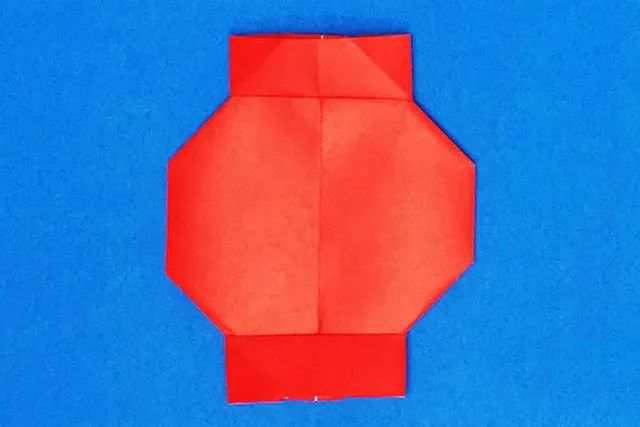
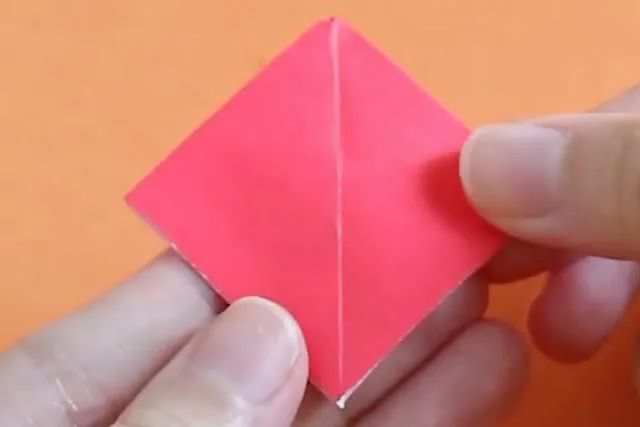
Step 13: Now flip the origami over, turn up the lower - layer square, and fold the four corners inwards. The top - and - bottom folds should be a bit larger, and the left - and - right folds should be a bit smaller.
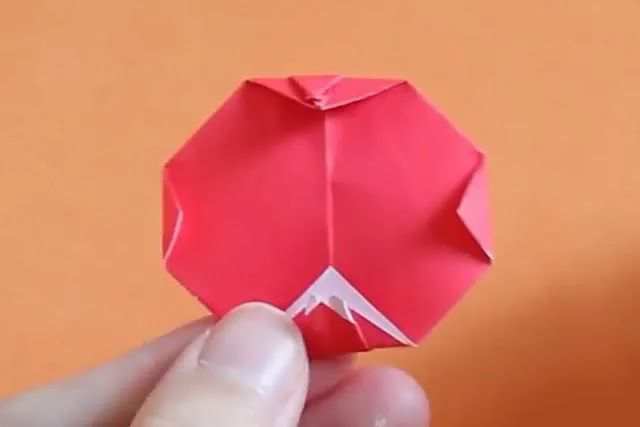
Step 14: The main body of the lantern is completed. Set it aside for now. Next, make the decorative part of the lantern.

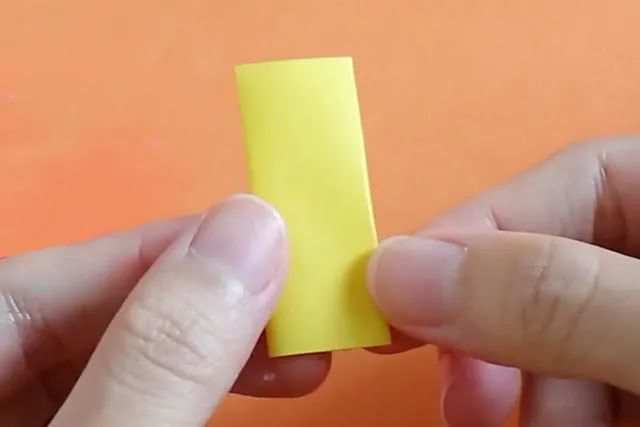
Step 15: For the small square paper, fold the two opposite sides inwards until they overlap, making the width of the paper approximately one - third of the original. Fix it with glue.
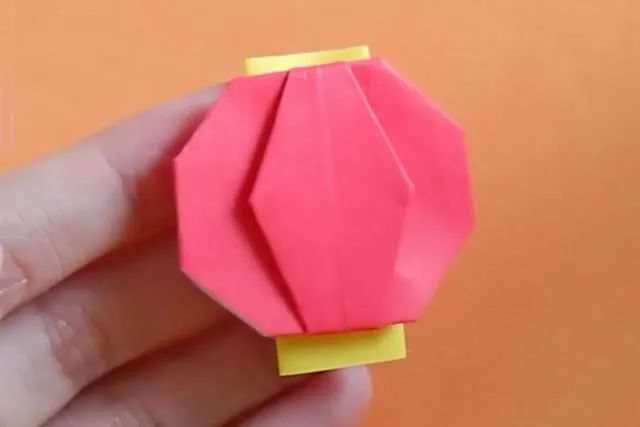
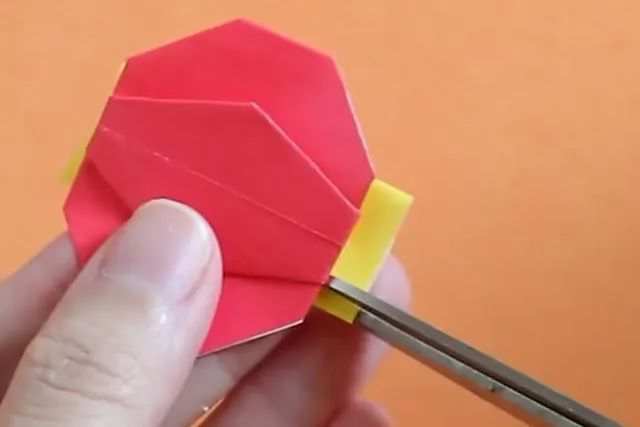
Step 16: Apply glue to the folded small rectangle and then paste it on the back of the lantern. Let a little bit of the upper edge protrude and a bit more of the lower edge protrude. If the paper you choose is too long, you can trim it appropriately.
Step 17: Use scissors to cut the protruding lower edge into tassels of the same spacing.
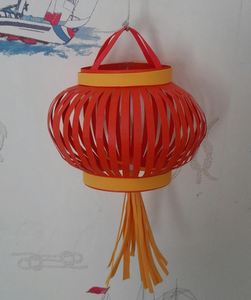
Step 18: Cut a piece of paper string of an appropriate length. Apply glue to both ends and insert them into the interlayer of the yellow paper that protrudes from the upper edge. Paste them firmly. This will be the handle of the lantern.
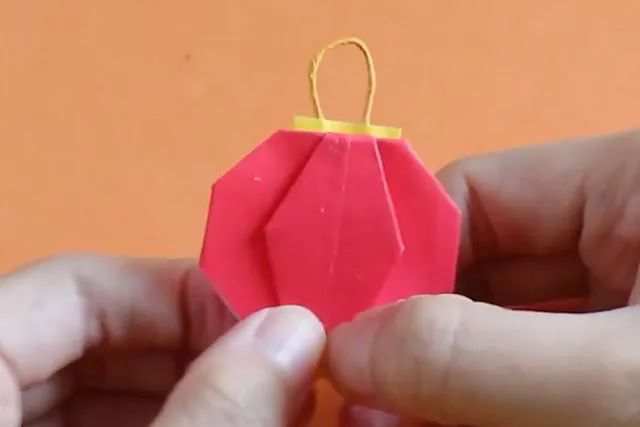
Step 19: The simple and beautiful handmade origami lantern is completed. During the Spring Festival, children can make several beautiful lanterns to welcome the arrival of the festival.