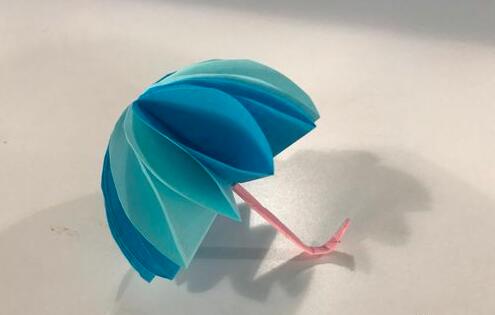
Are you ready to embark on a creative handicraft adventure? This origami umbrella tutorial will guide you to easily fold a small and delicate umbrella. The steps are clear and easy to understand, and even beginners can quickly get the hang of it. Follow the tutorial, from folding the paper to handling the details, and create your own paper umbrella step by step. It's perfect for rainy - day decorations or creative ornaments. Give it a try now!
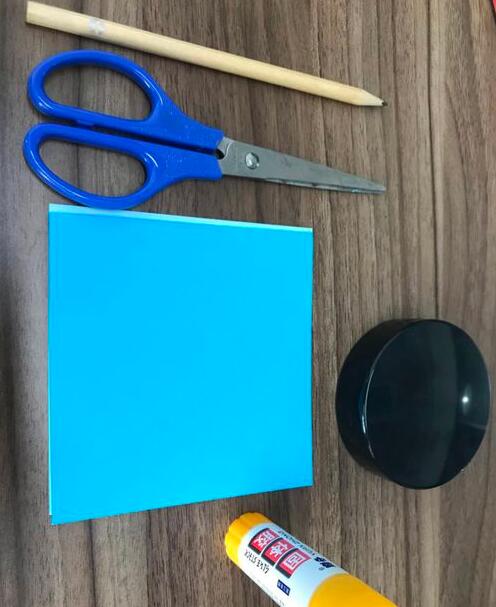
Prepare all the necessary tools. Note that the origami paper should be square, and you can choose the size according to your preference. If you don't have square origami paper on hand, you can cut an A4 paper into a square.
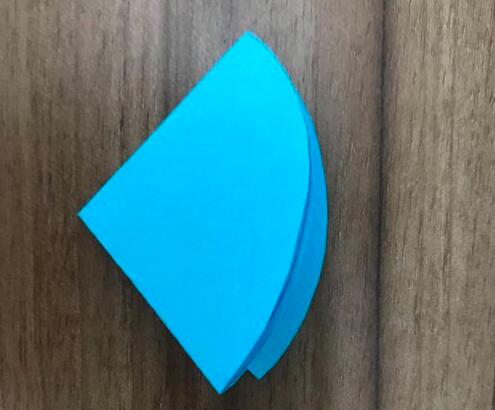
Draw a circle on the origami paper and cut out the circular part with scissors.


Fold the circular part in half, and then fold it in half again.

Fold 8 - 9 pieces of the same kind of origami. The exact number may vary depending on the size of the paper.
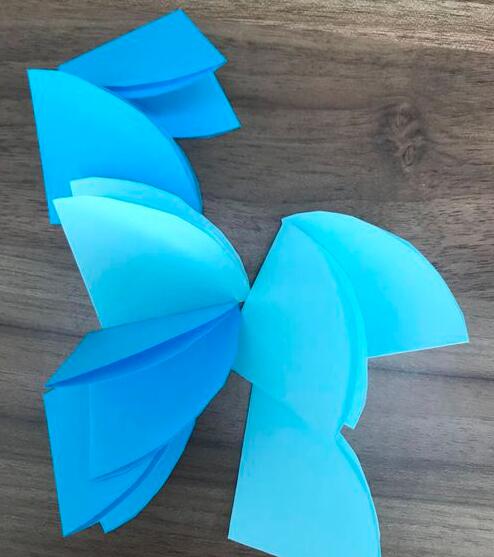
Use solid glue to stick the middle parts of the origami together along the middle line. Only apply a small amount of solid glue, not over a large area. Then stick all the origami together along the middle line as well, also applying only a small amount.


Open the pasted - together origami, as shown in the picture:
Prepare another piece of origami and roll it into a small round stick shape.


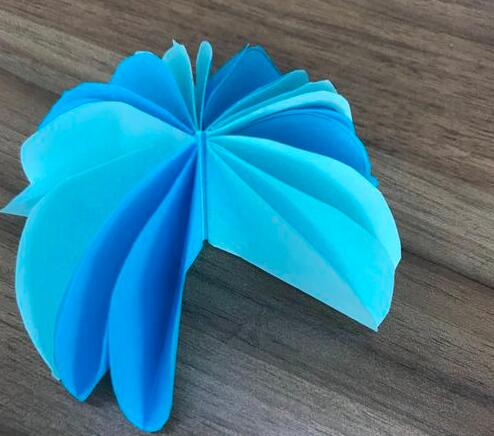
Stick the round stick and the origami together and do a little shaping, and you'll get the shape as shown:

A beautiful little umbrella is completed.