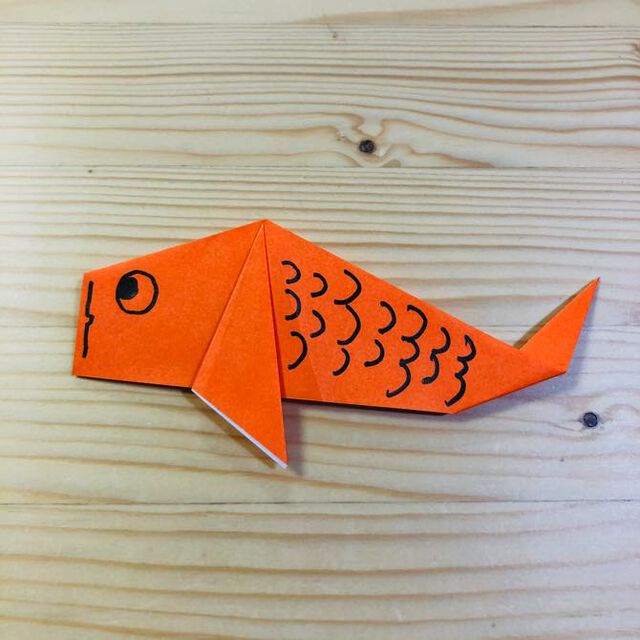
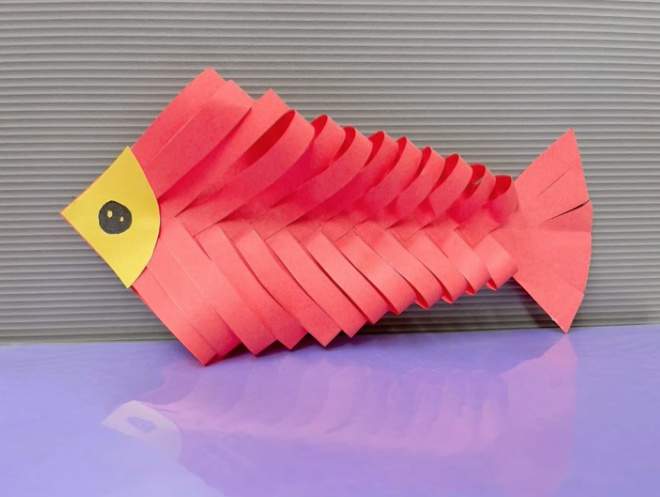
How to fold an origami koi fish? Origami koi fish is a poetic craft that allows you to create a lifelike koi fish from a single sheet of paper. It’s easy for both beginners and origami enthusiasts to get started.
Materials: Colored cardstock, double-sided tape, colored pens, and scissors.
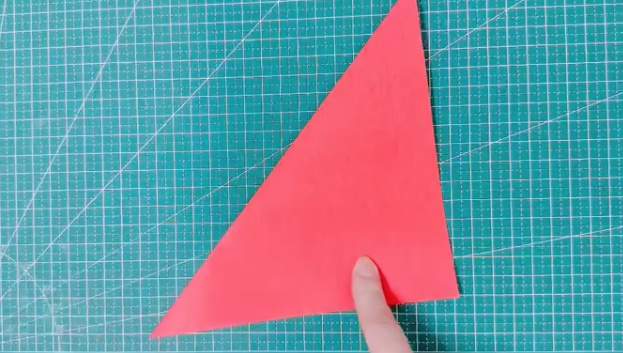
Step 1: Choose a square piece of colored cardstock and fold it diagonally to form a triangle.

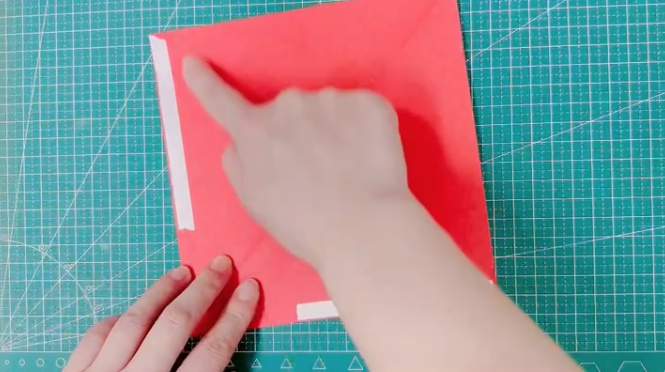
Step 2: Use a ruler to draw equally spaced vertical lines.
Step 3: Apply double-sided tape to the back side.
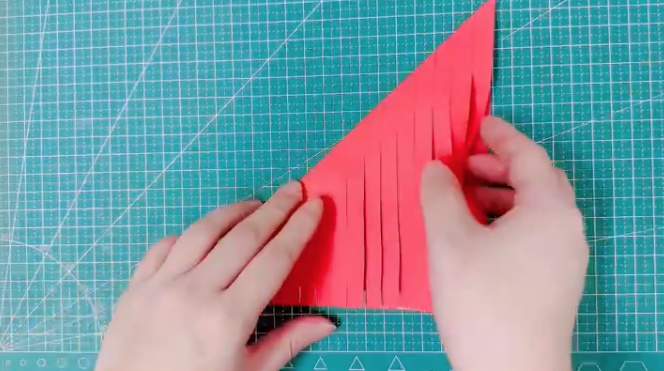
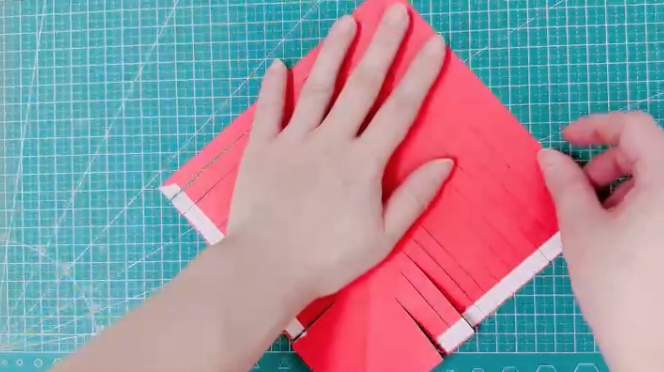
Step 4: Use scissors to cut along the vertical lines, but be careful not to cut all the way through.
Step 5: After unfolding, the double-sided tape will also be separated.
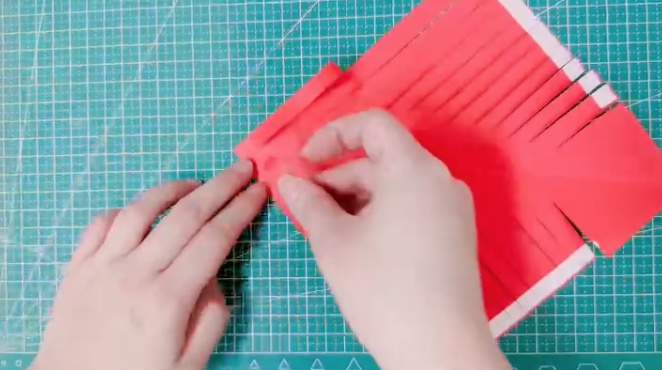
Step 6: Peel off the double-sided tape and stick it alternately in the middle. Do the same for the others.
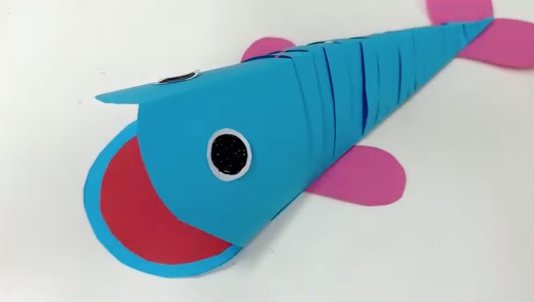
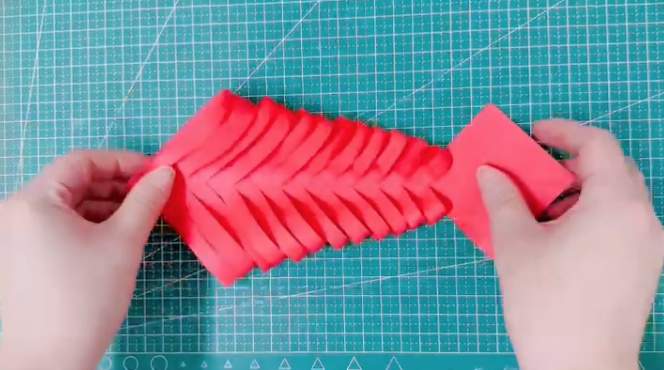
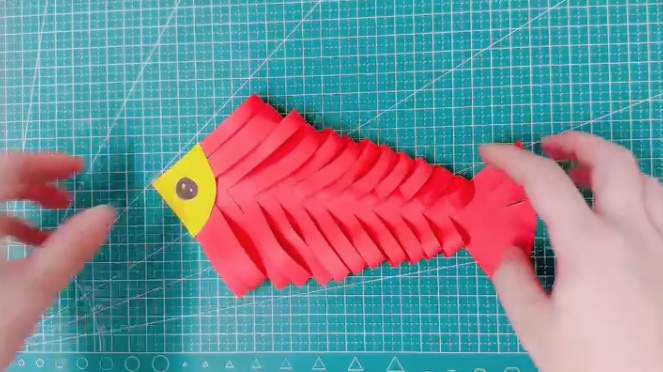
Step 7: After all the pieces are stuck together, the basic outline of the fish is complete.
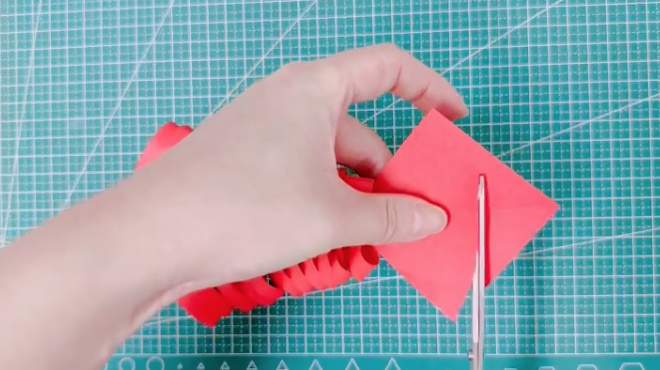
Step 8: Use scissors to trim the fish’s tail into a rounded shape, and feel free to cut out other shapes based on your imagination.
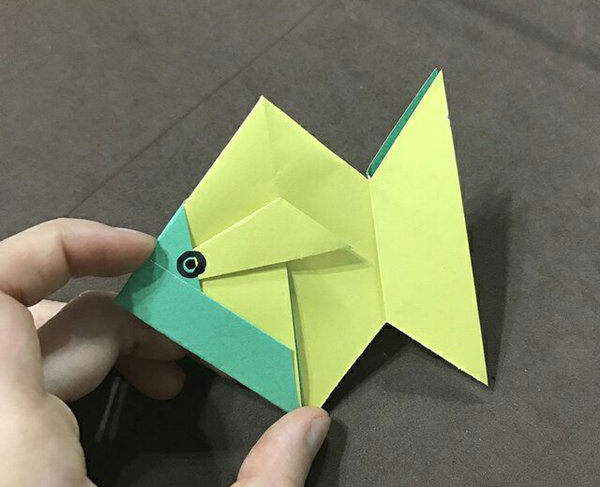
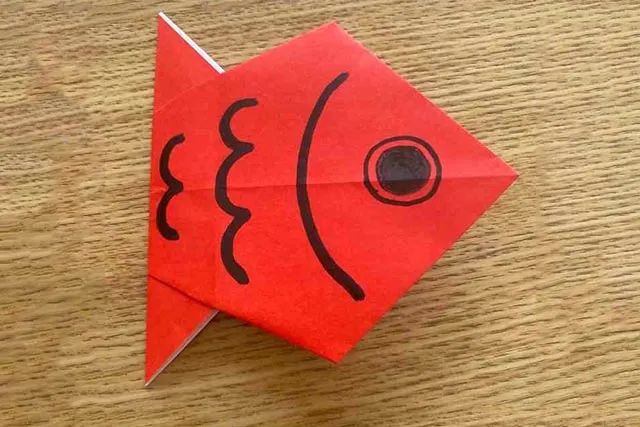
Step 9: Cut a triangle from yellow cardstock and attach it to the fish’s head. Use a pen to draw the fish’s eyes.
Step 10: A beautiful koi fish is now complete! You can also thread a thin string through the fish’s mouth to make it into a koi lantern.