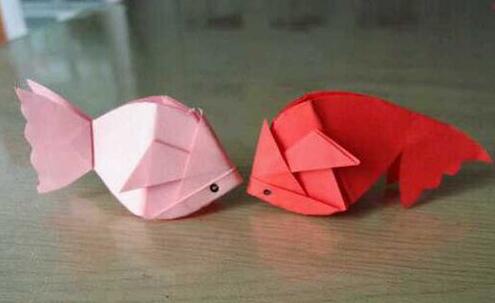
Do you want to add a touch of vivid color to your child's world? Come and try fish origami! This tutorial has simple and clear steps, accompanied by cute illustrations, enabling children to easily get started and fold an adorable little fish step by step. The folded fish can not only be used as a decoration but also as a fun prop for parent - child interaction. Hurry up and embark on this wonderful origami journey with your child, allowing joy to flow freely at your fingertips.
Materials: Square origami paper, black marker pen
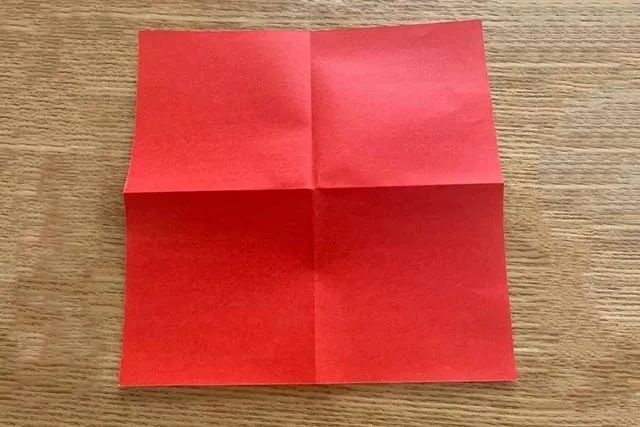
Step 1: Fold the square origami paper in half along the mid - line twice, then unfold it to create four - equal - part creases on the paper as shown in the figure.
Step 2: Fold the two left - hand corners inwards until the tips of the corners align with the center point of the paper.
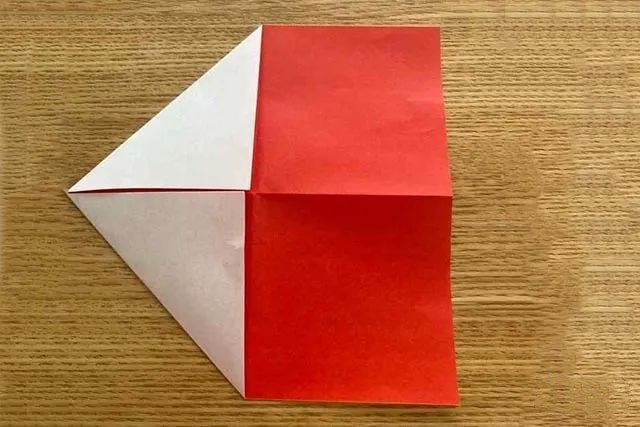
Step 3: Flip the origami paper over.
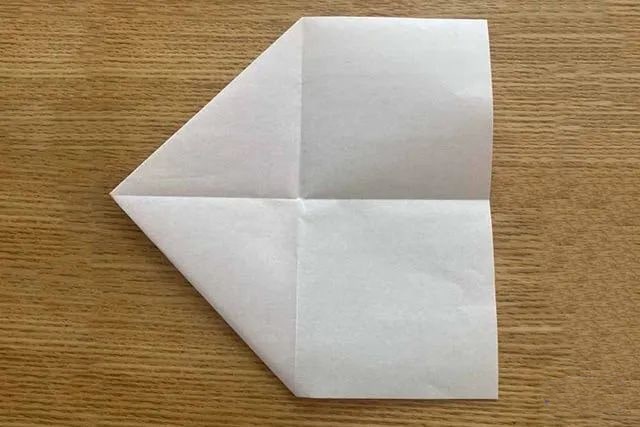
Step 4: Then fold the two right - hand corners in the same way as in Step 2.
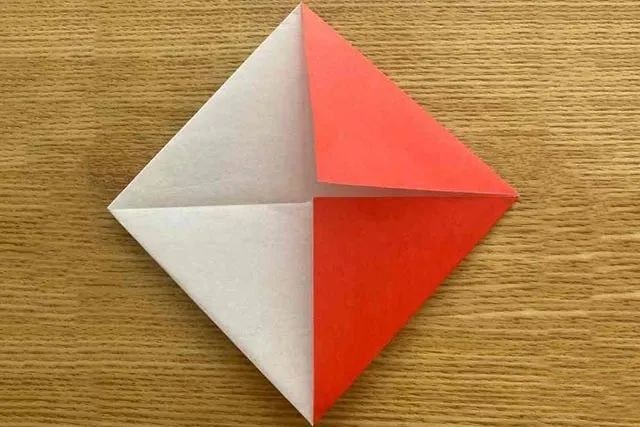
Step 5: Next, open the upper - left corner.
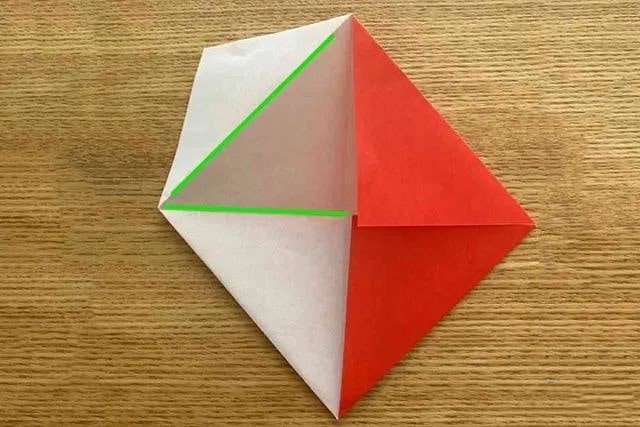
Step 6: After opening, fold the upper - left corner part inwards again until the green lines coincide.

Step 7: Open and then fold the lower - left corner in the same way.
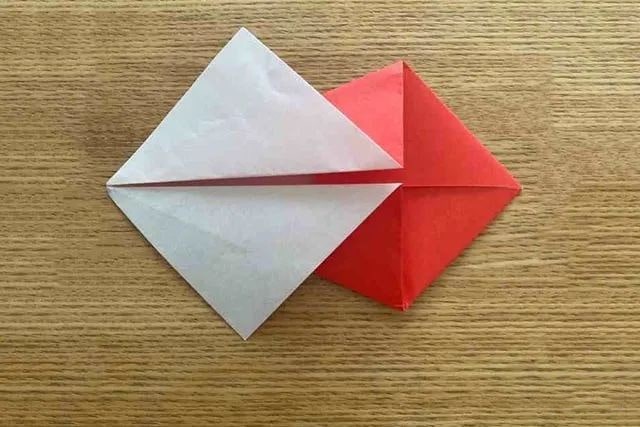
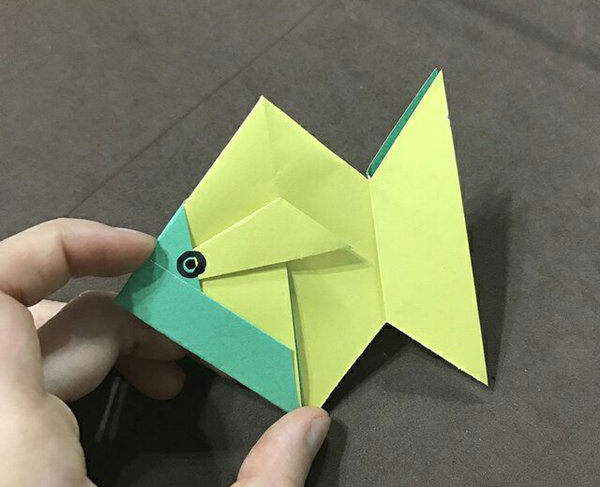
Step 8: Now, fold the white square part from left to right.
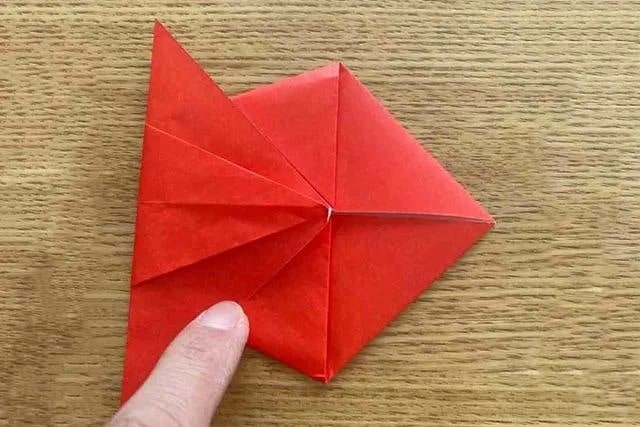
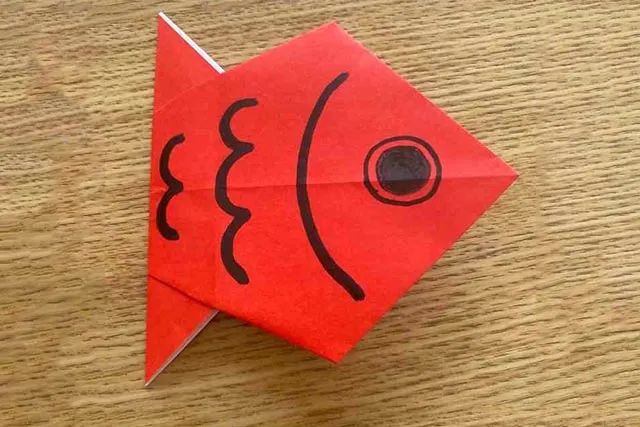
Step 9: Flip it over, and you can see the shape of a fish.
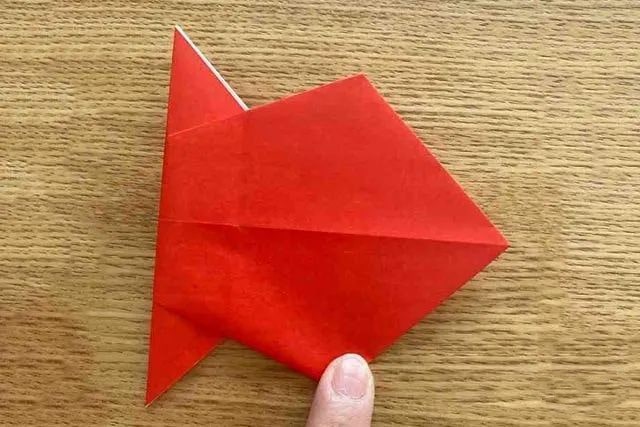
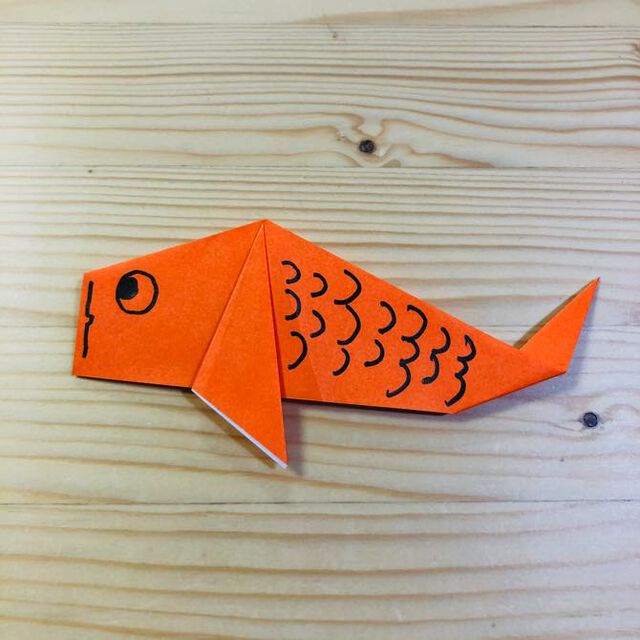
Step 10: Finally, use a black marker pen to draw elements such as eyes and fish scales on it.