Want to make handicrafts with your child? Try our simple and fun Blowing Frog Origami Tutorial! With just one piece of paper and clear step-by-step illustrations, you can fold a cute, chubby frog together.
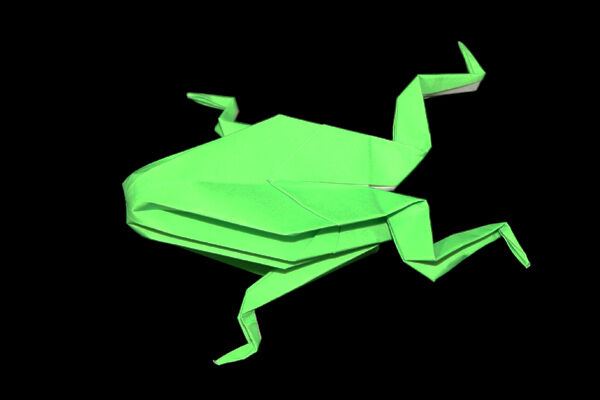
Blowing Frog Origami Tutorial
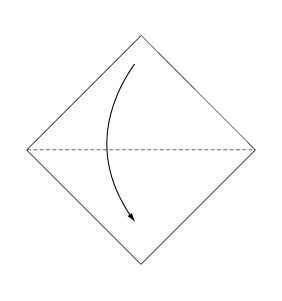
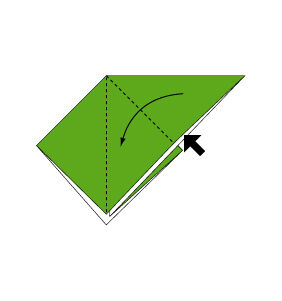
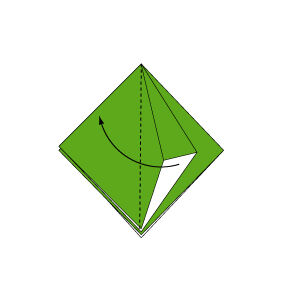
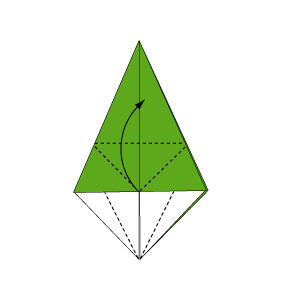
Step 1: Fold the paper along the dotted line in the direction indicated by the arrow.
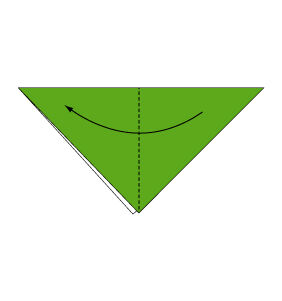
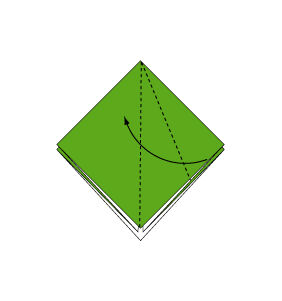
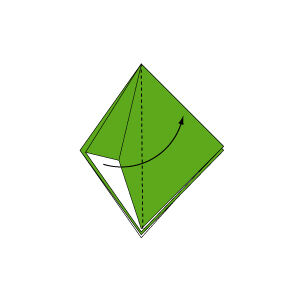
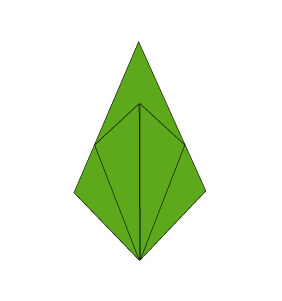
Step 2: Fold the paper again along the dotted line in the direction of the arrow.
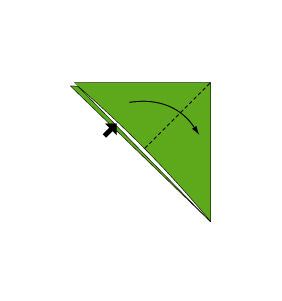
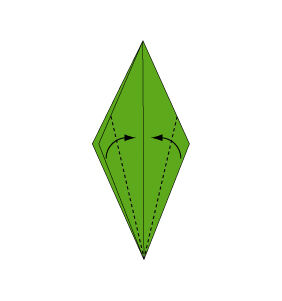
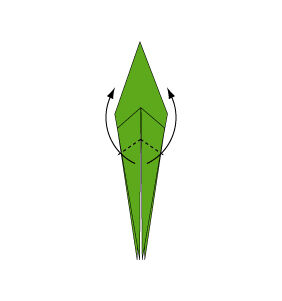
Step 3: Unfold the paper as shown in the figure to create a small pocket, and then flatten the two sides of the pocket.
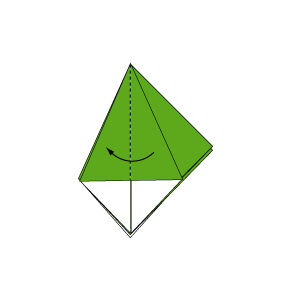
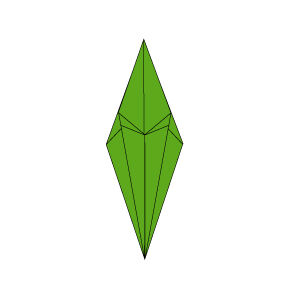
Step 4: Continue based on the state of Step 3.
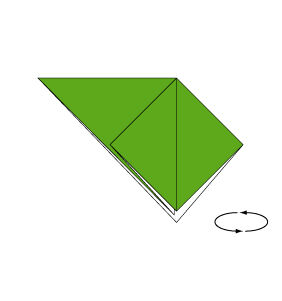
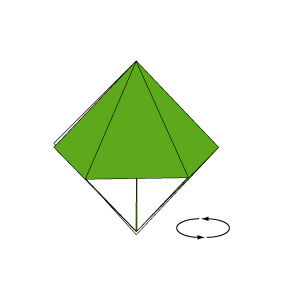
Step 5: Turn the paper over.
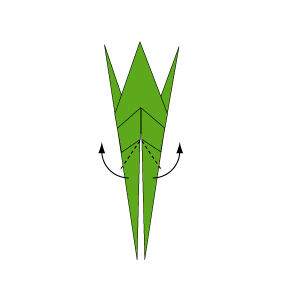
Step 6: Unfold the paper as illustrated to make a small pocket, and then smooth the two sides of the pocket.
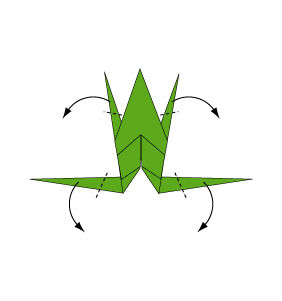
Step 7: Similar to Step 6, unfold the paper as shown to create a small pocket and flatten the two sides.
Step 8: Proceed from the state of Step 7.
Step 9: Turn the paper over again.
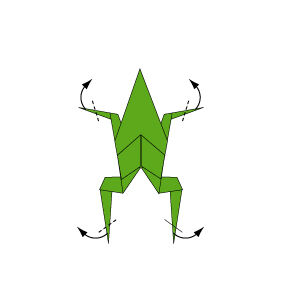
Step 10: Just like before, unfold the paper as shown to form a small pocket and flatten the two sides.
Step 11: Fold the paper along the dotted line pointed by the arrow, and then fold all the ailerons in the same direction, one on top of the other.
Step 12: Unfold the paper as shown to create a small pocket and flatten the two sides.
Step 13: Fold the other three flaps in the same way.
Step 14: Fold the paper along the dotted line indicated by the arrow, and fold the reverse side in the same way.

Step 15: Fold the paper again along the dotted line pointed by the arrow.
Step 16: Fold the other three flaps in the same manner.
Step 17: Fold the paper along the dotted line in the direction of the arrow, and do the same for the reverse side.

Step 18: Fold the paper along the dotted line so that the dotted line is inside.
Step 19: Repeat Step 18, fold the paper along the dotted line again with the dotted line facing inward.
Step 20: Continue to fold the paper as in Step 18, with the dotted line inside.
Step 21: Similar to the above steps, fold the paper with the dotted line hidden inside.
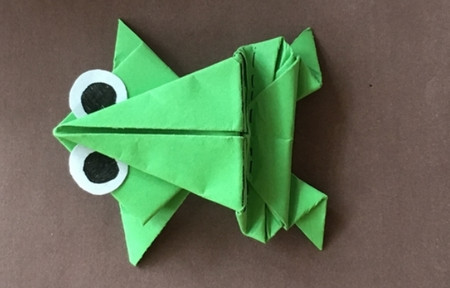
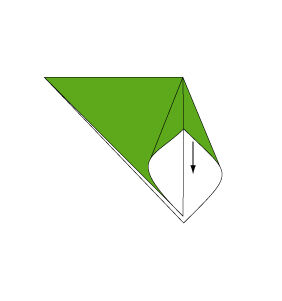
Step 22: Keep it at the back and blow air into it to inflate the "body" of the model.
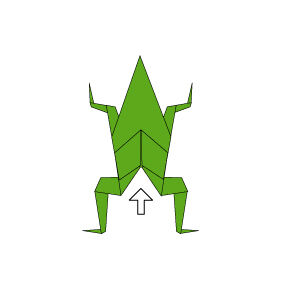
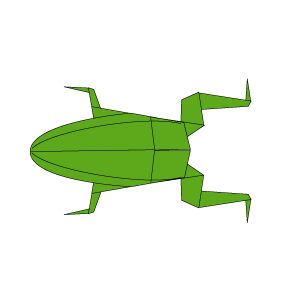
Step 23: Finish the production.