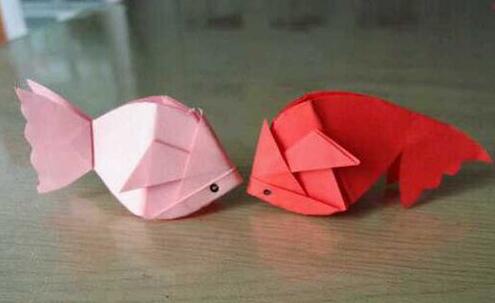
Do you want your child to swim in the ocean of creativity? Try this origami fish tutorial! With just one piece of paper, you can embark on a wonderful handicraft journey. The steps are simple and clear, accompanied by vivid illustrations, making it easy for children to master. From basic folding to shaping the flexible fish tail, every step is full of fun. After completion, children can gain a great sense of achievement. Come and fold the swimming fish in the water with your child!
Cut the colored paper into a square. You can choose any color and size according to your preference.
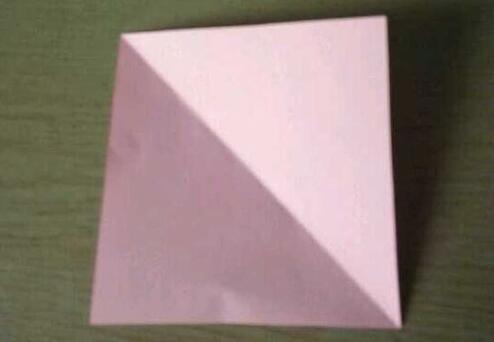
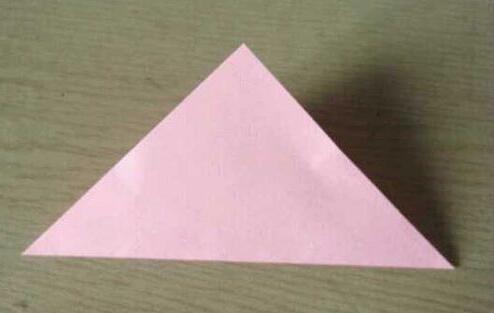
Fold it in half to form a triangle.
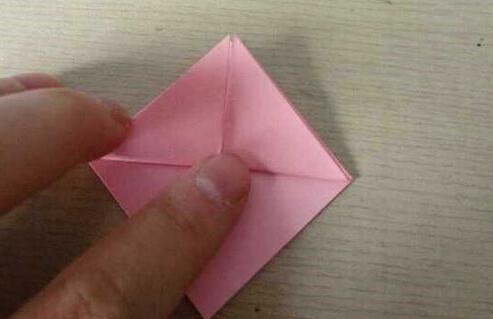
Fold the left and right sides upwards.
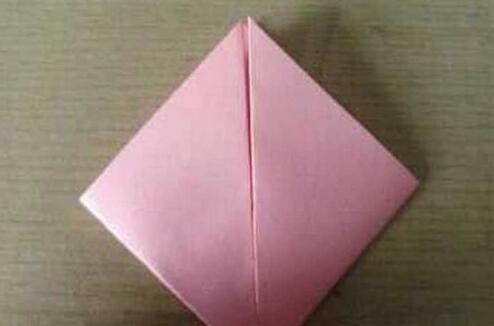
Turn the origami over and fold the two sides upwards towards the middle right - angle.

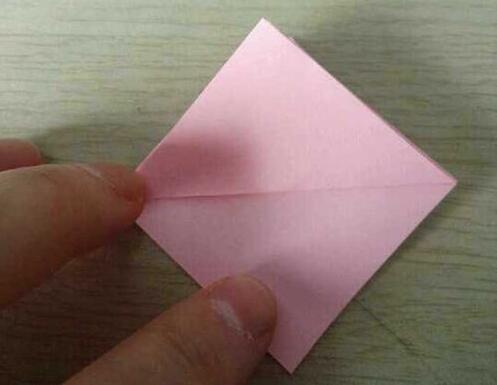
The effect after folding both sides upwards is as shown in the following figure:
Flip the origami over.

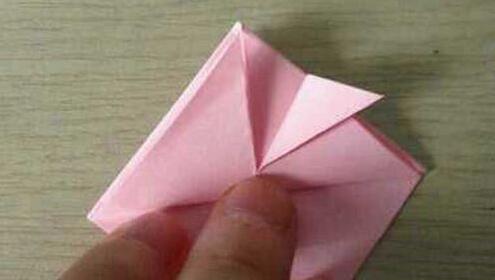
Fold the bottom edge to align with the top edge.
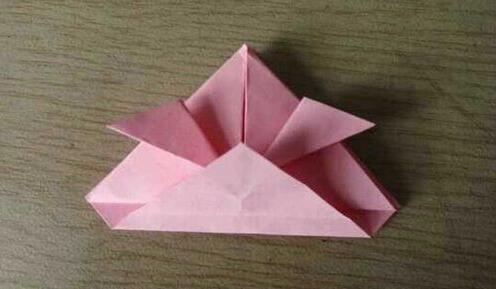
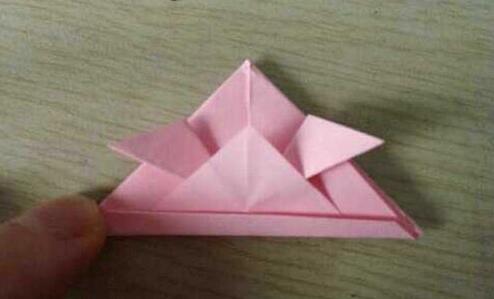
Then flip the origami over again and fold the two corners that were just folded outwards. (Note that the corners folded out from the top should align with the edges.)
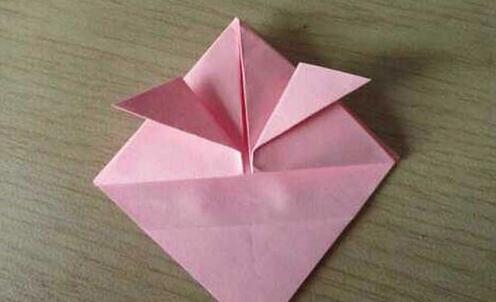
The effect after folding both corners outwards is as shown in the following figure:
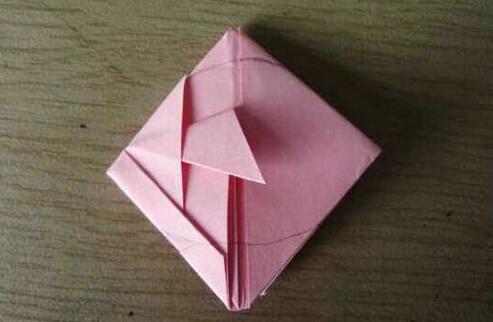
Leave 0.6 cm at the bottom of the bottom triangle and fold it upwards.
Fold the remaining 0.6 cm upwards again.
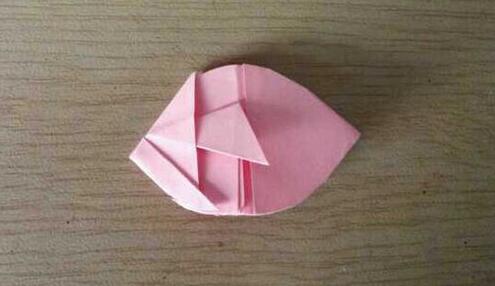
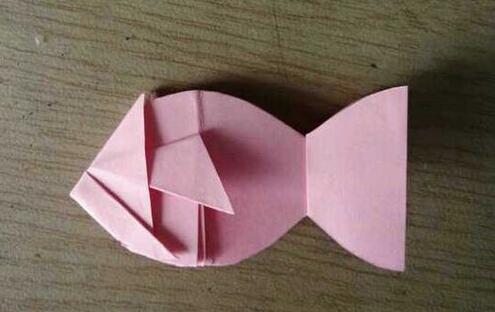
Open the bottom of the folded origami, press it flat in the other direction, and draw an arc.
Cut along the arc drawn with a pencil in the previous figure.
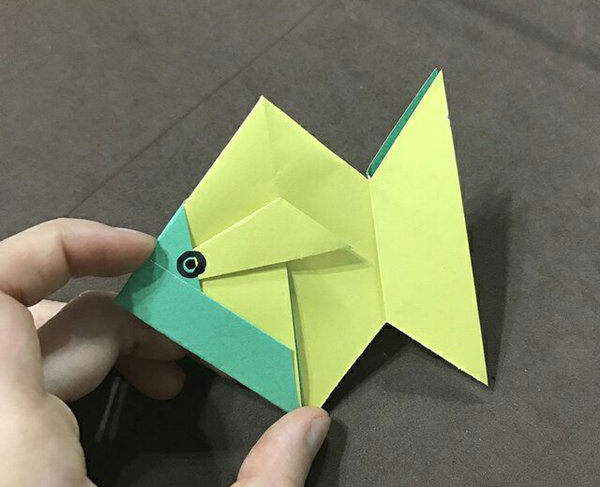
Open the right - hand side of the cut tail part to the right.
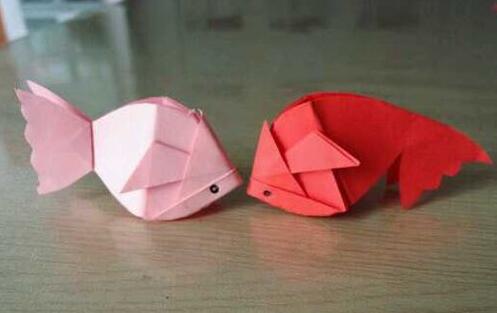
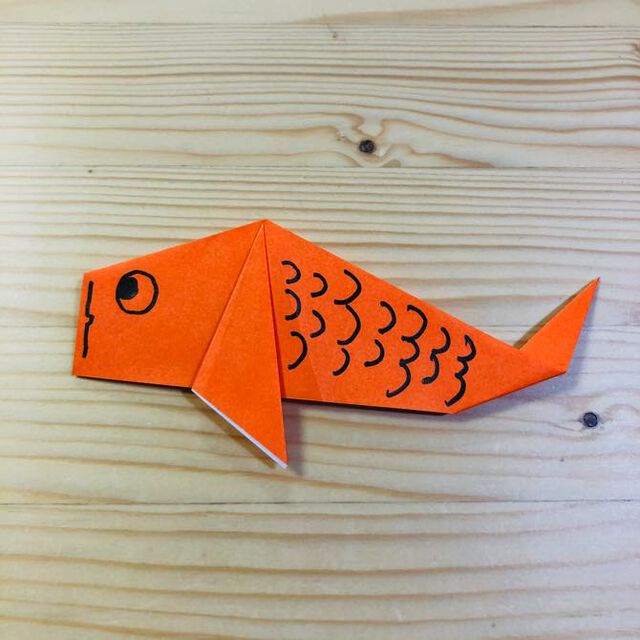
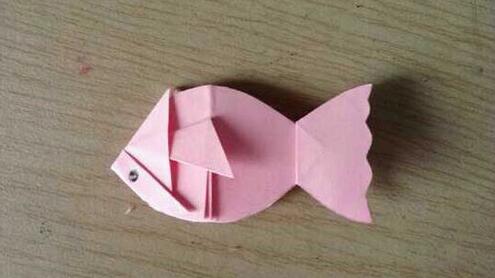
Cut the tail into a wavy shape with scissors and draw eyes with a black pen. The fish is done.
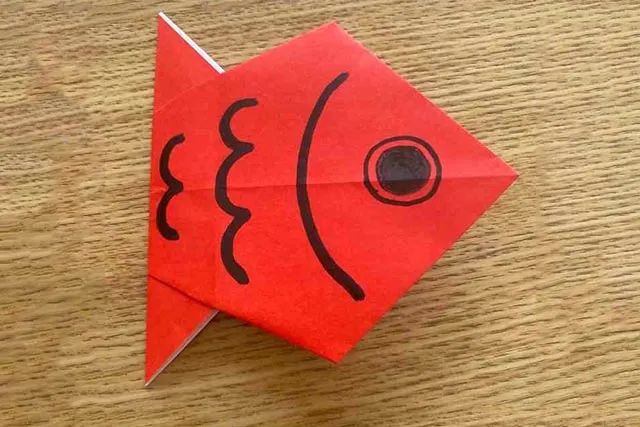
Use the same method to fold a red fish, but when cutting the tail, fully open the tail part. In this way, you can get two different - looking fish.