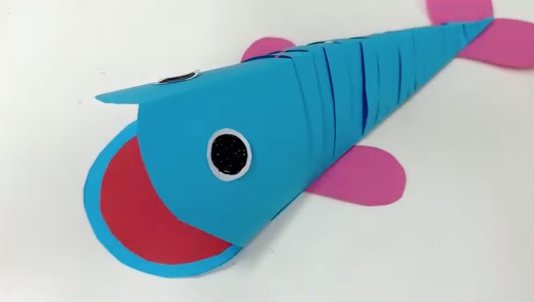
Let's fold a happy little fish with kids during the weekend! It's very easy to make. In this session, we'll teach you how to fold a happy little fish that looks like it's laughing heartily and has no worries at all.
Materials: Scissors, colored cardstock, glue, colored pens
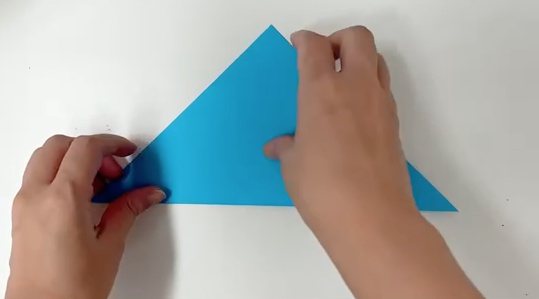
Step1:Fold the square cardstock along the diagonal.
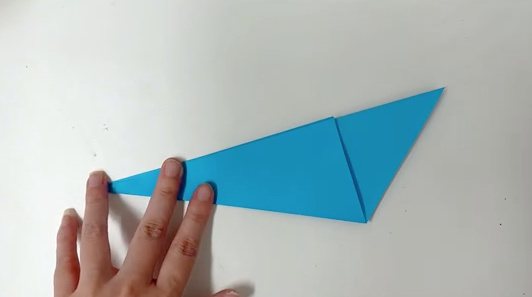
Step2:Then fold both sides towards the middle.
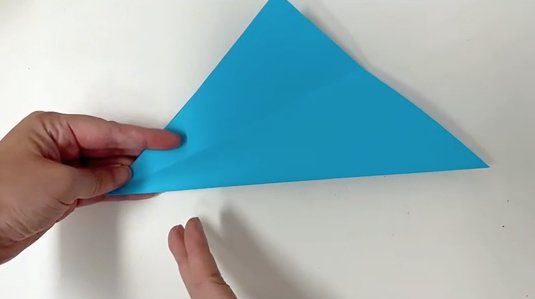
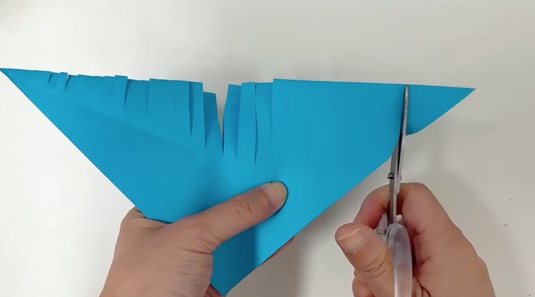
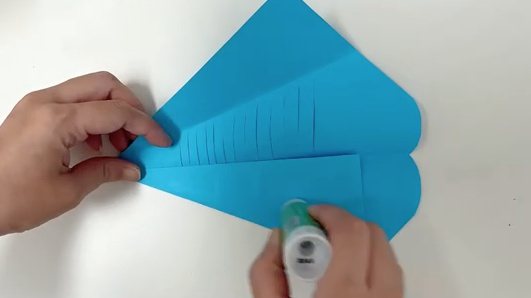
Step3:After unfolding, use scissors to cut into strips, leaving one - third of it intact.
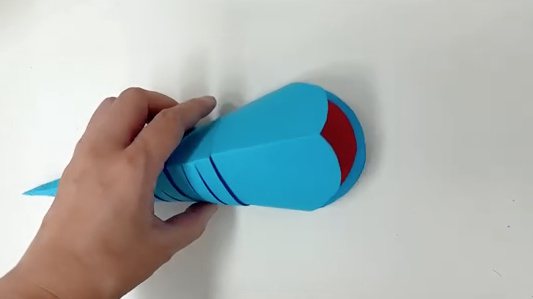
Step4:Use scissors to cut an arc at the tail part.
Step5:Apply glue to the two intact parts and stick them together.
Step6:Cut two circles of different colors and stick them together.
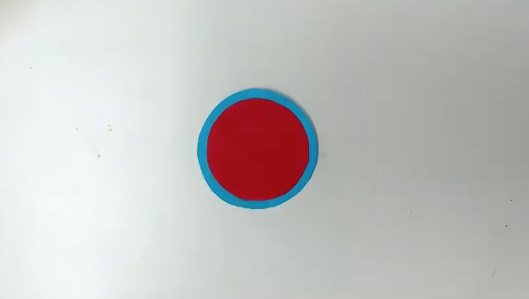
Step7:Paste it at the bottom of the arc to be the fish's chin.
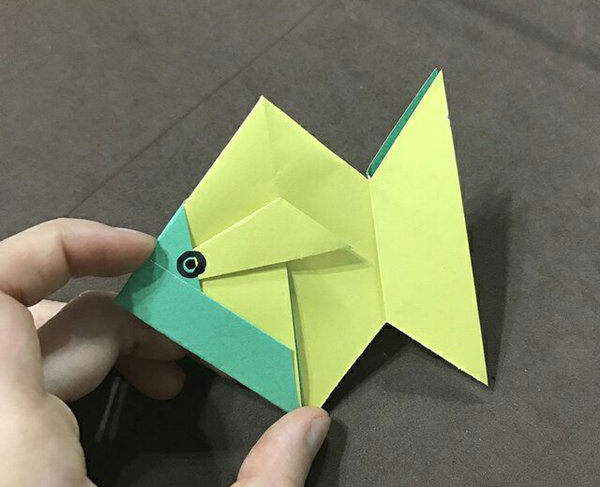
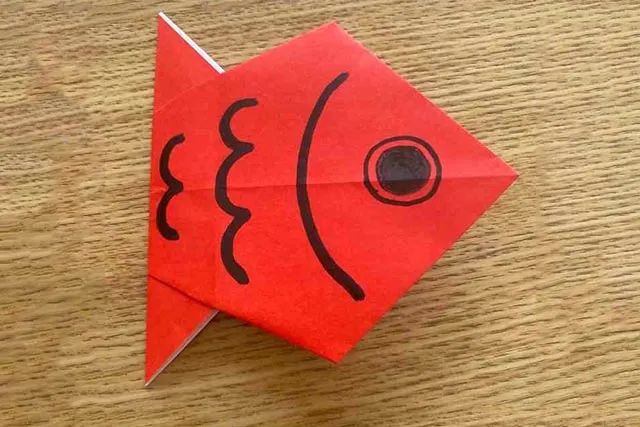
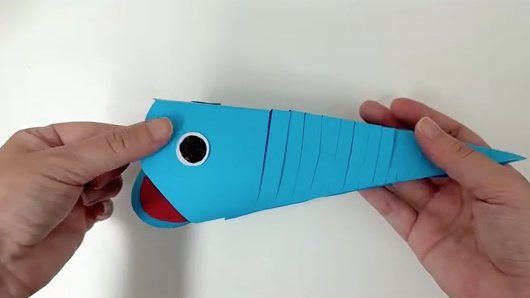
Step8:Stick the fish's eyes on both sides. You can also draw them yourself.
Step9:Cut out two heart - shaped pieces from the pink cardstock.
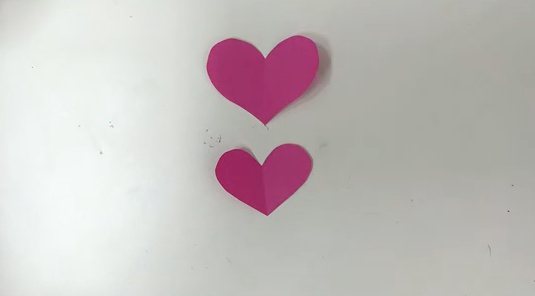
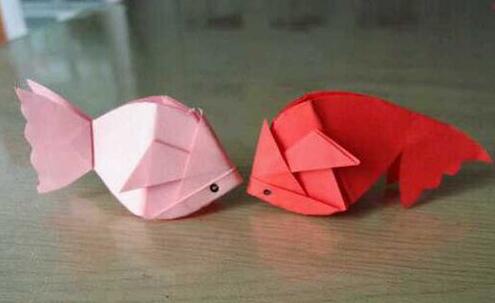
Step10:Paste one at the pointed end to be the fish's tail.
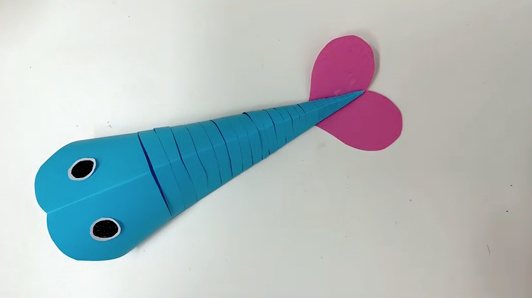
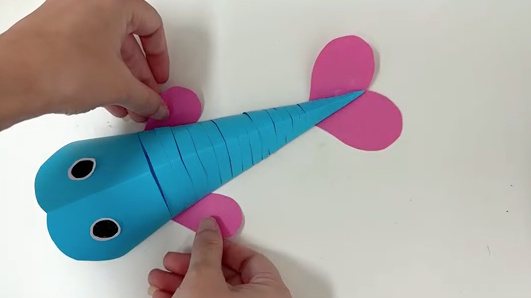
Step11:Cut one heart - shaped piece into two parts and paste them on both sides of the fish body as the fins. And a swimming fish is done!
Isn't it interesting and easy? Kids, come on and get started!