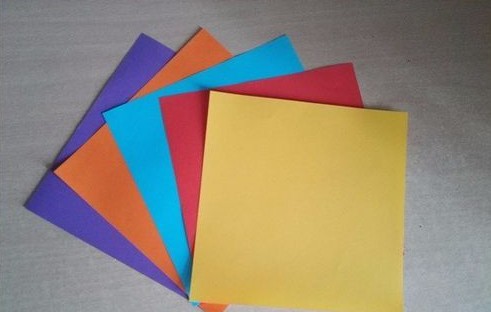
First of all, it should be noted that this cube is assembled by interlocking, so you need to prepare six square papers of different colors (a cube has six faces). It seems that one paper is missing in the picture, but in total, six papers are required.
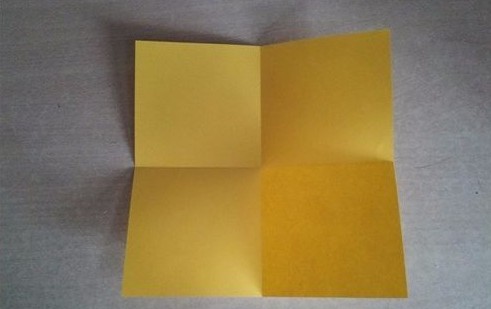
Take out one piece of paper and fold it up - down and left - right respectively as shown in the picture, creating two such creases.
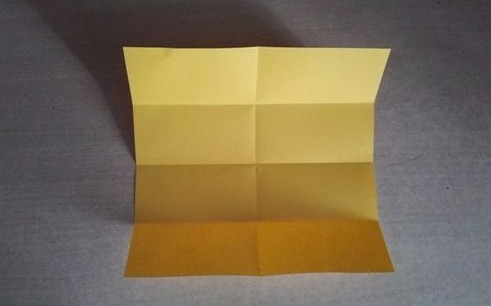
Next, fold two more horizontal creases so that the three horizontal creases divide the whole paper into four equal parts.
Then fold the upper - left corner and the lower - right corner back as shown in the picture. Then, fold the upper part down along the dotted line in the picture, which is the top - most crease.
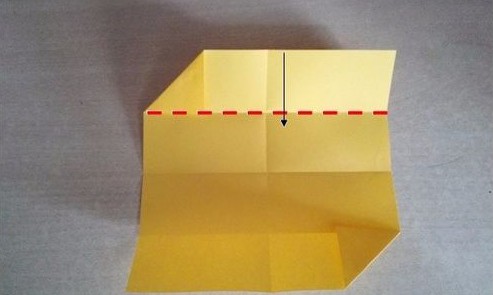
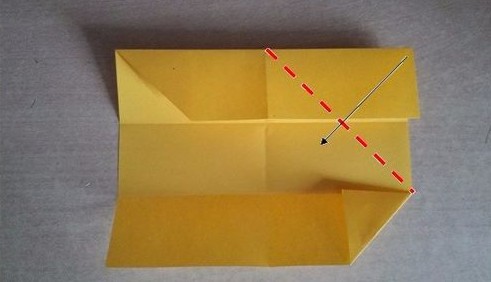
Fold the upper - right corner back along the dotted line.
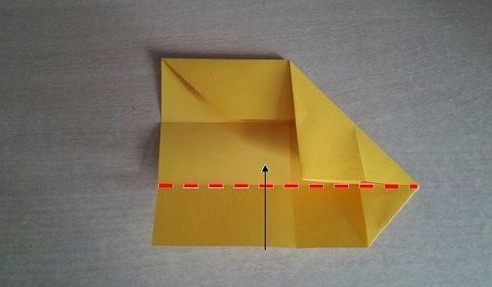
Fold the lower part up along the dotted line.
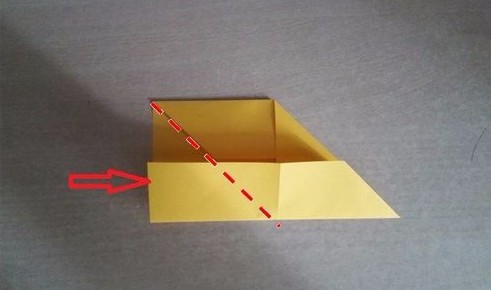
Next, fold the lower - left corner inside along the crease. Make sure it is folded inside. The folding effect can be seen in the next step.
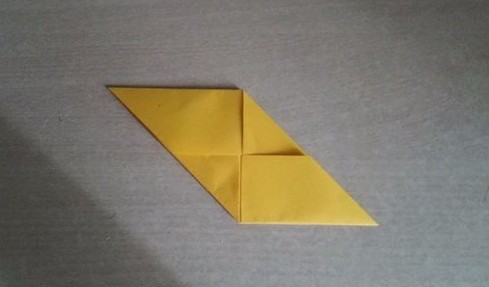
As shown in the picture, this is what it looks like after folding.
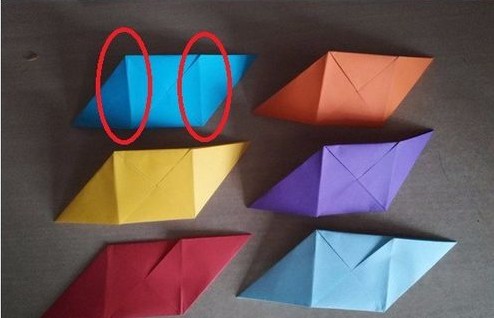
As shown in the picture, fold six parallelograms of different colors like this. At the same time, note that at the places marked by circles in the picture, two creases should be made to make it easier to fold into a cube later.
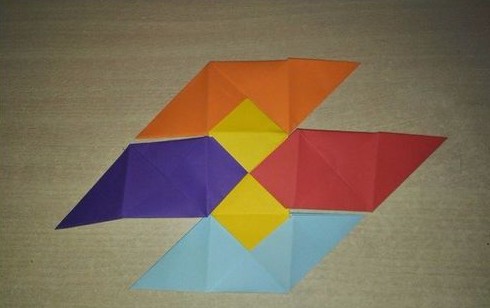
Interlock them as shown in the picture. Only five pieces are interlocked in the picture. First, assemble these five pieces, then fold up the parts around the yellow piece and interlock them into the shape of a box. Finally, interlock the last part.
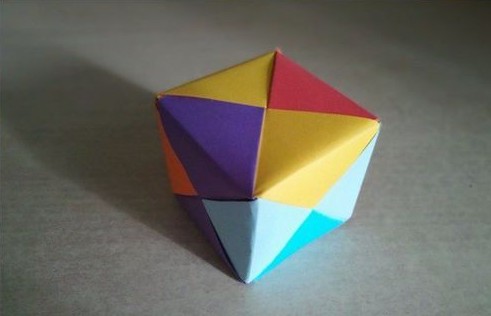
This is the final assembled effect.