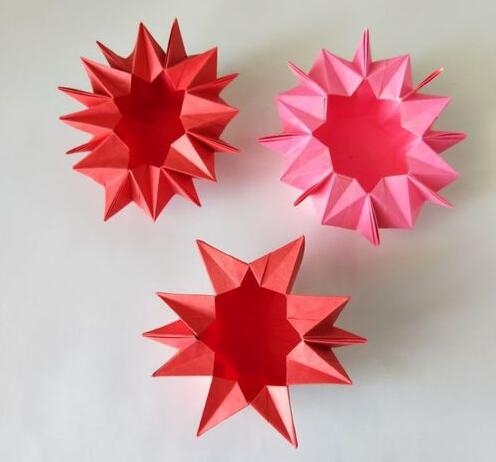
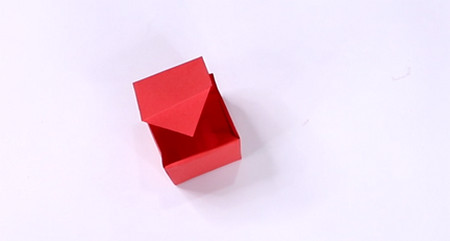
The origami ring box I'm going to share today is different from ordinary paper - folded boxes. The lid and the body of this ring box are connected, forming an integrated unit that can be opened and closed freely. If you're interested in small and delicate boxes, why not give it a try?
Step 1: First, prepare a square piece of colored paper.

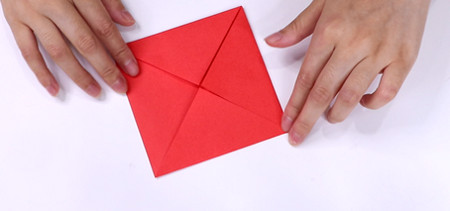
Step 2: Fold the colored paper vertically (up - down) and then horizontally (left - right).

Step 3: Unfold the folded colored paper, and then fold the four corners of the square towards the center along the creases.
Step 4: Then, fold the colored paper according to the folding marks, as shown in the following figure.

Step 5: After that, fold the paper inwards along the center line.

Step 6: Repeat the above - mentioned method for both vertical and horizontal directions.

Step 7: After folding, open the left and right sides of the paper - folded item.

Step 8: Fold the opened part into the shape shown in the figure according to the folding marks.

Step 9: Do the same for the other side. Then, close the paper - folded item, and it will take the shape of a ring box.

Step 10: On one side of the ring box, the paper is folded inside, and the other side can be opened. Thus, the origami of a ring box is completed.