Ever since my child started kindergarten, she has to carry her little schoolbag every day, putting some textbooks and snacks in it. Although the schoolbag is small, its function cannot be underestimated. Today, we'd like to share with you a step - by - step illustrated tutorial on how to fold a paper schoolbag.
Materials: Square origami papers (In the demonstration, 1 red paper of 15cm x 15cm and 1 red paper of 7.5cm x 7.5cm are used), a pencil, colored pens, round stickers (optional), a ruler
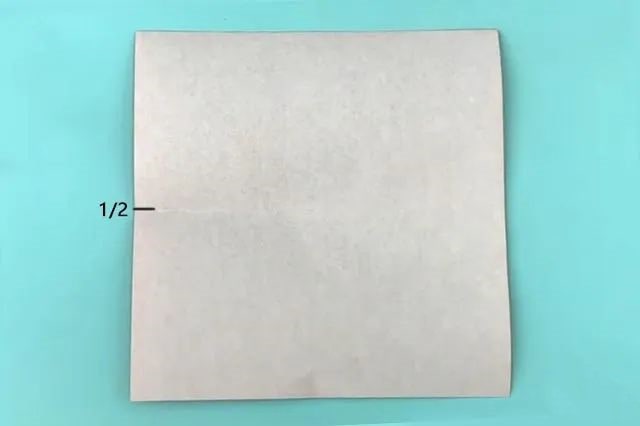
Step 1: Place the large square origami paper face - down horizontally. Fold it up and down to find the mid - point of the left - hand edge. Press it with your hand to make an indentation, then unfold the paper to its original state.
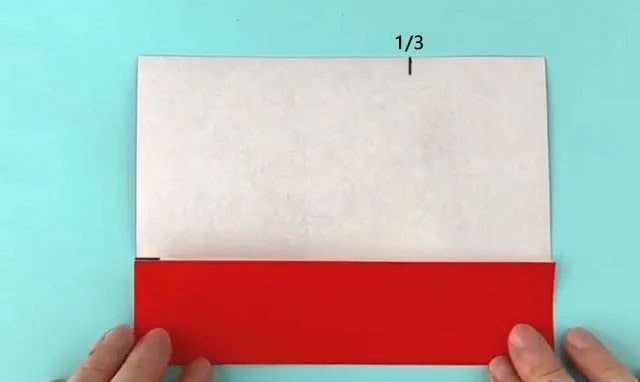
Step 2: Fold the bottom edge upwards until it aligns with the mid - point of the left - hand edge. Use a ruler to measure one - third of the width on the right - hand side of the upper edge and mark it with a pen.
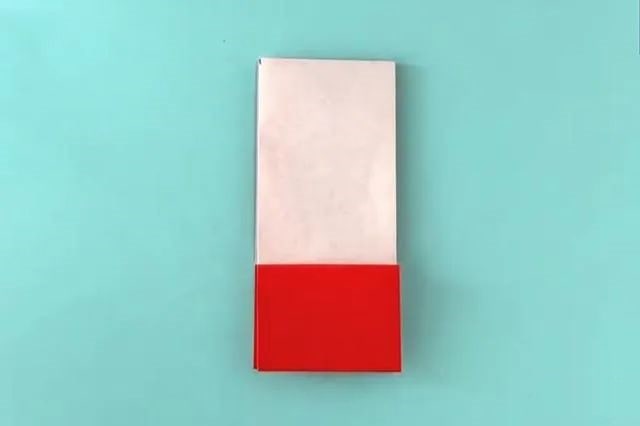
Step 3: Fold the left - hand side inwards until the left - hand edge aligns with the one - third mark.

Step 4: Flip the origami from right to left.

Step 5: Fold the left - hand edge to the right to form a rectangle one - third of the width.
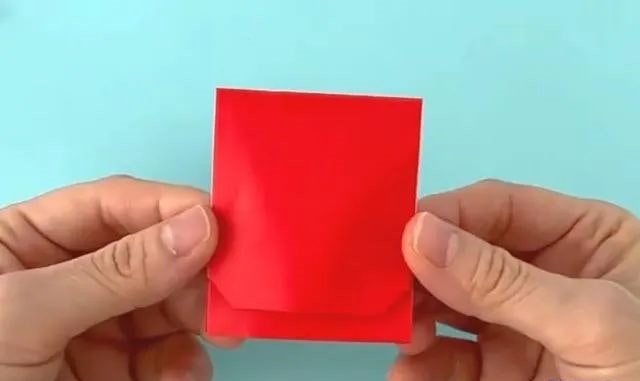
Step 6: Fold two small triangles of the same size inwards from the two corners of the upper edge.
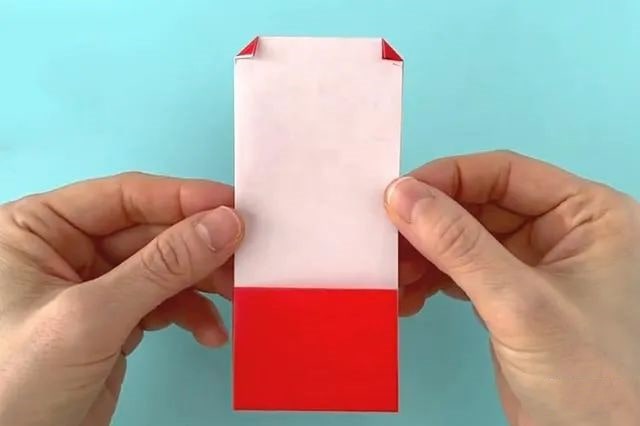
Step 7: Then fold the origami from top to bottom, leaving a distance of 0.5 - 1cm between the upper edge and the lower edge.
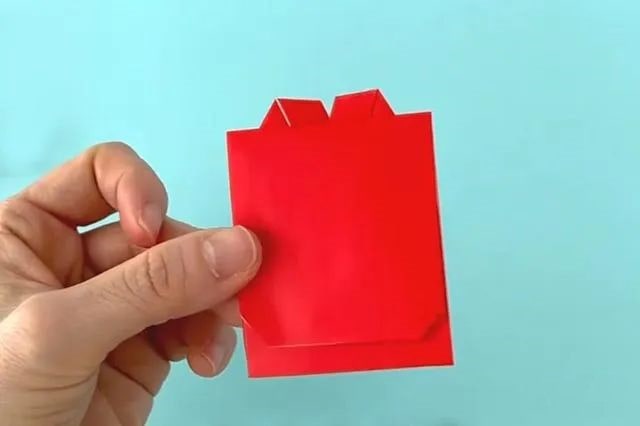
Step 8: Re - open the origami and fold the triangles on both sides of the upper edge into the interlayer.
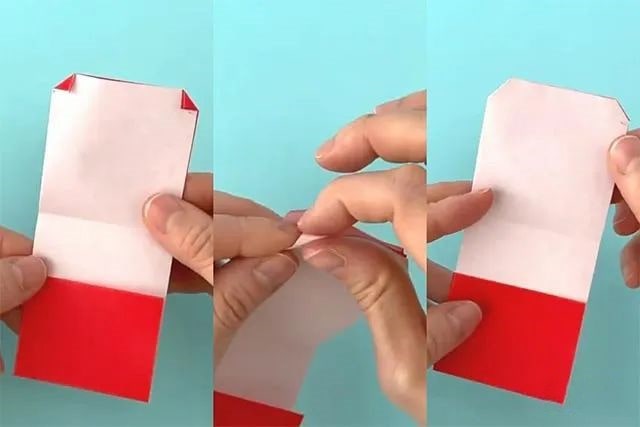
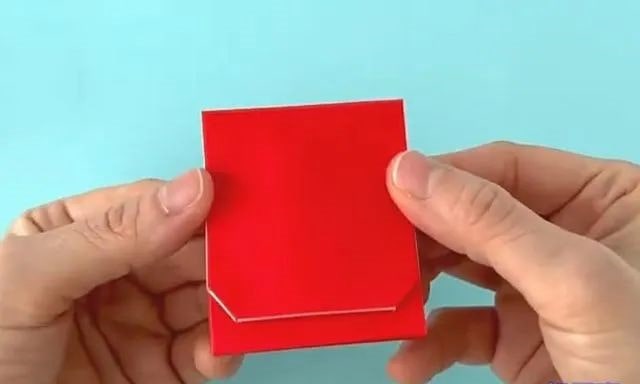
Step 9: Then fold the upper edge downwards along the crease made in Step 7, and the main body of the schoolbag is completed.
Step 10: Next, we'll make the schoolbag's straps. Take the square origami paper with a side length of 7.5cm, fold it in half and then in half again. Cut a strip one - quarter of the width along the crease for use.

Step 11: Fold the one - quarter - width strip in half to form a long and thin strip.
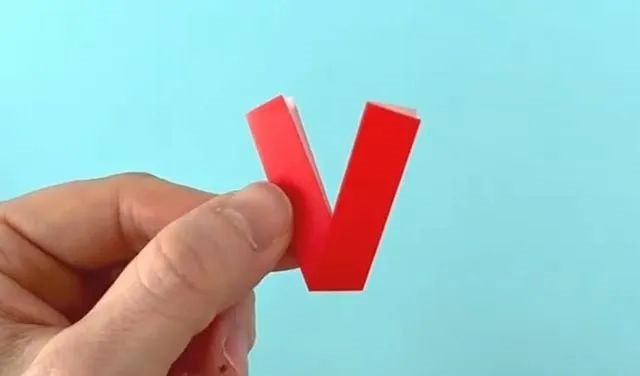
Step 12: Then fold it into a V - shape.
Step 13: Fold both sides forward to form an M - shape. Flip it over so that the two ends face backwards.

Step 14: Then stick the M - shaped strap in the middle of the back of the upper edge of the schoolbag, as shown in the figure.
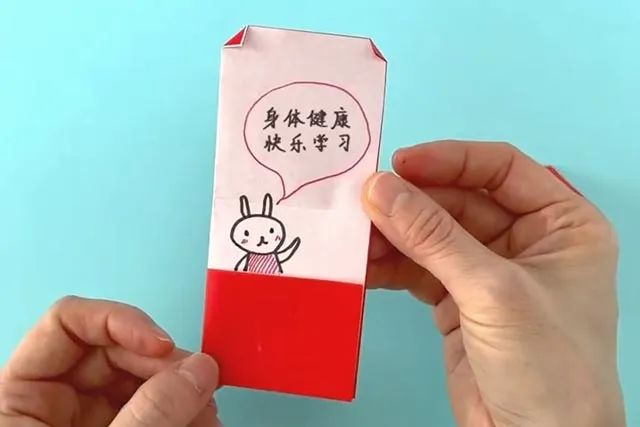
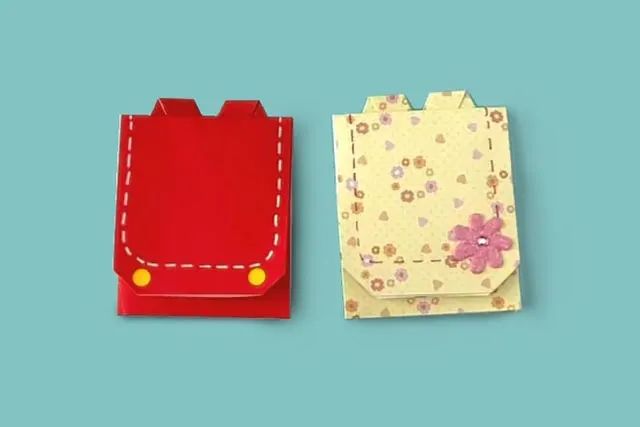
Step 15: Finally, decorate the schoolbag with colored pens and stickers.
Step 16: You can also write some blessings inside. In this way, the paper - folded schoolbag can be turned into a creative greeting card to give to classmates or teachers.