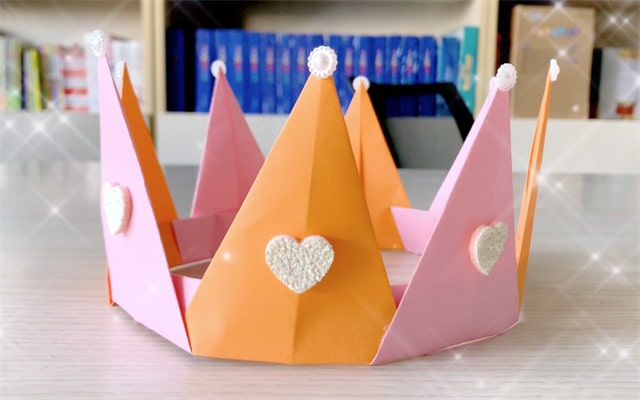
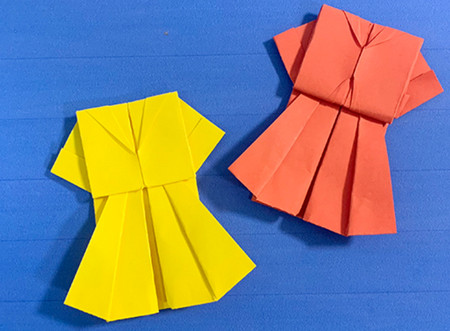
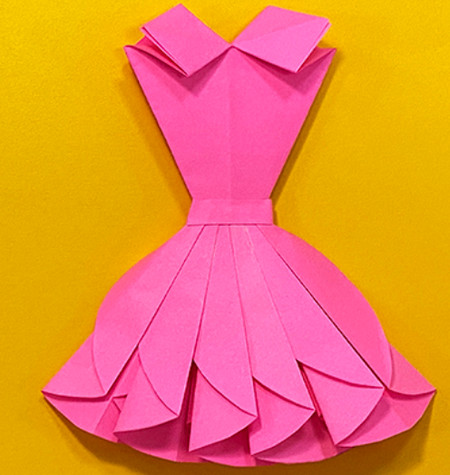
Which girl doesn't have a princess dream in her heart? Now, let your child make this dream come true with just a piece of paper! This origami princess dress tutorial has simple and clear steps, accompanied by lovely illustrations, so children can easily follow. From folding the paper to shaping the skirt, every step is full of fun. The folded princess dress can also be used as a unique decoration. Hurry up and start folding with your child, and let the princess dress bloom gorgeously at your fingertips.
Step 1: Take a square piece of colored paper.

Step 2: Fold the colored paper edge - to - edge, then fold the two corners and unfold.
Step 3: Fold the right - hand side towards the left - hand crease.

Step 4: Then fold it back to the right towards the mid - line.

Step 5: Fold the left - hand side towards the right.

Step 6: Fold the left - hand side back to the left as shown in the picture.

Step 7: Cut off the excess parts on both sides.

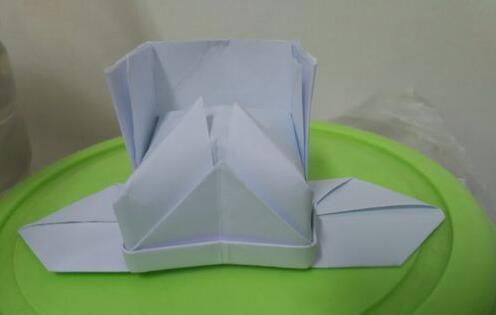
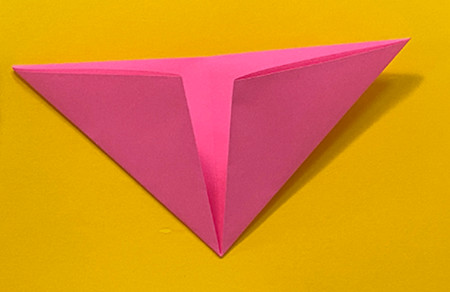
Step 8: Fold the top tip downwards.

Step 9: Open and flatten the small triangle part.

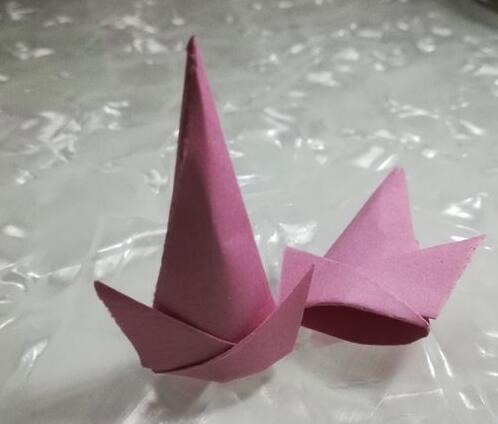
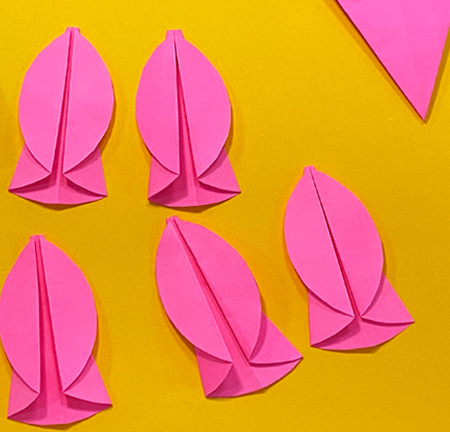
Step 10: Prepare five circular pieces of colored paper

Step 11: Fold the circular colored paper as shown in the picture.

Step 12: Flip it to the back and fold it again.

Step 13: Fold the five pieces of colored paper in the same way.
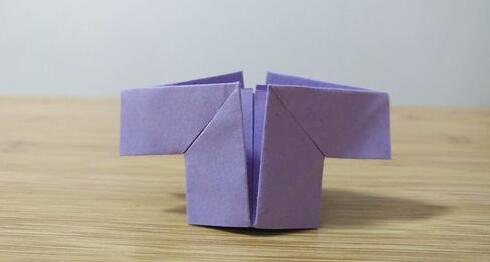
Step 14: Stick them together in pairs.
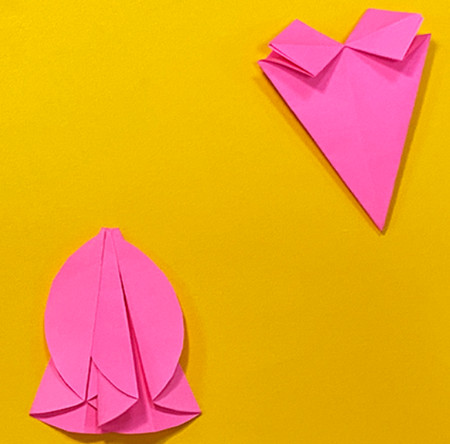
Step 15: After all are stuck together, it should look like the picture.
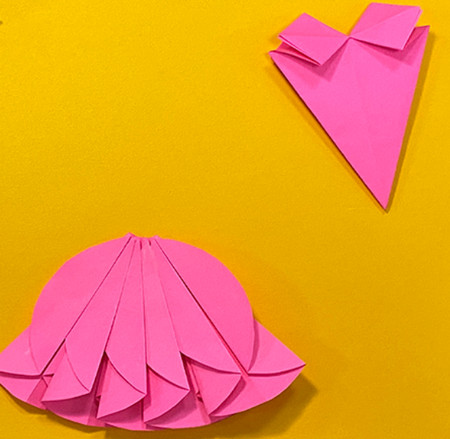
Step 16: Stick the two parts together.
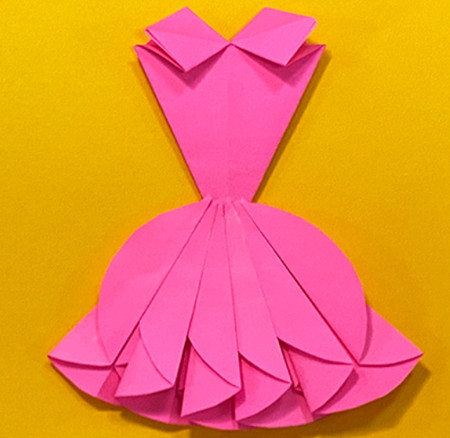
Step 17: Add a cummerbund around the waist, and the princess dress is folded!