Do you want your children to experience the charm of traditional culture through fun handicrafts? Don't miss this origami tutorial for making a black gauze cap! The steps are simple and clear, with intuitive illustrations, so children can easily follow along. From folding and shaping the paper to completing the delicate black gauze cap, the process is full of fun. It not only exercises children's hands - on ability but also enables them to understand traditional clothing culture. Quickly start this creative journey with your children!
Cut a piece of paper into a square.

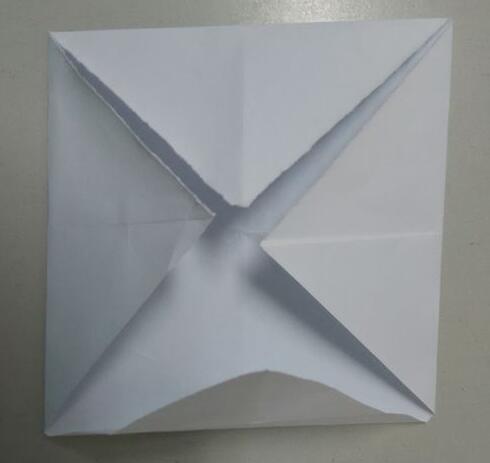
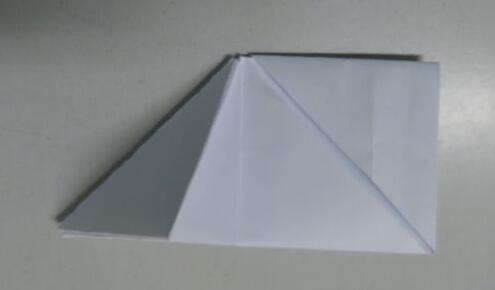
Fold each of the four corners towards the center to get this shape.
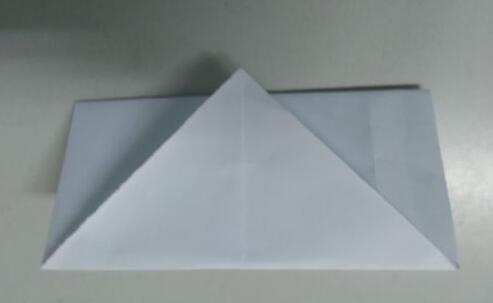
Fold it in half with the corners on the outside.
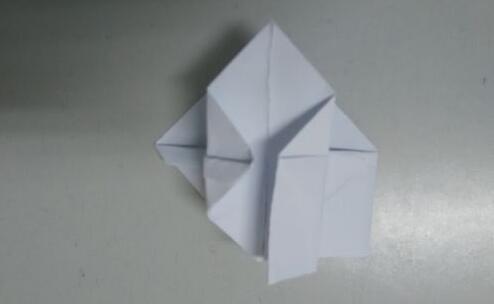
Fold along each side of the middle triangle.
Fold along the other side of the triangle in the opposite direction.
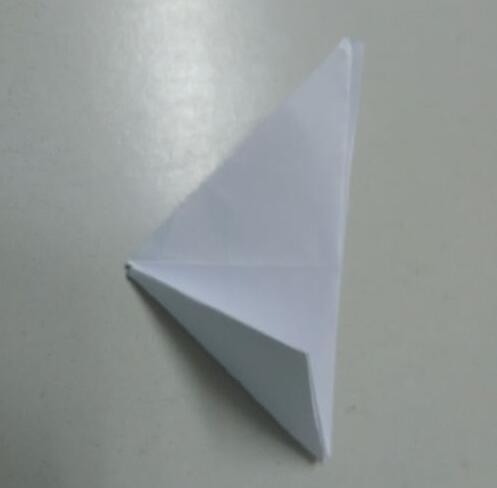
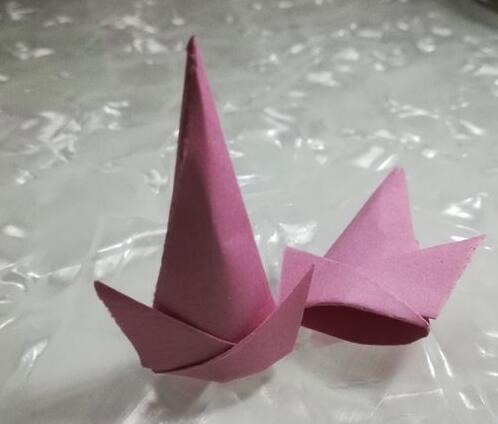
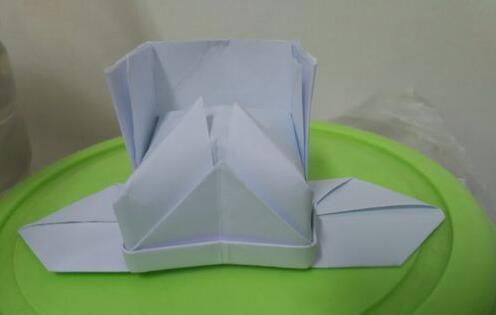
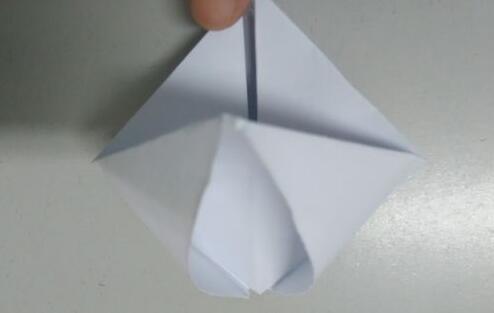
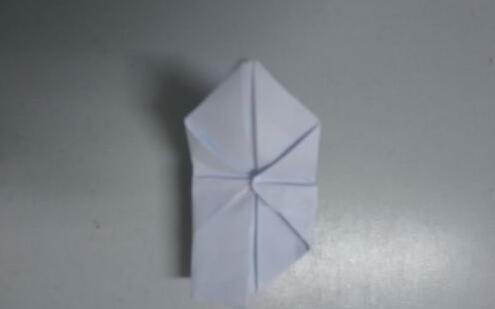
Stand it up with the tip facing down, like this.
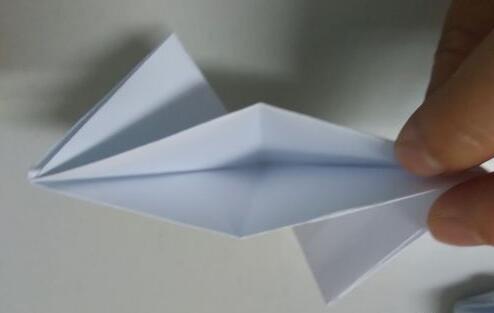
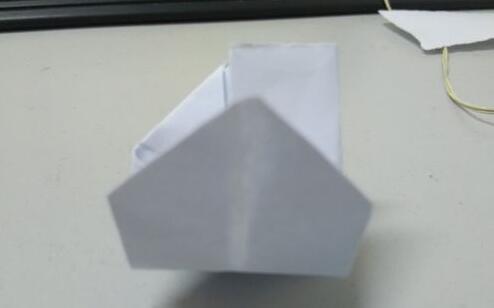
Open the middle triangle and bring it closer to the opposite side.
Press it flat, like this.
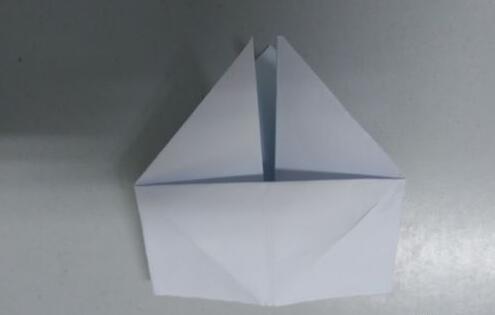
Flip up one of the corners at the end where your finger is and fold it in half.
Turn it over and fold the other corner upwards, stopping short of the diagonal line.
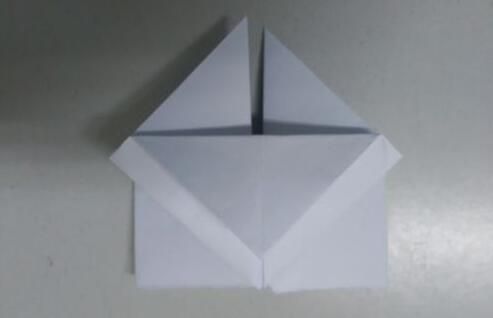
Then fold it along the diagonal line to get this shape.

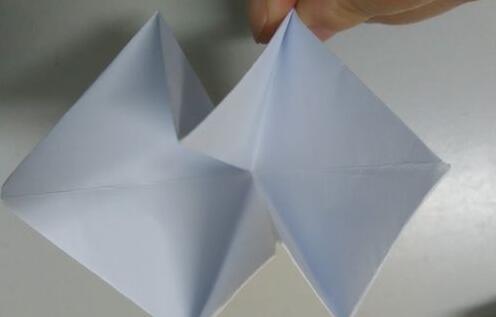
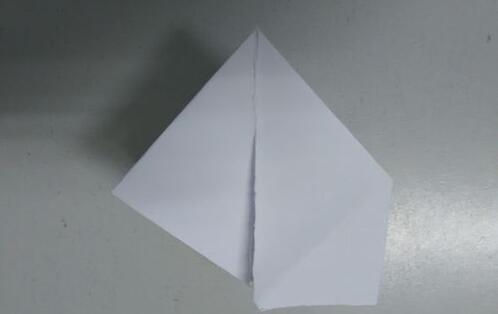
Then turn it over and open the two sides to get this shape.
Fold the two vertical sides on each side towards the middle line.
Turn it over and do the same on the other side, folding towards the middle.
Then fold the lower half of the two folded sides upwards along the center line.
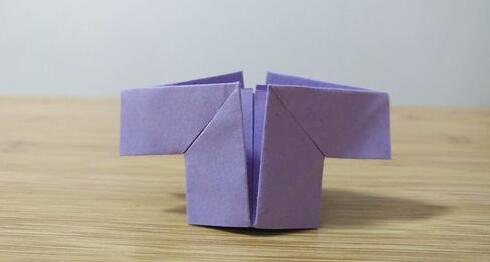
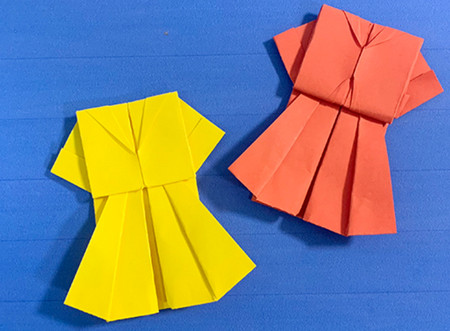
Finally, open up the hat part in the middle, and you'll get a black gauze cap. Painting it black will make it more vivid.