Do you want to own a magic hat of your own and embark on a fantasy journey? This detailed origami magic hat tutorial is your magic key. The tutorial has clear steps, accompanied by intuitive illustrations, guiding you through the magical transformation step by step, from folding the paper to skillfully shaping it. No complicated skills are required, and beginners can easily handle it. Quickly follow the tutorial and let the magic bloom at your fingertips!
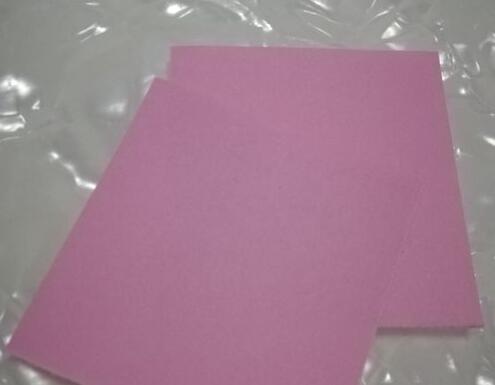
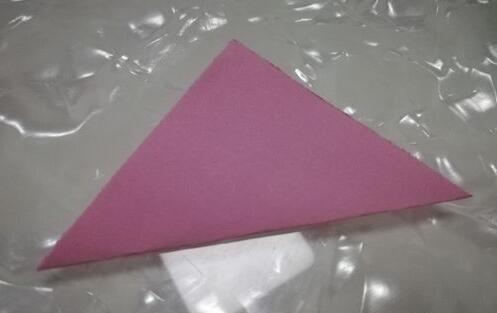
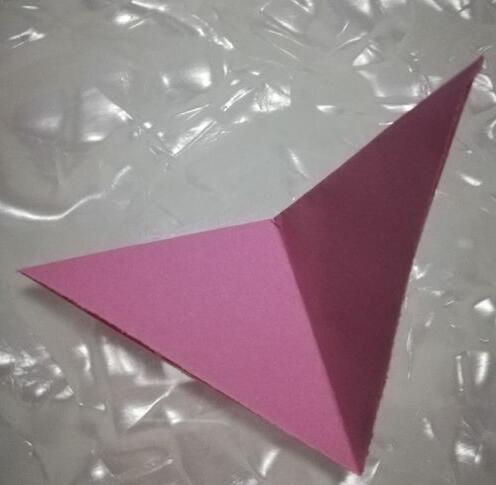
Prepare a square piece of origami paper, which can be beautiful colored paper. Fold the origami paper along one diagonal line to form a triangular shape as shown in the figure.
Then fold the folded triangle along the mid - line of the triangle to form a small triangle as shown in the figure. Open the folded paper, and you will see an obvious crease.
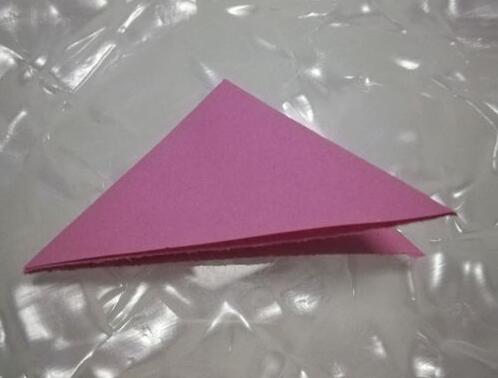
Then fold the folded triangle along the mid - line of the triangle to form a small triangle as shown in the figure. Open the folded paper, and you will see an obvious crease.
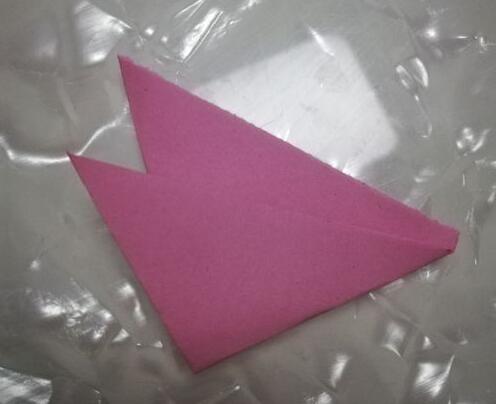
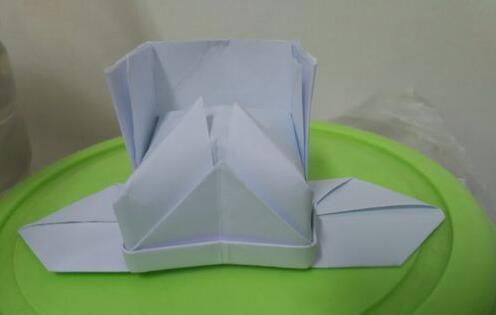
Repeat the above step on the other side of the triangle. Fold the side inwards in the same way to form another triangle, covering the triangle folded just now. There is a sharp point formed on the top, and two sharp points are formed at the bottom.

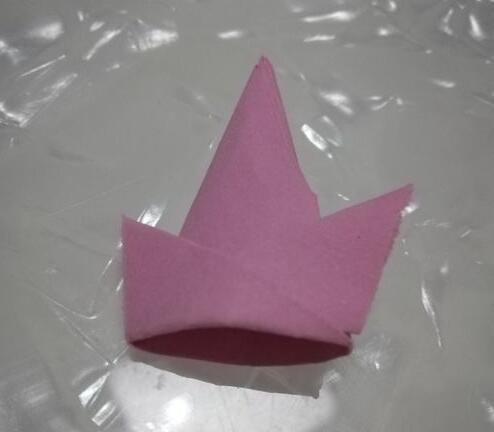
Fold the two bottom sharp points of the folded paper upwards along the bottom edge of the triangle, and flip the two points to the top. This is the brim of the magic hat we are folding.
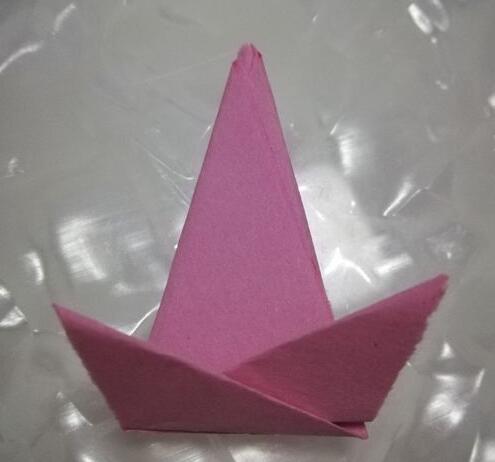
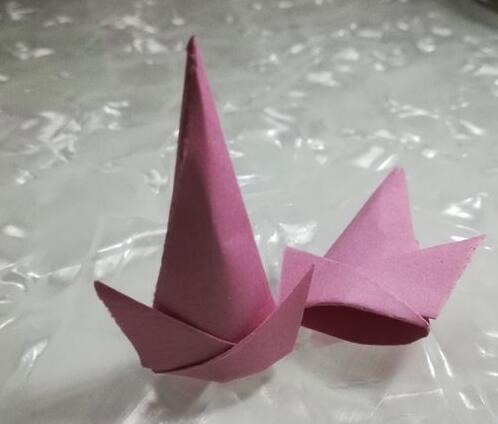
Open the bottom of the triangle. After opening it, it will be the complete shape of a hat. Stand the hat up, and a cute magic hat is formed.