Paper Fingerless Gloves are a simple and fun origami craft, perfect for young children. All you need is a square piece of paper. The size of the paper determines the size of the gloves, and using thicker paper makes folding easier.

Materials: Square paper
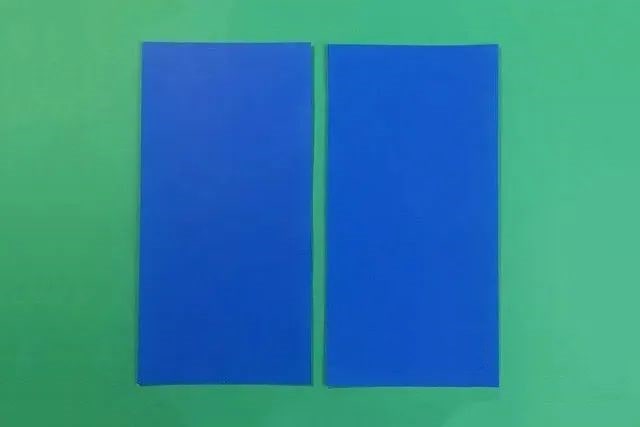
Step 1: Fold the square paper in half and cut it into two pieces. Use one piece to fold one glove, and you'll end up with a pair of gloves.
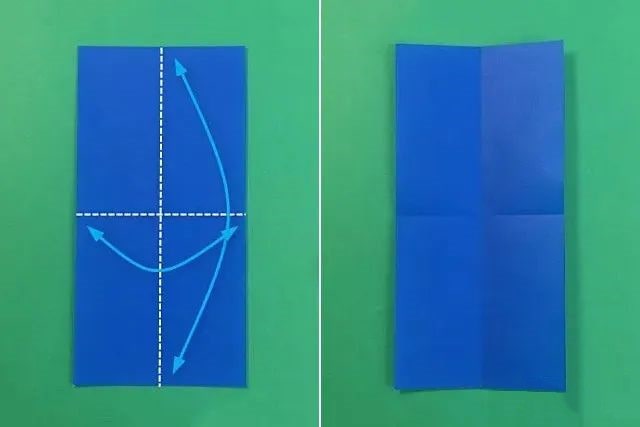
Step 2: Take one of the halves, fold it in half both horizontally and vertically, then unfold to create a cross-shaped crease that divides the paper into four equal parts.
Step 3: Fold one of the narrow edges slightly upwards.
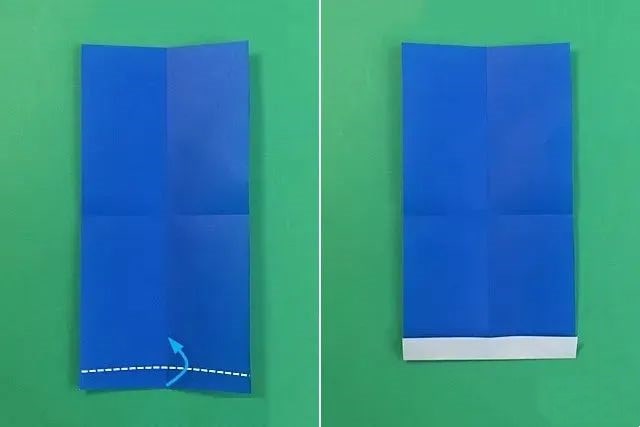
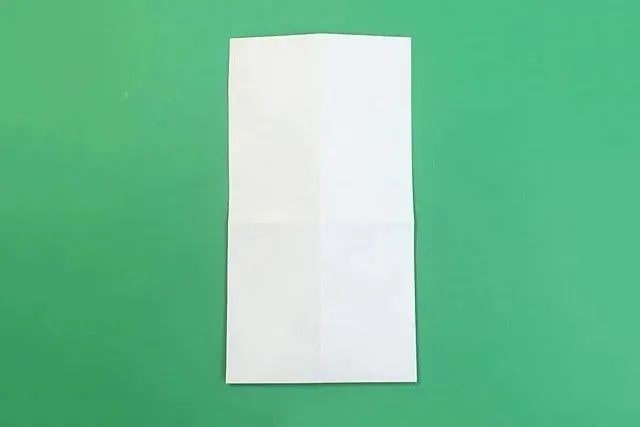
Step 4: Turn the paper over so that the back side is facing up.
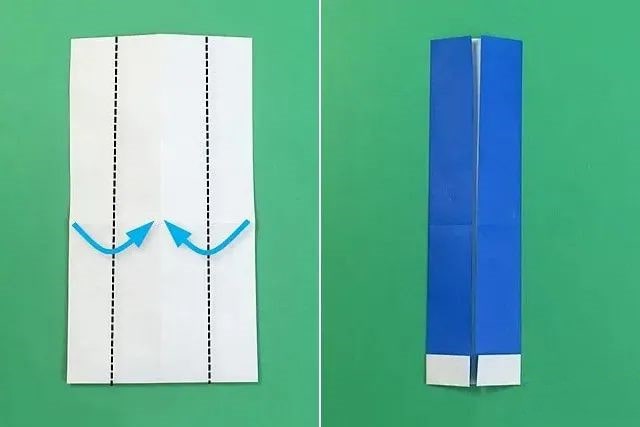
Step 5: Fold both long edges towards the center line along the dotted lines until the edges meet the center line.
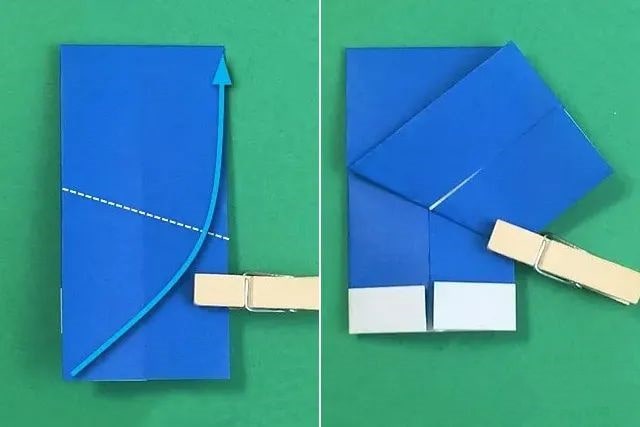
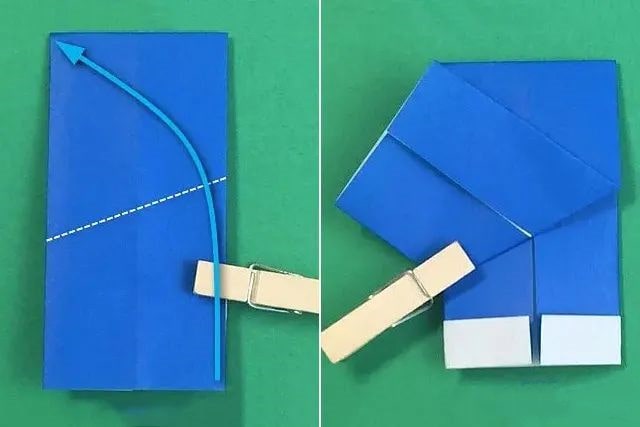
Step 6: Fold the paper in half from the top down.
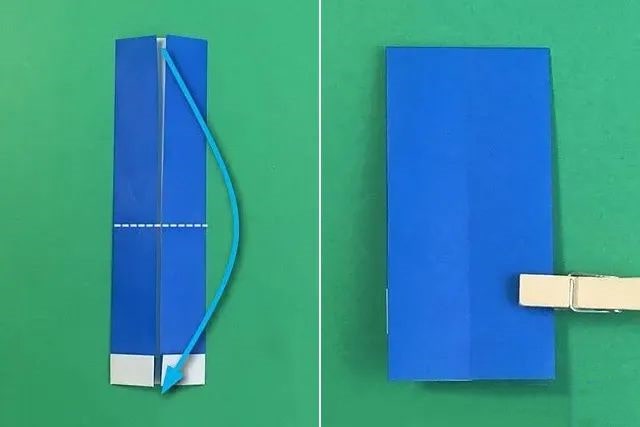
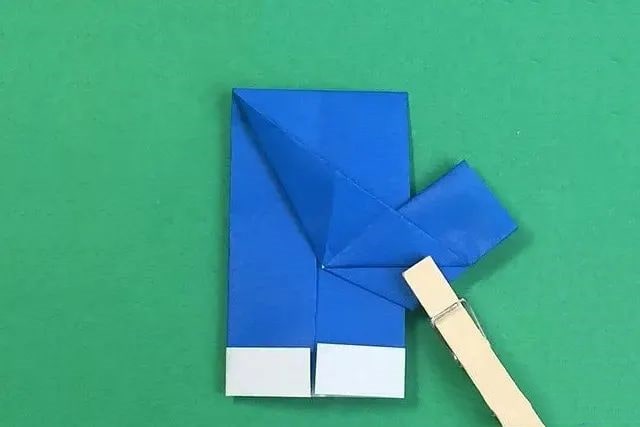
Step 7: Fold the top layer to the upper right, aligning the lower left corner with the upper right corner.
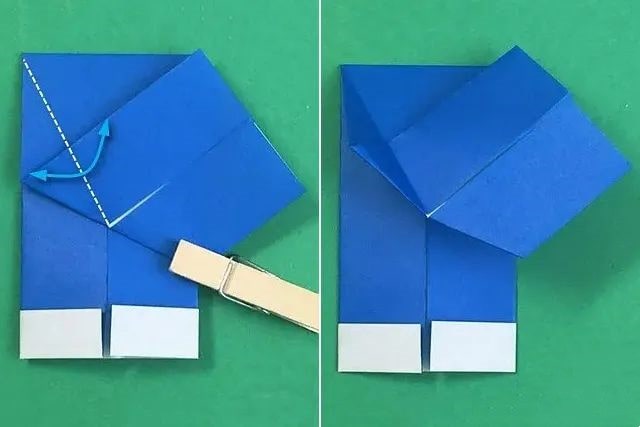
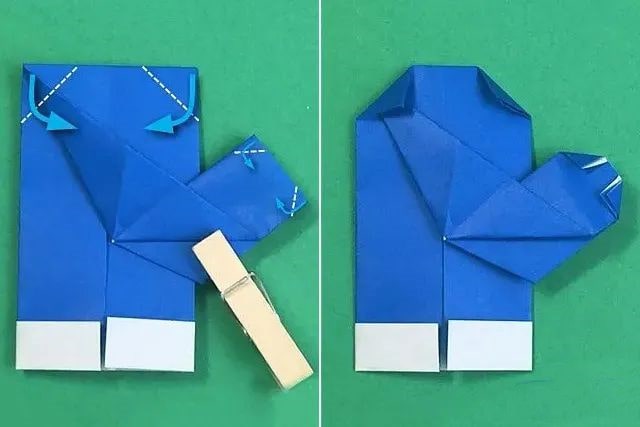
Step 9: Fold the previously folded upper-right section to the left and then unfold, leaving another crease (along the dotted line).
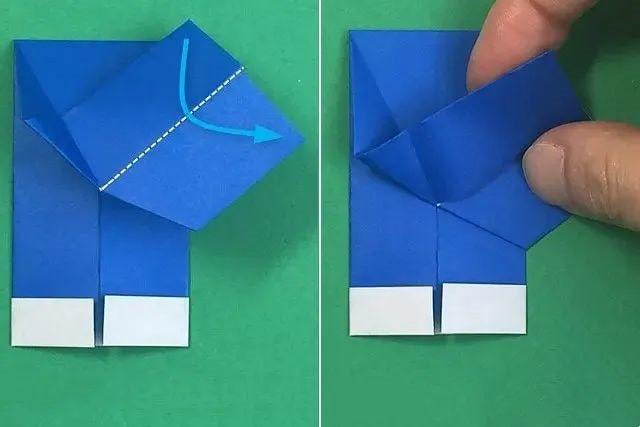
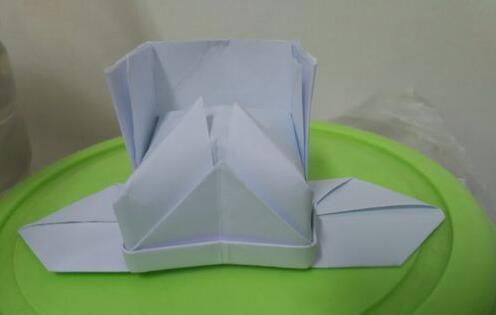
Step 10: Fold along the creases made in Steps 8 and 9, following the pattern shown in the diagram.
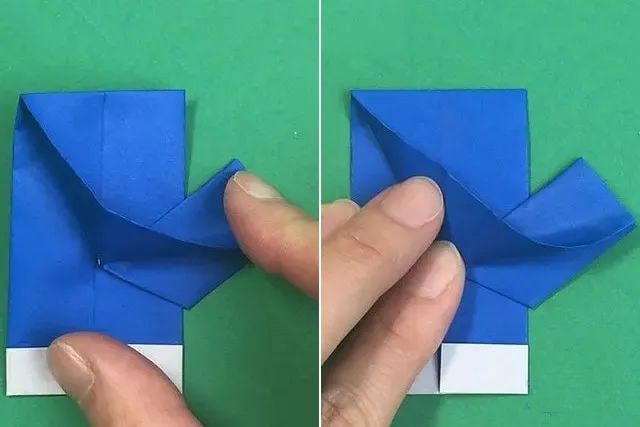
Step 11: Fold the four corners inward along the white dotted lines.
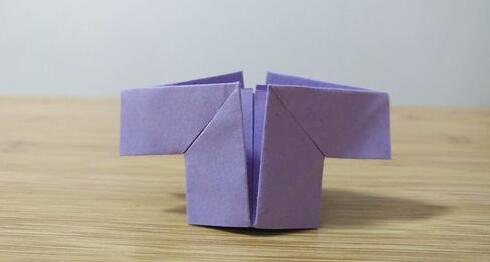
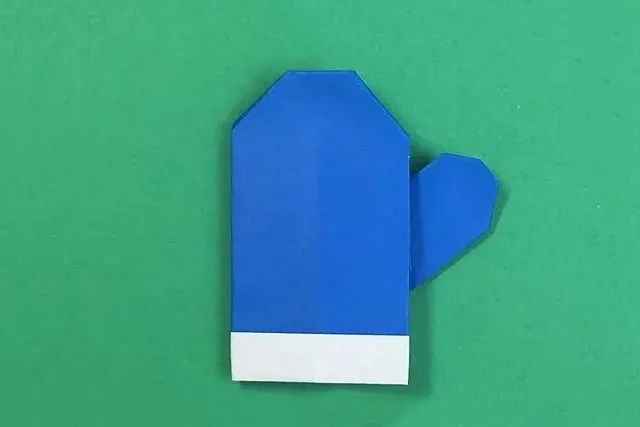
Step 12: Turn the paper over. You now have a fingerless glove, which is clearly designed for the left hand.

Step 13: The method for folding the right-hand glove is similar. The only difference is in Step 7, where you fold the top layer to the upper left, aligning the lower right corner with the upper left corner. The rest of the steps are the same.
Step 14: This is the completed right-hand glove.
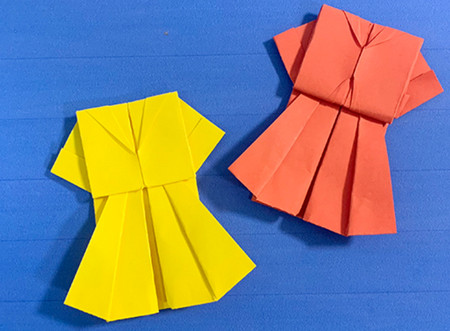
Step 15: Here is the completed pair of beautiful fingerless gloves.