Do you want a lively three - dimensional butterfly to come to life at your fingertips? Here comes the illustrated step - by - step tutorial for folding a three - dimensional butterfly! With clear steps and intuitive illustrations, it will guide you to fold a lifelike butterfly step by step. No complicated skills are required. Just prepare a piece of paper and follow the tutorial, and you can easily complete it. The folded butterfly can be used as a decoration. Come and start this fun - filled origami journey.
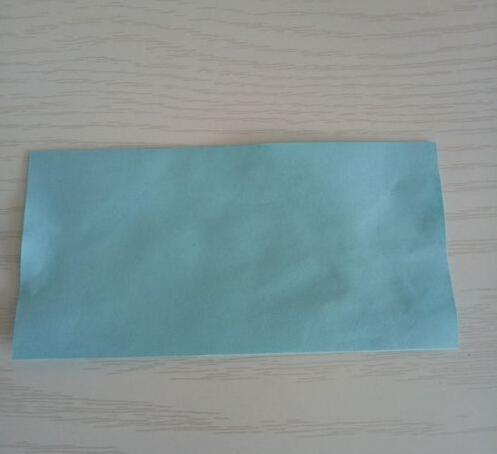
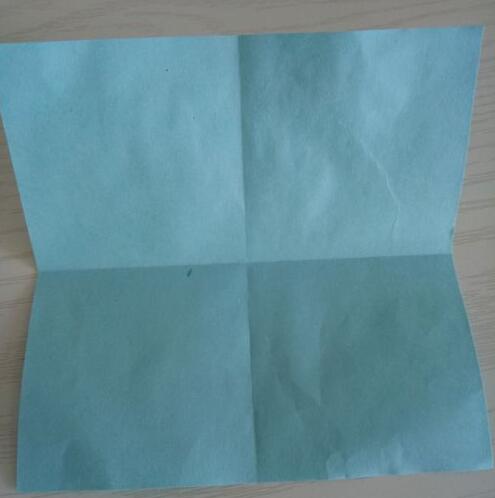
First, take a square piece of colored paper and fold it in half from the middle. Then, change the direction and fold it in half from the middle again to form a cross shape.

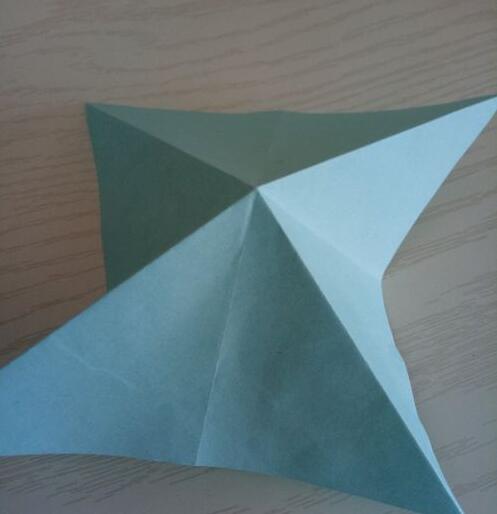
Next, fold it into a triangle. Make sure to align the edges properly. Don't try to take shortcuts by folding continuously. Be sure to unfold it, change the direction, and then fold the other half into a triangle.


In the next step, unfold the folded triangle and then, following the steps in the picture, fold out a double - layer triangle.
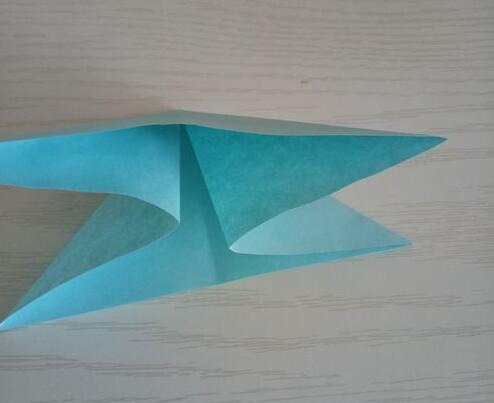

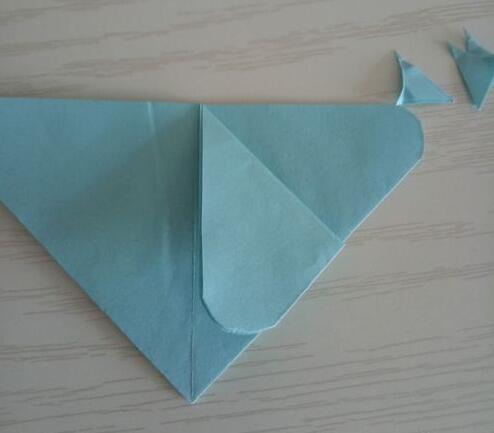
Then, at the corner with more layers, use scissors to cut a semi - circular shape at this corner. If you're worried about not cutting it round, cut a little bit first. If it doesn't look round, you can make appropriate adjustments.

After trimming, unfold it. Then turn the triangle upside down and fold the two side corners towards the middle line.
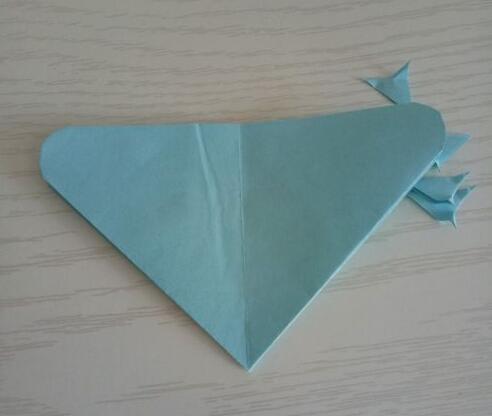

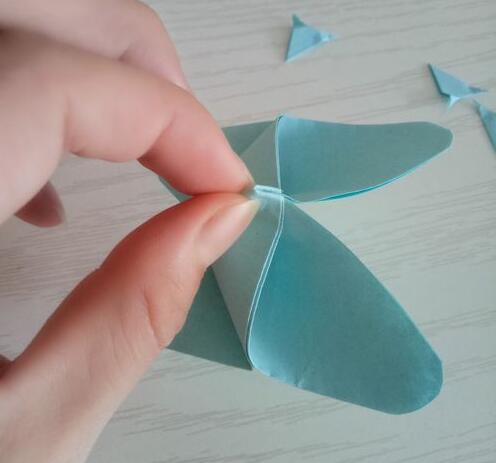
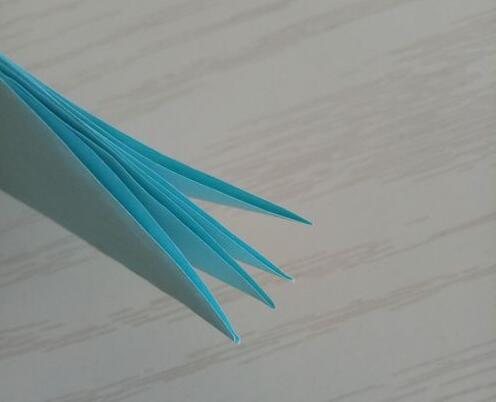
Next, flip the bottom pointed corner backwards so that it directly aligns with the front pointed corner. Then fold the pointed corner on top. Don't fold too much, just let the pointed corner press on top. A reminder: press it with your index finger in the middle during the flipping process.


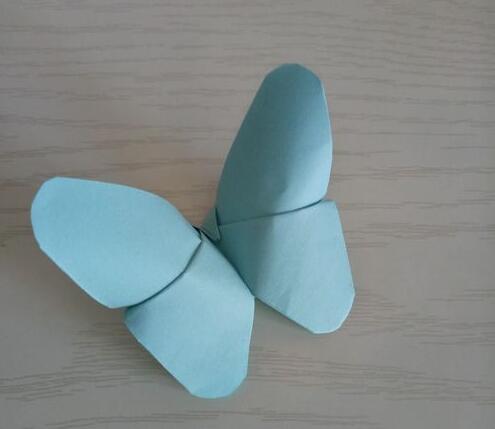
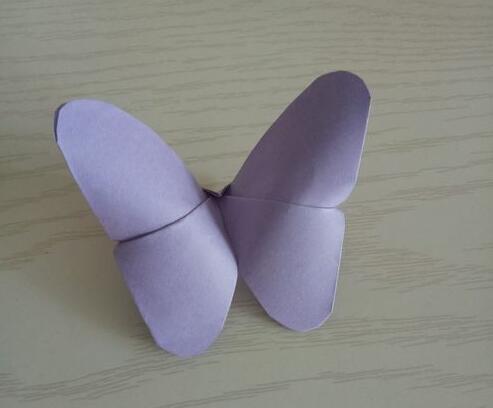
When the two pointed corners are folded together, you can take your index finger out. Then pinch it in the middle to create a curvature. Subsequently, adjust the two wings appropriately, and the colored - paper butterfly is done.