Cicadas are probably quite familiar to everyone. Every summer, as soon as it arrives, the chirping of cicadas rises and falls, which can be rather annoying. Children can observe and see what characteristics cicadas have. Today, we'll demonstrate how to fold a paper cicada, so that children can have a deeper understanding of the shape and features of cicadas.
Materials: Square paper
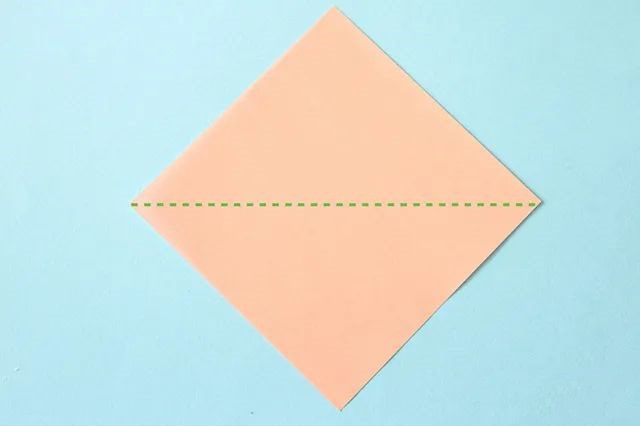
Step 1: Place the square paper in a diamond shape and fold it along one of the diagonals.
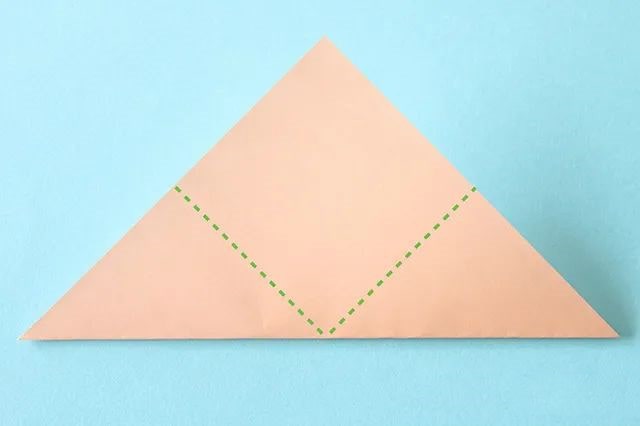
Step 2: Fold it into a triangle with the base facing down. Then fold the two base angles inward along the dotted lines.
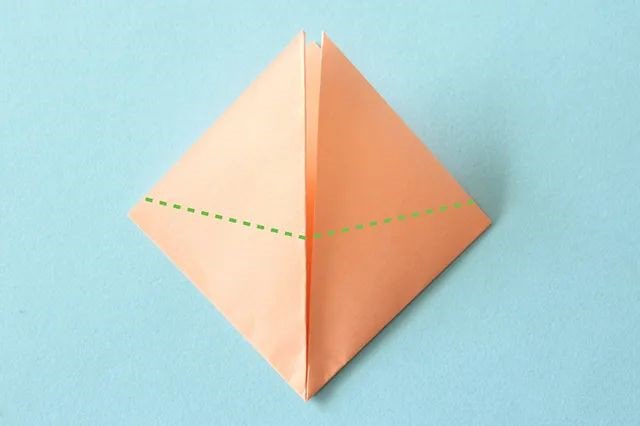
Step 3: After folding, it becomes a square. Then fold it in the opposite direction along the dotted line.
Step 4: Fold it in the opposite direction to form the two wings of the cicada, as shown in the figure. For the upper layer of the upper right - angled corner, fold down a triangle along the dotted line.
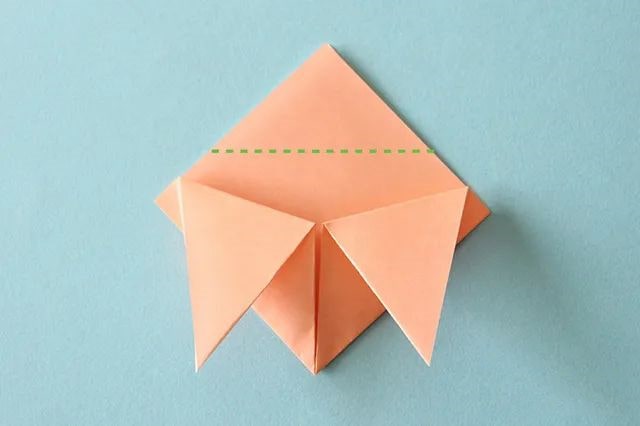
Step 5: Also fold the lower right - angled corner down along the dotted line. The triangle folded in Step 5 is slightly smaller than that in Step 4.
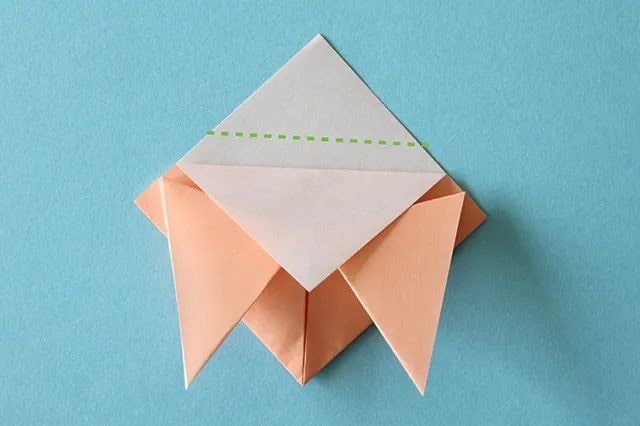
Step 6: After folding, the two folded triangles form a white edge. Then fold the part above the dotted line downwards.
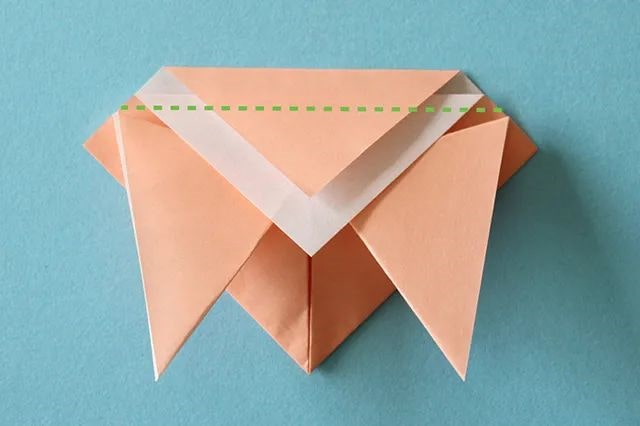
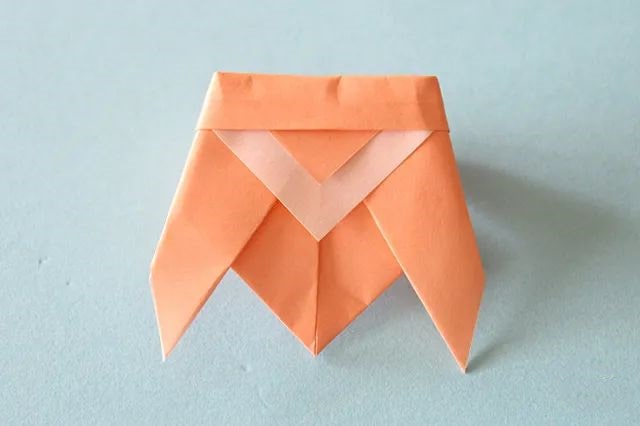
Step 7: Then fold the left and right sides backward along the green lines.

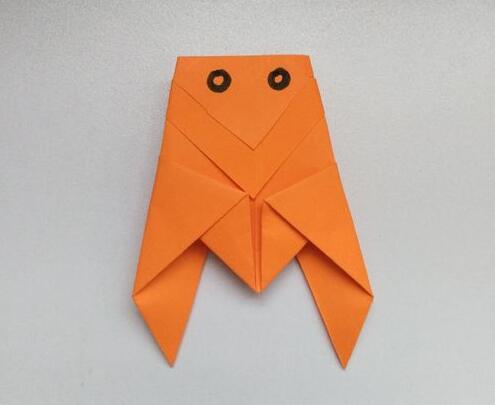
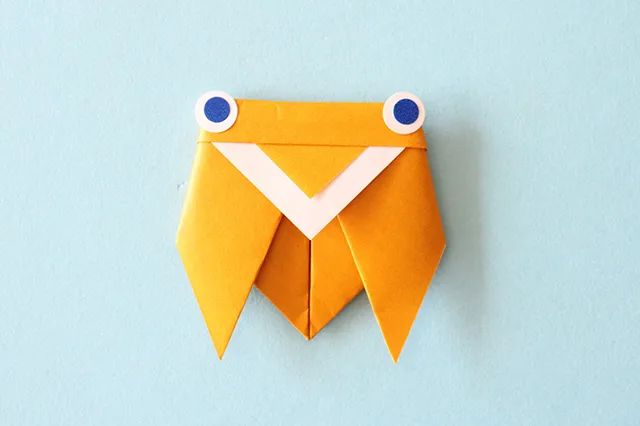
Step 8: A simple paper - folded cicada is completed.
Step 9: Finally, add a pair of big eyes to it. You can directly stick round stickers as eyes, or draw them on white paper first and then stick them on.