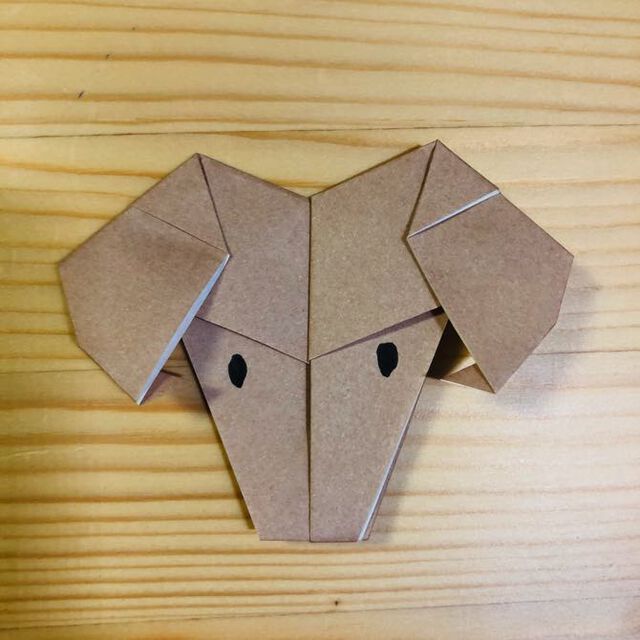
This is a simple and adorable sheep origami tutorial that can be completed in just 8 steps. The finished model measures approximately 15cm×15cm, making it suitable for children aged 5+ and origami enthusiasts. You’ll need only a square sheet of colored paper (white or light gray recommended) and a black marker. This project helps develop spatial thinking skills through folding and creates a charming desktop decoration.
Origami Steps
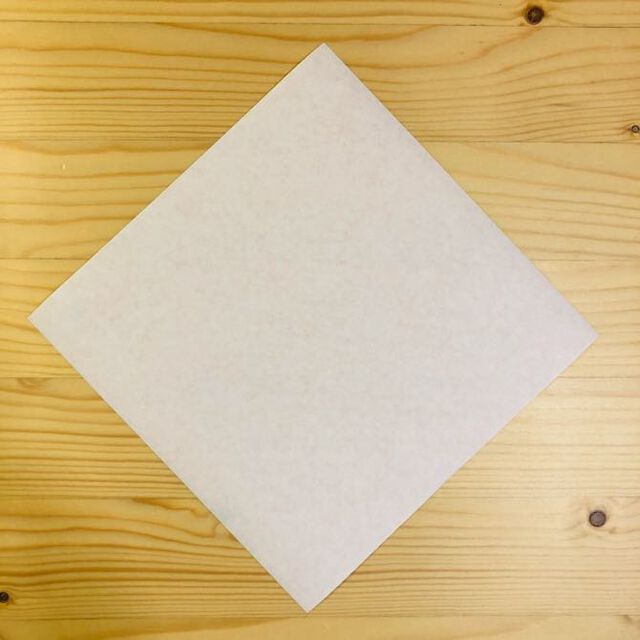
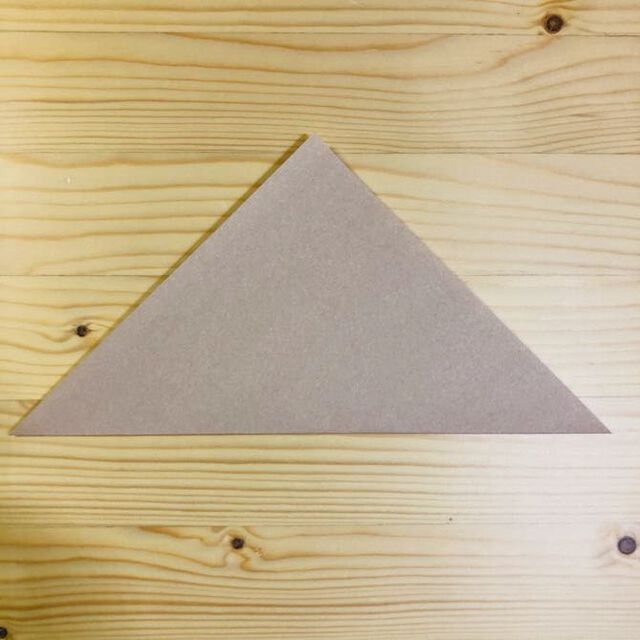
Step1:Fold the square paper diagonally in half, then unfold to create a cross-shaped crease.
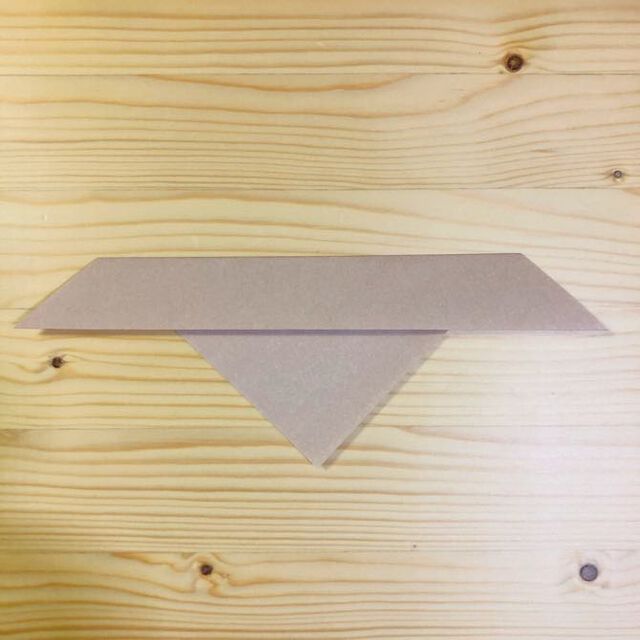
Step2:Fold the bottom edge upward to align with the center line, pressing firmly to crease.

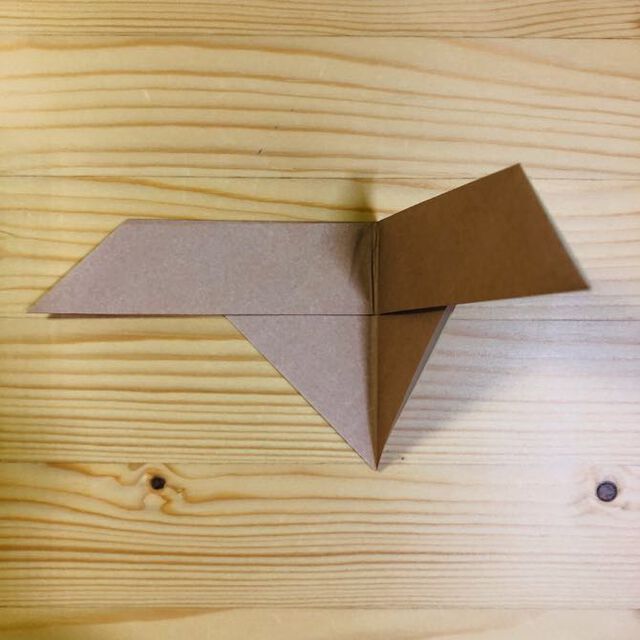
Step3:Turn the paper over to the reverse side.
Step4:Fold the left edge toward the center line to maintain symmetry.

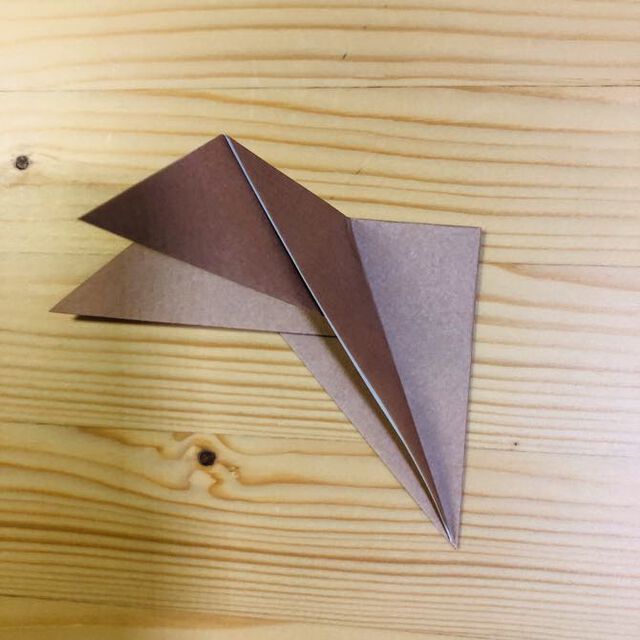
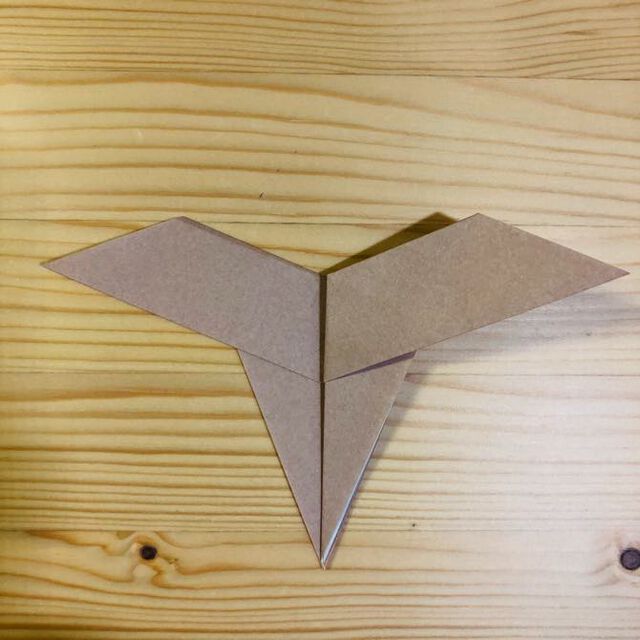
Step5:Fold the paper vertically in half to form a rectangular shape.
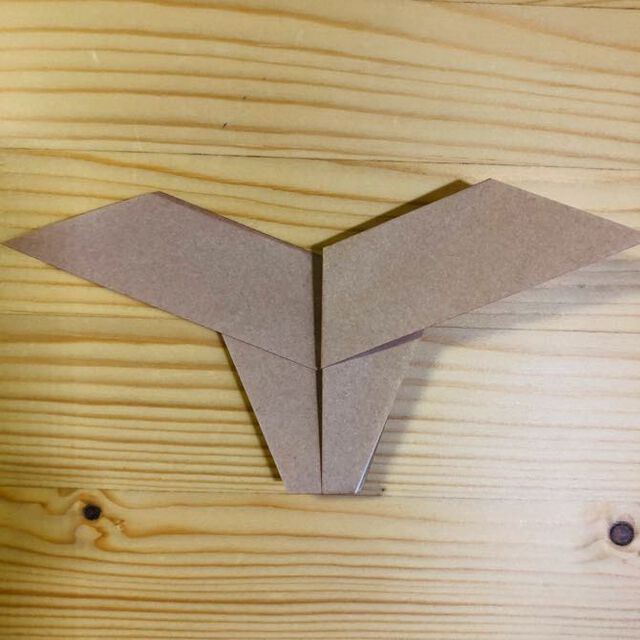
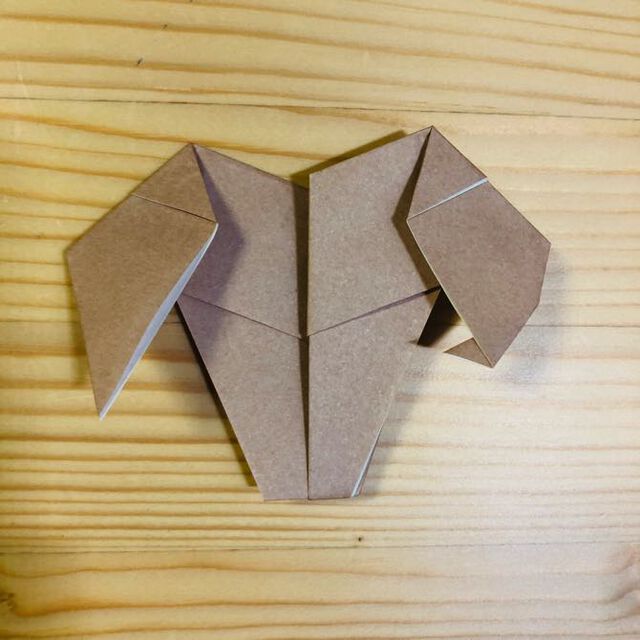
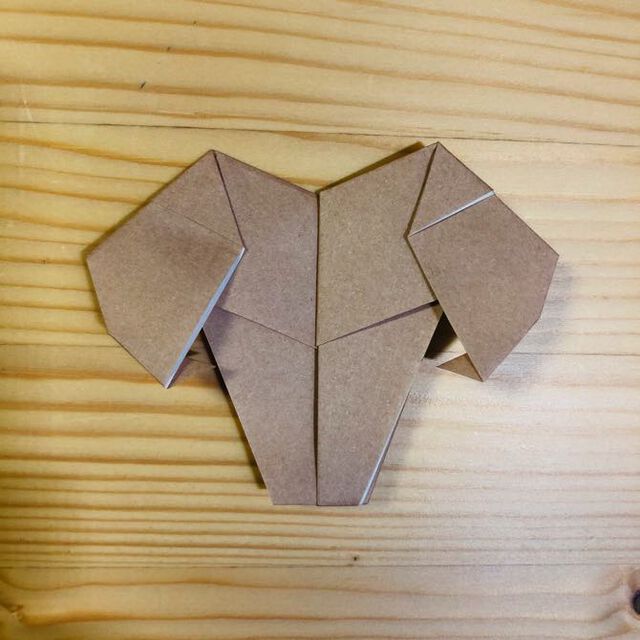
Step6:Lift the top layer and fold both top corners inward at 45 degrees to create ears.
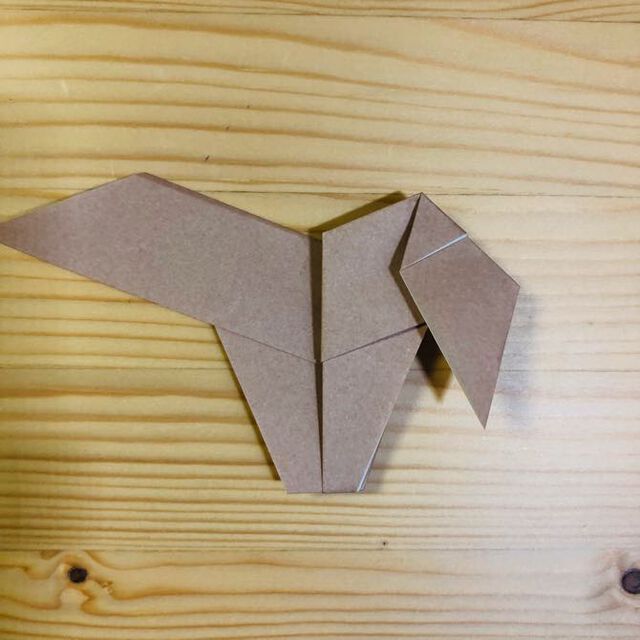
Step7:Fold the upper right portion backward to shape a fluffy sheep’s back.
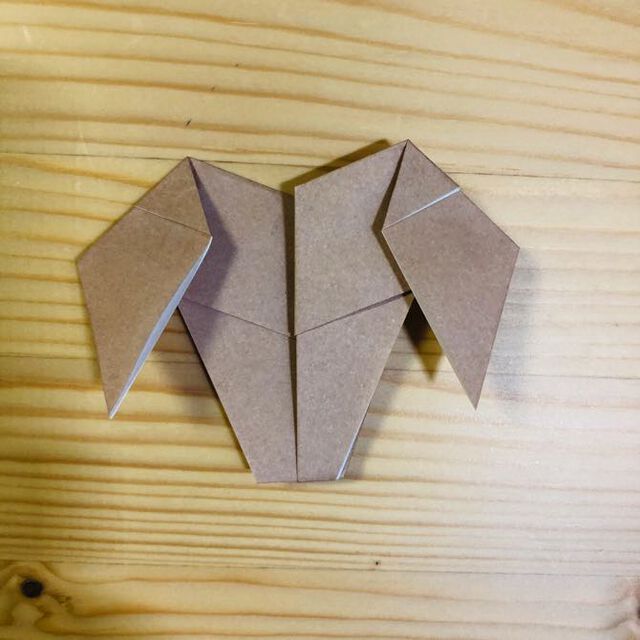
Step8:Flip the paper again and gently tuck the top two corners inward for added three-dimensional effect.
Use a black marker to draw eyes—your cute sheep is complete!
Tips & Tricks
Keep creases sharp by running your fingernail along edges.
Keep creases sharp by running your fingernail along edges.
Opt for double-sided colored paper to enhance visual appeal.