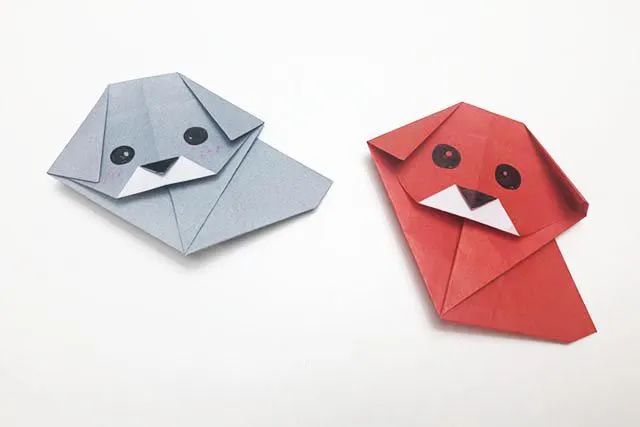
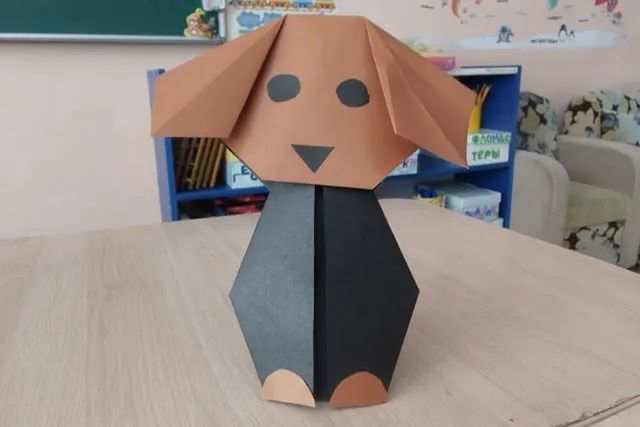
In this issue of simple origami animals for kids, we choose the puppy that children all love. We'll use two square pieces of paper to fold a sitting, front - facing puppy. So, how do we fold a paper puppy?
Materials: Square origami paper, colored craft paper, or coloring pens
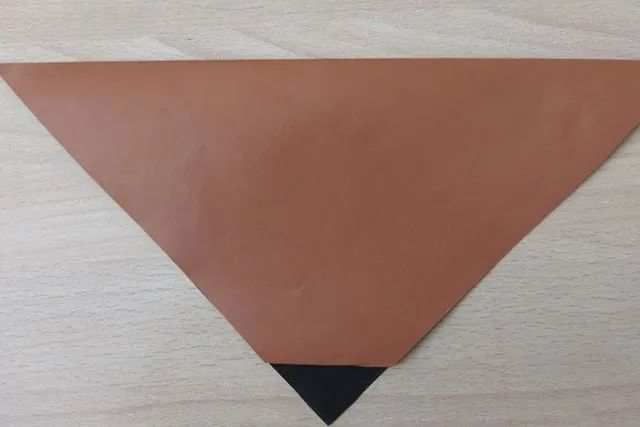
Step1:Place the square origami paper with the back side facing up (if the two sides have different colors), in a diamond shape.
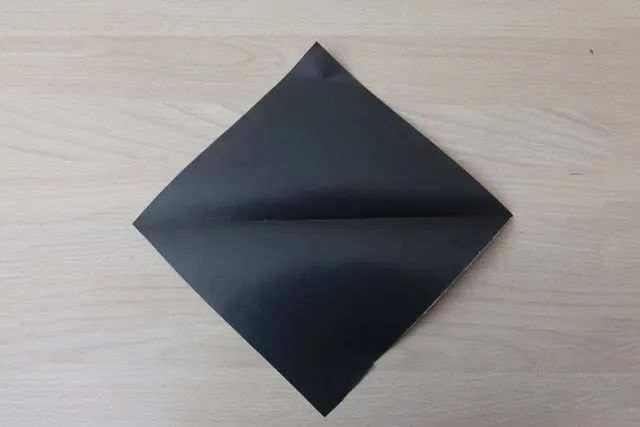
Step2:Fold the square origami paper along the horizontal diagonal to form a right - angled triangle with the front side facing out. Then, slightly fold the right - angle of the upper layer of the triangle inwards, as shown in the figure.
Step3:Fold the two bottom - left and bottom - right corners downwards respectively to form the puppy's ears.

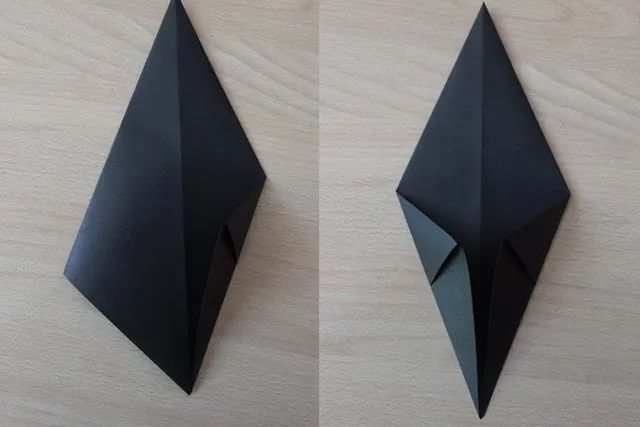
Step4:Open the ear sandwich layer and flatten it into a shuttle shape.
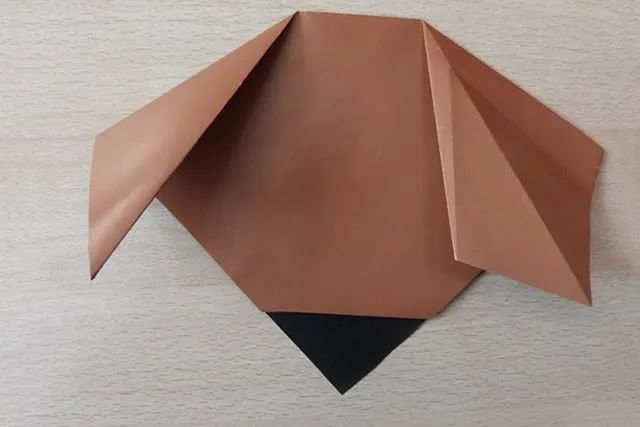
Step5:Open both ears in the same way, and make sure the two ears are symmetrical, not one big and one small.

Step6:Cut out the shapes of eyes and a mouth from other craft paper and stick them in the appropriate positions. You can also draw the eyes and mouth with coloring pens. The head part of the puppy is now folded.

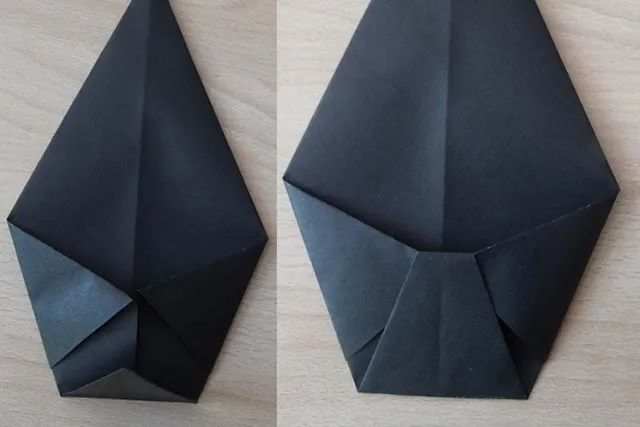
Step7:Next, fold the body part of the puppy. Take another square piece of craft paper and place it in a diamond shape. Fold the corners on both sides of the vertical diagonal inwards until their edges coincide with the diagonal.
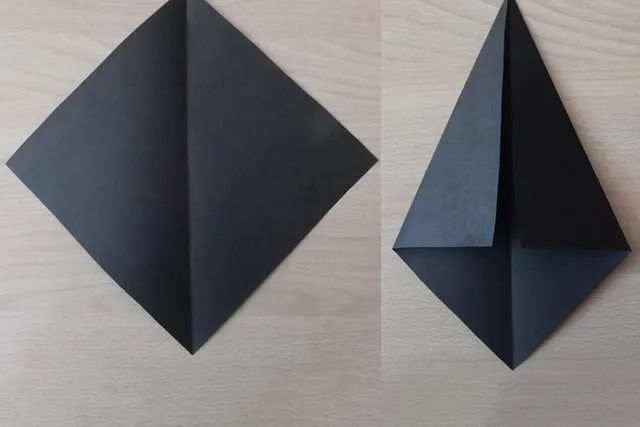
Step8:Turn it over.
Step9:Fold the left and right corners inwards again until their edges coincide with the vertical mid - line.
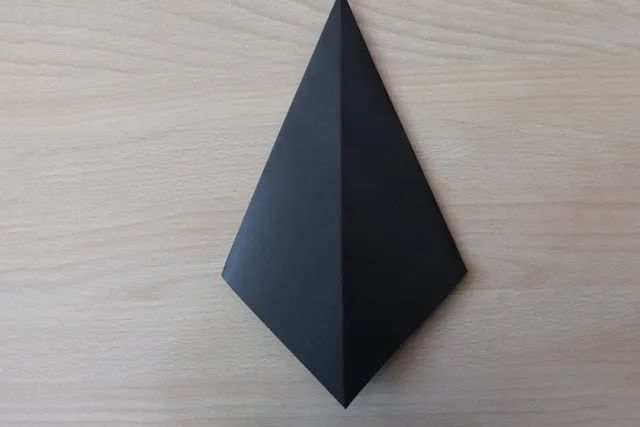
Step10:Fold the bottom - most corner upwards, then fold the tip of the corner inwards and tuck it into the sandwich layer.
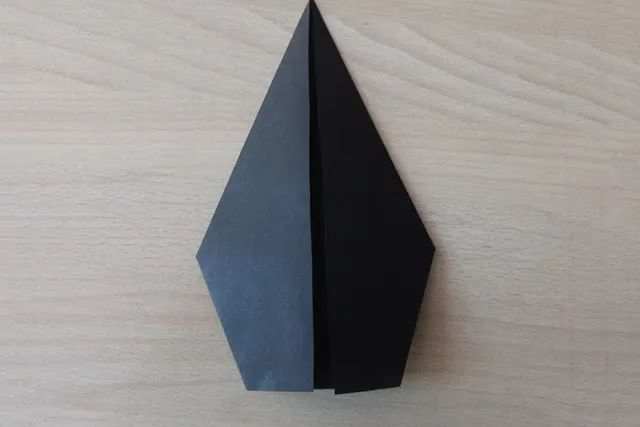
Step11:Turn it over. The body part of the puppy is folded.
Step12:These are the folded head and body parts of the puppy.
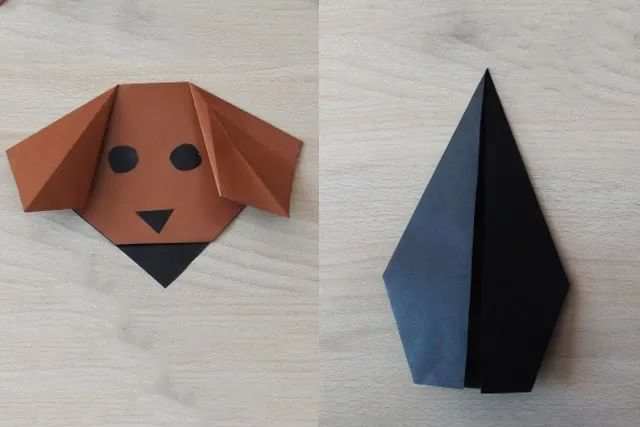
Step13:Now, tuck the sharp corner on the top of the body part into the sandwich layer under the puppy's chin.
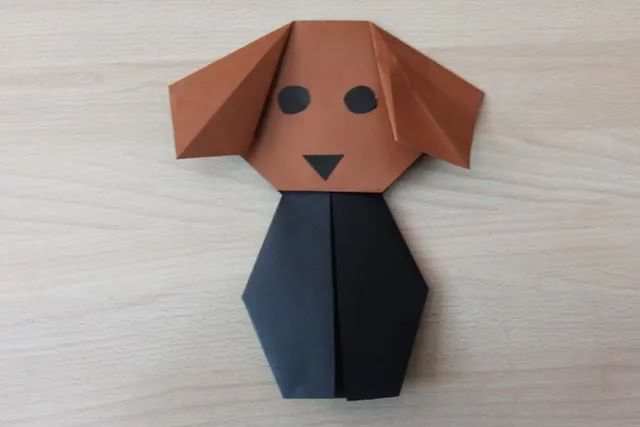
Step14:Finally, cut out two semi - circles and stick them on both sides of the bottom of the body as two feet. The simple handmade paper - folded puppy is completed.