Through precise folding and ingenious combination, we can transform an ordinary piece of paper into a vivid fighter jet model and experience the charm of flight. If you're interested, let's give it a try. Now, let's start today's tutorial.

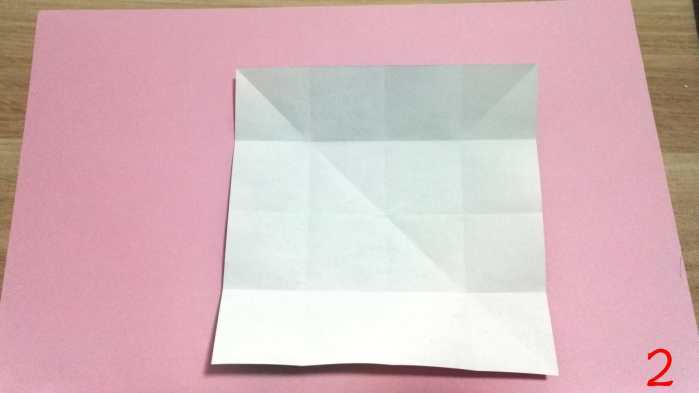
Prepare a square piece of paper. Colored paper will make it look even better.
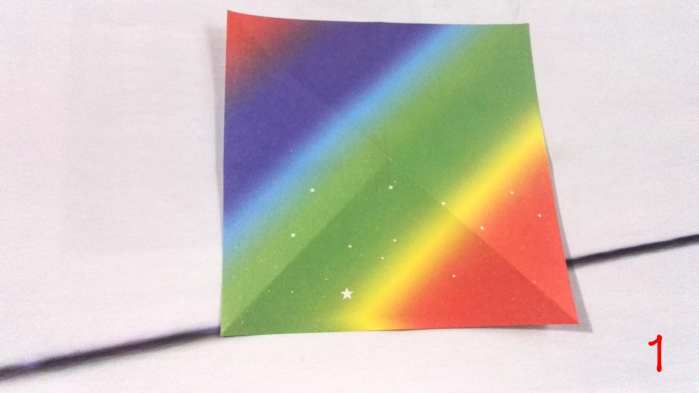
Step 1: First, fold out a 'rice - shaped' pattern (two diagonal creases and two perpendicular creases intersecting in the middle).
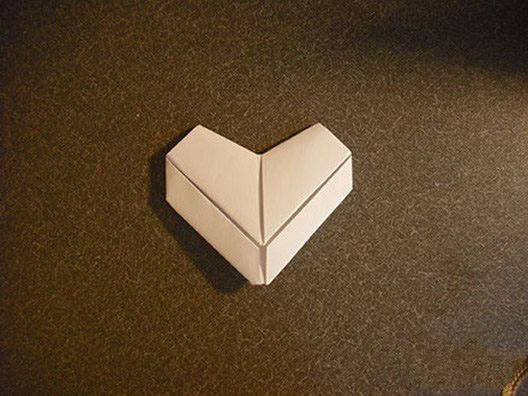
Step 2: Then, fold it towards the middle crease.
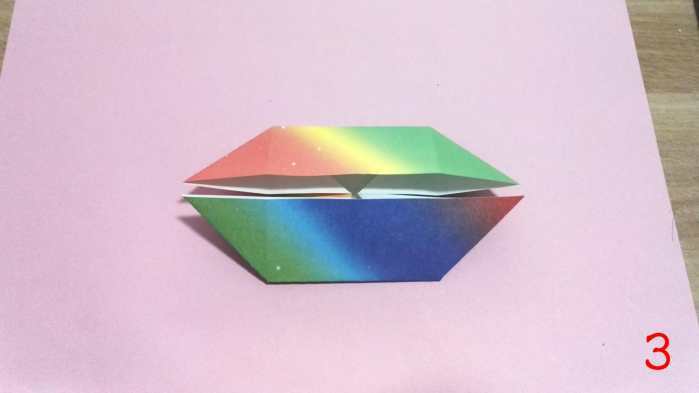
Step 3: Fold the mid - point of each side towards the center point, and then stretch the four corners to both sides, as shown in Figure 3 above.
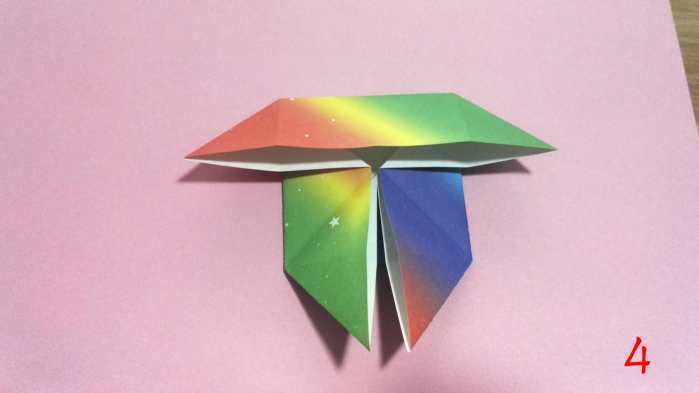
Step 4: Fold the two lower corners downwards.

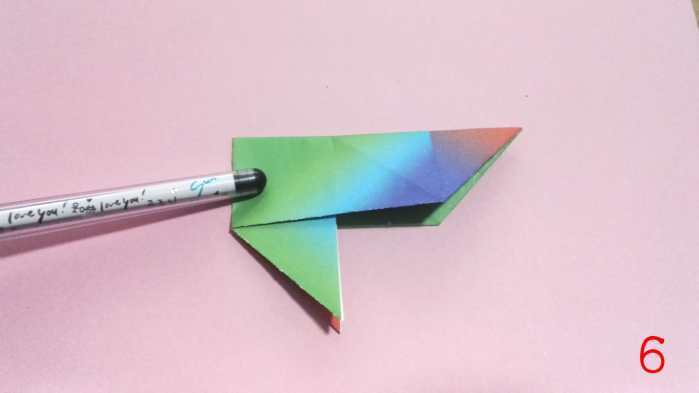
Step 5: Then turn it over, as shown in Figure 5. Fold it in half from the middle to get Figure 6 above.
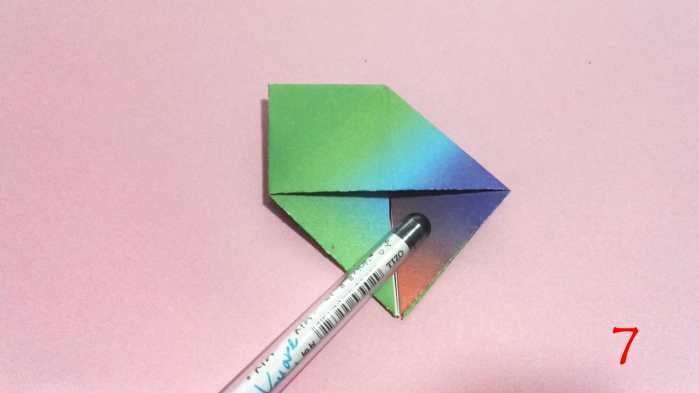
Step 6: Fold the two right - hand corners inwards in Figure 6 above to get Figure 7.
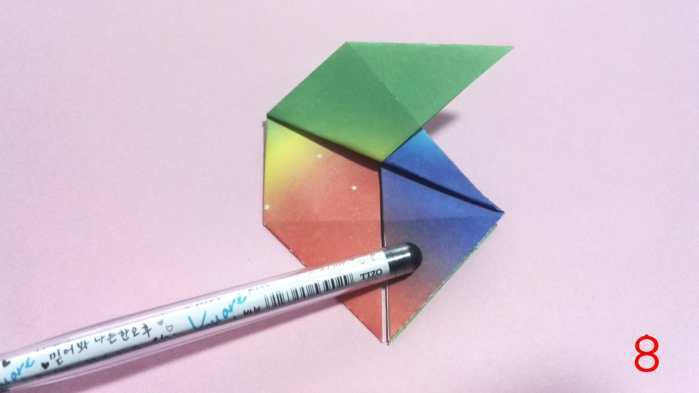
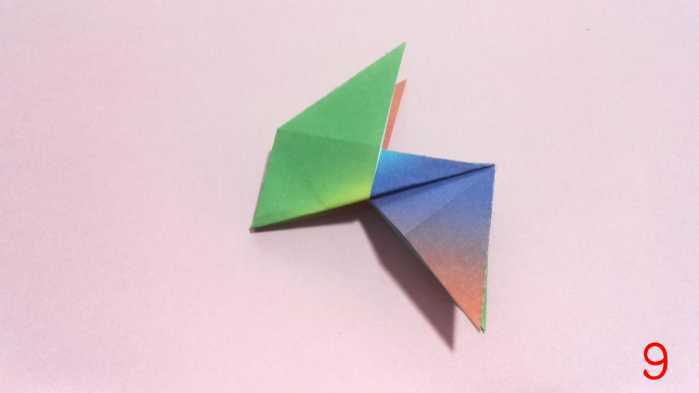
Step 7: Using the connection between the top - left vertex and the right - hand vertex as a line, fold the front and back surfaces upwards respectively to get Figure 9 below.
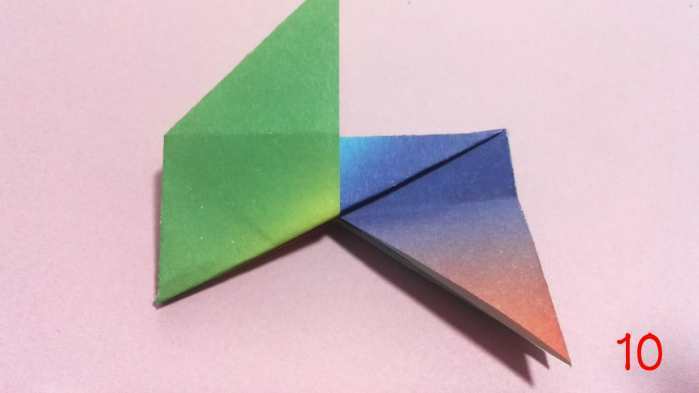
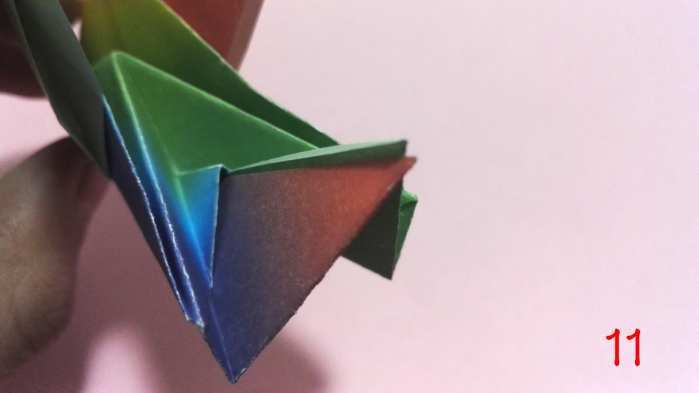
Step 8: According to the crease in Figure 10 above, fold the two lower - right corners upwards to make a crease. Then fold it upwards from the middle, that is, fold it inwards. Get Figure 11 below, and after flattening, get Figure 12.
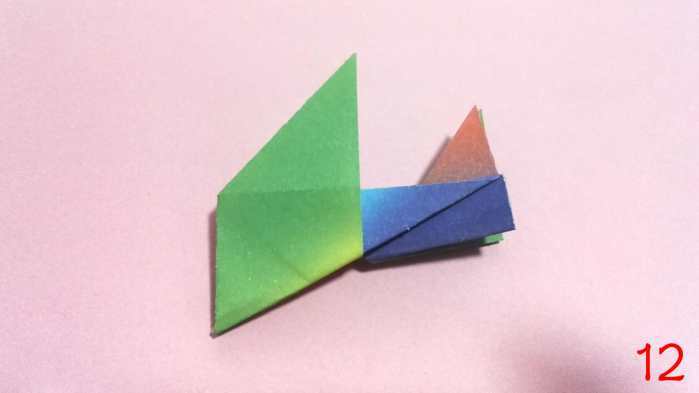
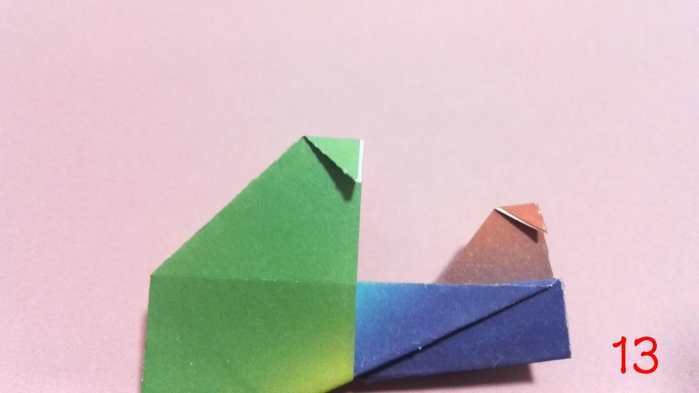
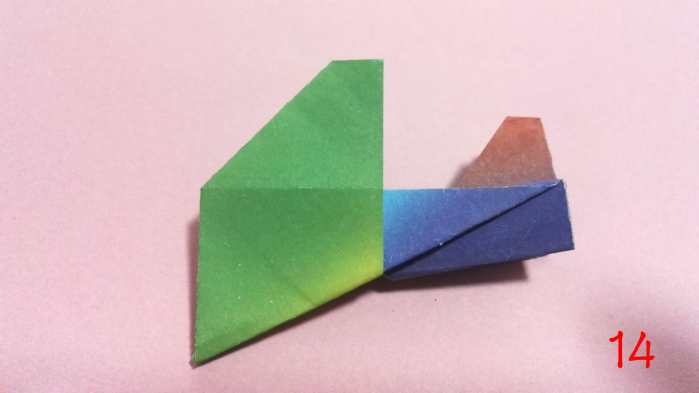
Step 9: Fold the four top - most corners in Figure 12 inwards respectively. After folding, it will look like Figure 14.
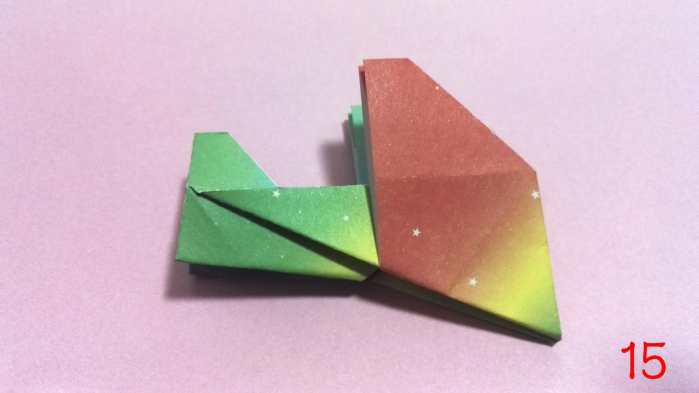
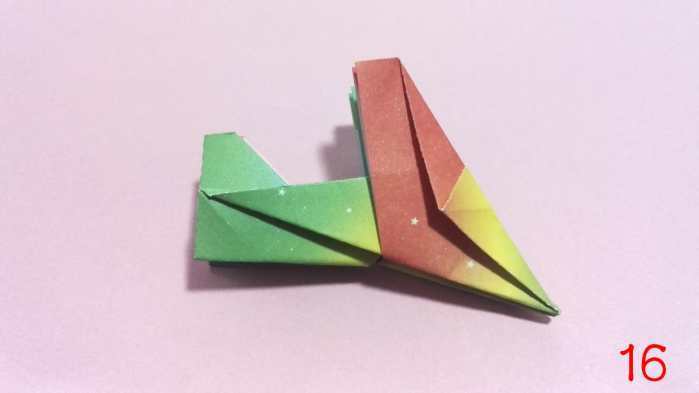
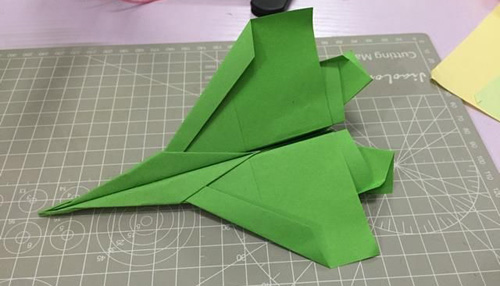
Step 10: Fold both sides in half respectively according to the folding method in Figure 16 above.
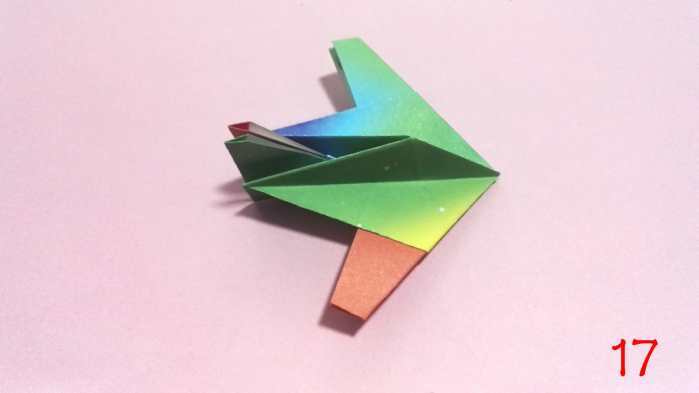
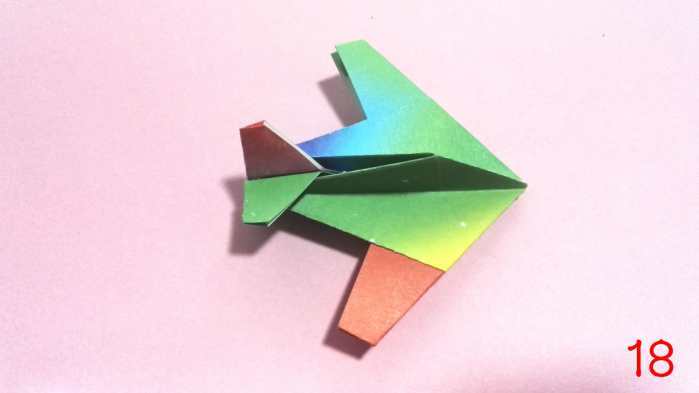
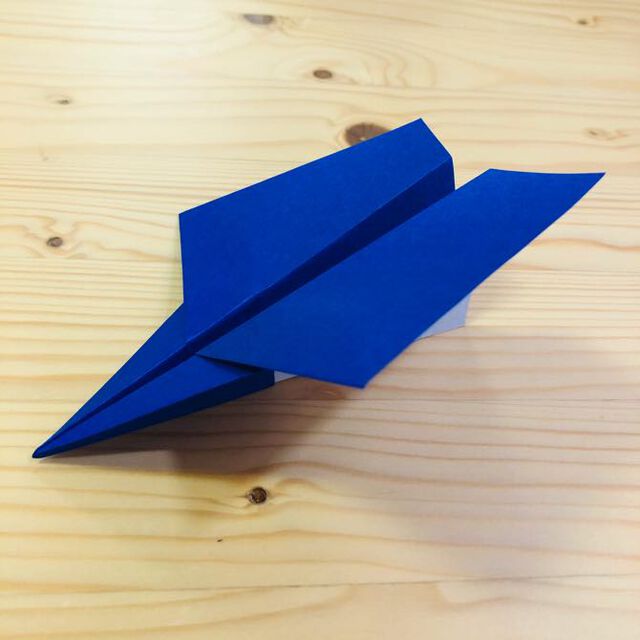
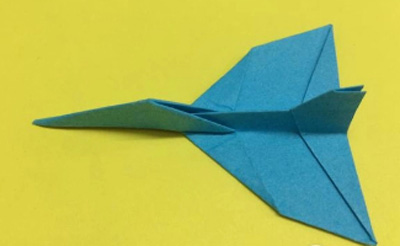
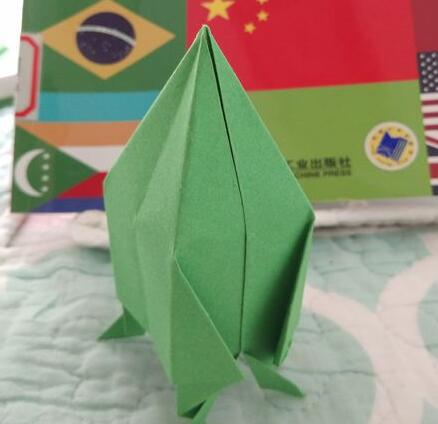
Finally, separate it from the middle, and then adjust the tail wings, spreading them slightly to both sides. Thus, a simple small fighter jet model is completed. It's not very difficult, much easier than the previous two we mentioned. If you want to try more, you can refer to the previous origami airplane tutorial to learn.