Do you want to add some winter romance and liveliness to your life? Then try making exquisite snowflake paper - cuts! It's a handicraft activity full of fun and creativity. Just prepare a square piece of paper and a pair of scissors, and you can start your creative journey. You don't need complex skills. Just follow the simple and easy - to - understand tutorial and let your imagination run wild. After completion, whether you use it to decorate windows, adorn walls, or give it as a gift, it is full of heart. Come on and have a try!

Step 1: Prepare a square piece of paper.
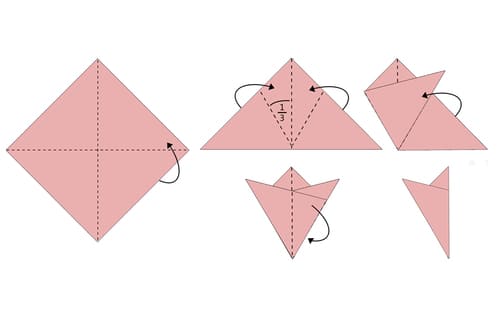
Step 2: As shown in the figure, fold the paper inwards along the diagonal.
Step 3: As shown, fold both sides towards the middle at the one - third positions on both sides.
Step 4: Fold it backward along the midline.
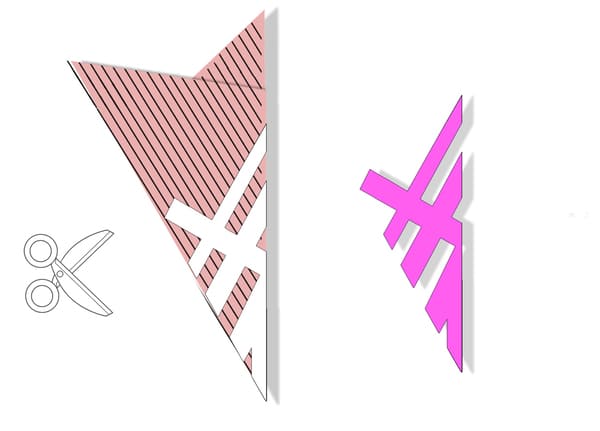
Step 5: As shown in the figure above, draw a snowflake pattern on the folded paper. Note that the drawn pattern should not exceed the pink area in the figure.
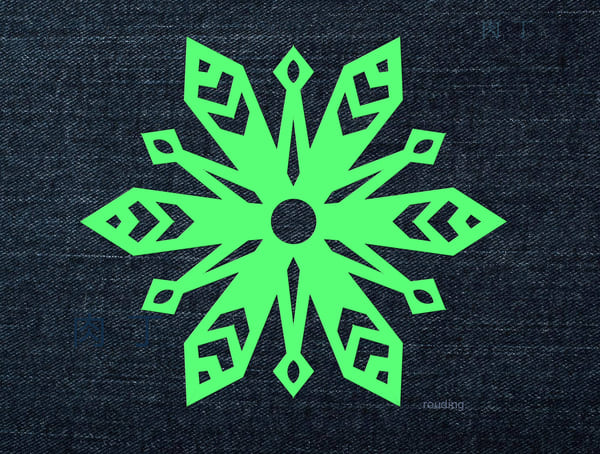
Step 6: Cut along the drawn lines, and finally unfold the folded paper. The DIY snowflake is completed!