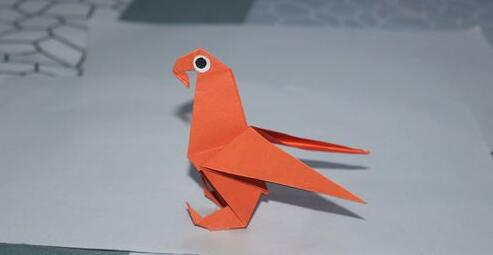
Spring returns to the earth, and all things come back to life. Do you want to bring this vitality and liveliness home? Then give the origami swallow a try! This tutorial has simple and easy - to - understand steps, accompanied by clear illustrations. Even beginners in origami can easily get the hang of it. Starting from an ordinary square piece of paper, with some clever folding, you can create a vivid - looking swallow. It's not just a simple handicraft, but also a symbol of the beauty of spring. Hurry up and fold one to add a touch of lively spring color to your life!

Step 1: Prepare a square piece of origami paper.

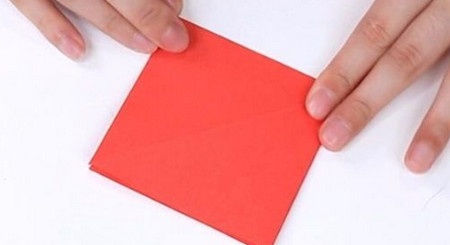
Step 2: Fold the paper once along the horizontal axis and once along the vertical axis respectively, leaving clear creases.

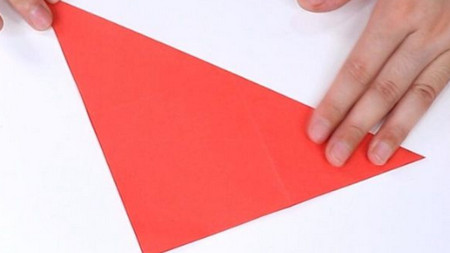
Step 3: Unfold the paper, and then fold it along the diagonal.
Step 4: Unfold it again, and then fold the paper into a small square.
Step 5: Fold both sides of the paper inwards respectively.

Step 6: Continue to fold the paper inwards.

Step 7: After folding, unfold it and expose the smooth side.

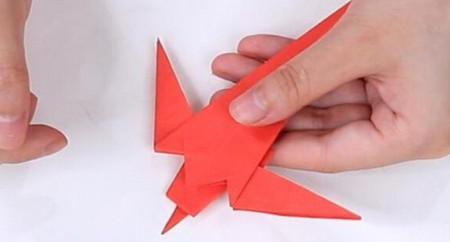
Step 8: Fold the pointed corners at both ends inwards respectively.

Step 9: Fold the upper part downwards.
Step 10: Fold it back and forth twice to make a small tip appear.
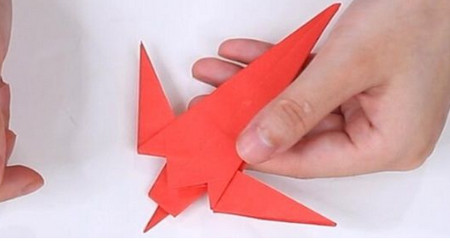
Step 11: Apply solid glue to the inside of the paper and press it flat.

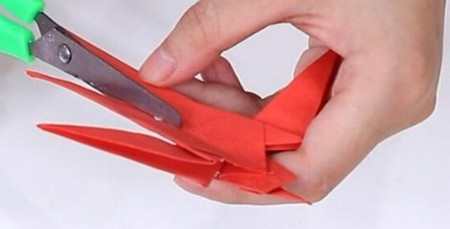
Step 12: Use scissors to cut the tail end along the crease.
Step 13: Cross the left and right parts, and a lovely origami swallow is completed!